NextCloud is a free, open-source self-hosted file-syncing and sharing software that can be used as an alternative to proprietary services such as Dropbox or Google Drive. Users can access their files from anywhere, and also can access the files from mobile devices. It also includes features such as version control, end-to-end encryption, and user management. Some popular use cases for Nextcloud include file sharing in a team or organization, creating a personal cloud storage solution, and building a private file-sharing platform for a community or school.
For this tutorial, we will use a Debian 11 server.
You can install Debian 11 on your VPS by using the automatic OS install templates in your AlphaVPS clients' area panel or you can manually install it via an ISO
/if your VPS supports ISOs/.
If you prefer a manual approach, you can refer to our manual installation guide for Debian 11 here.
NextCloud, of course, has dependencies, which need to be installed in advance -web server, database, and PHP modules.
We will process the step, but if you prefer a little bit more detailed explanation of what we are actually installing, you can refer to our guide here.
Updating the system and installing necessary dependencies
Make sure your system is updated by running the following commands:
apt update
apt upgrade
Install all dependencies for Nextcloud by running the following command:
apt install apache2 mariadb-server libapache2-mod-php php-gd php-json php-mysql php-curl php-mbstring php-intl php-imagick php-xml php-zipApache and Database settings
- Enable the Apache modules for Nextcloud.
a2enmod rewrite headers env dir mime2. Create a new database for Nextcloud.
Securing your database and setting up a secure password is mandatory.
mysql_secure_installation allows you to set a password for the root user and remove anonymous users, which helps to secure the MariaDB installation.
As of 2022, if you try to run the mysql_secure_installation script without additional configuration, an error will occur, which will loop the script.
We will prevent this by doing the following:
sudo mysql
mysql> ALTER USER 'root'@'localhost' IDENTIFIED WITH mysql_native_password BY 'your-password-here';
mysql> exit
Note the password. It will be required during the first step of the script.
You can continue with the mysql_secure_installation script by running:
mysql_secure_installationThis is a shell script available on Unix systems, and enables you to improve the security of your MariaDB installation.
Run the following command and enter the password you set while installing MariaDB-server
mysql -u root -pOnce you have accessed your database's CLI, run these:
CREATE DATABASE nextcloud;
GRANT ALL PRIVILEGES ON nextcloud.* TO 'nextcloud'@'localhost' IDENTIFIED BY 'setPasswordHere';
FLUSH PRIVILEGES;
EXIT;
Make sure that you note down the password, which you have set for the NextCloud database.
3. Download NextCloud Packages
You will need to download the latest version of Nextcloud from the official website and extract it to the Apache web root directory. Once again, run these:
wget https://download.nextcloud.com/server/releases/latest.zip
unzip latest.zip -d /var/www/html
If the 'unzip' package is not available in your system, you can always use an alternative, such as gzip, or you can easily install it via:
apt install unzip4. Change ownership and permissions of the Nextcloud directory by running :
chown -R www-data:www-data /var/www/html/nextcloud5. Create a new Apache configuration file for Nextcloud
nano /etc/apache2/sites-available/nextcloud.confPaste the following content and modify it with your own domain /if one is present/
<VirtualHost *:80>
    ServerAdmin admin@domain-name-here.com
    DocumentRoot /var/www/html/nextcloud
    ServerName domain-name-here.com
    <Directory /var/www/html/nextcloud/>
        Options +FollowSymlinks
        AllowOverride All
        Require all granted
    </Directory>
    ErrorLog ${APACHE_LOG_DIR}/error.log
    CustomLog ${APACHE_LOG_DIR}/access.log combined
</VirtualHost>
6. Enable the virtual host and restart Apache
a2ensite nextcloud.conf
systemctl restart apache2
The first part of the installation is now completed.
We will now continue in the browser.
NextCloud Web Installer
You can now access the Nextcloud web installer by navigating to your server's IP address or hostname in a web browser. Follow the on-screen instructions to complete the installation. Make sure to use the database credentials you created earlier.
Navigate to http://your-server-ip/nextcloud and you will be presented with the web installer.
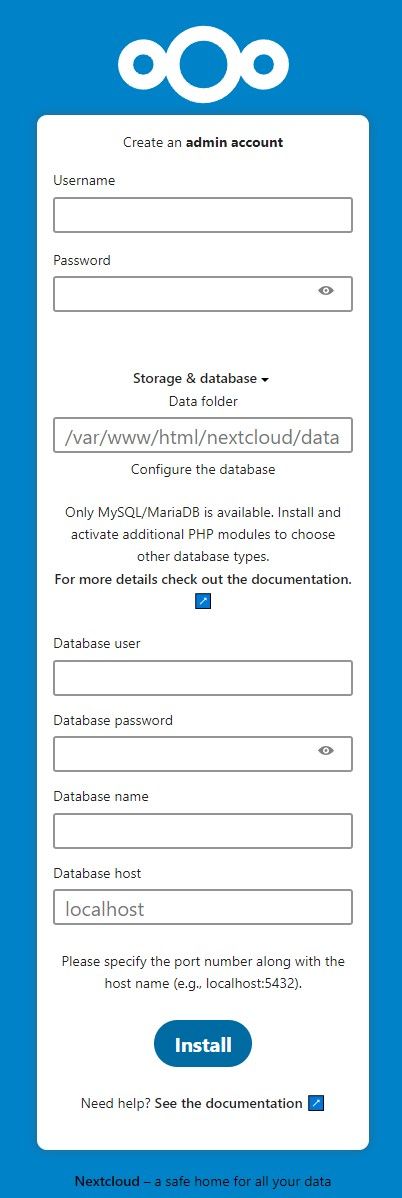
Create an admin account and provide the database credentials from earlier.
In our case, the user name and database name 'nextcloud'.
Click 'Install' and go ahead. Wait for it to finish.
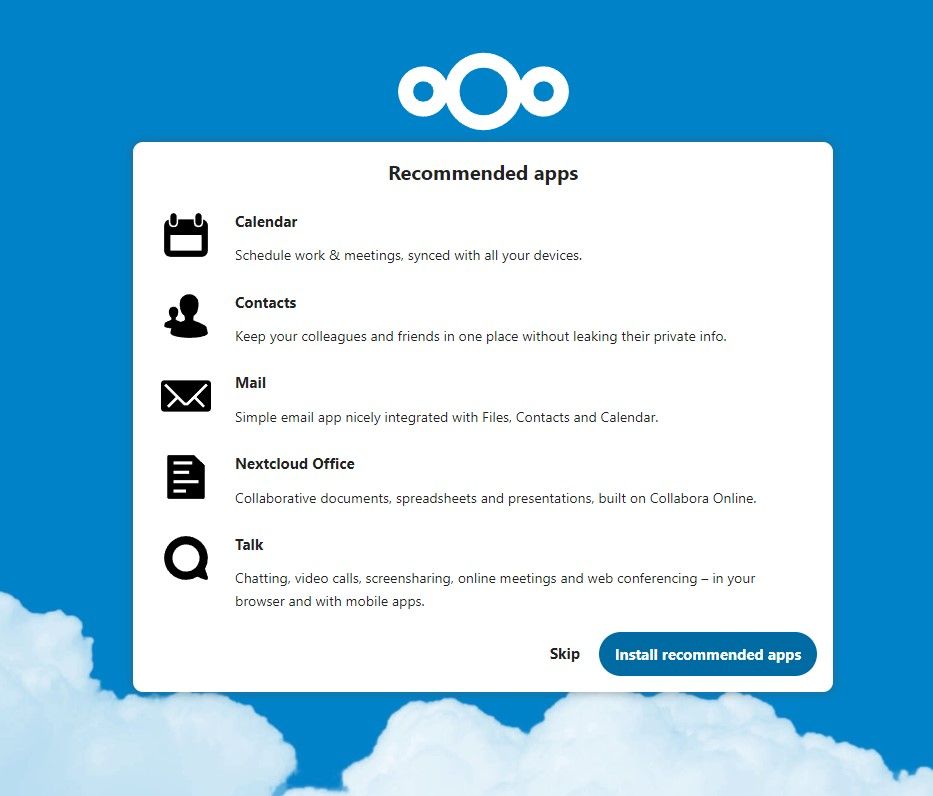
As per your preference, go ahead and install the recommended apps or skip this step.
Voilà! You have now successfully installed NextCloud!
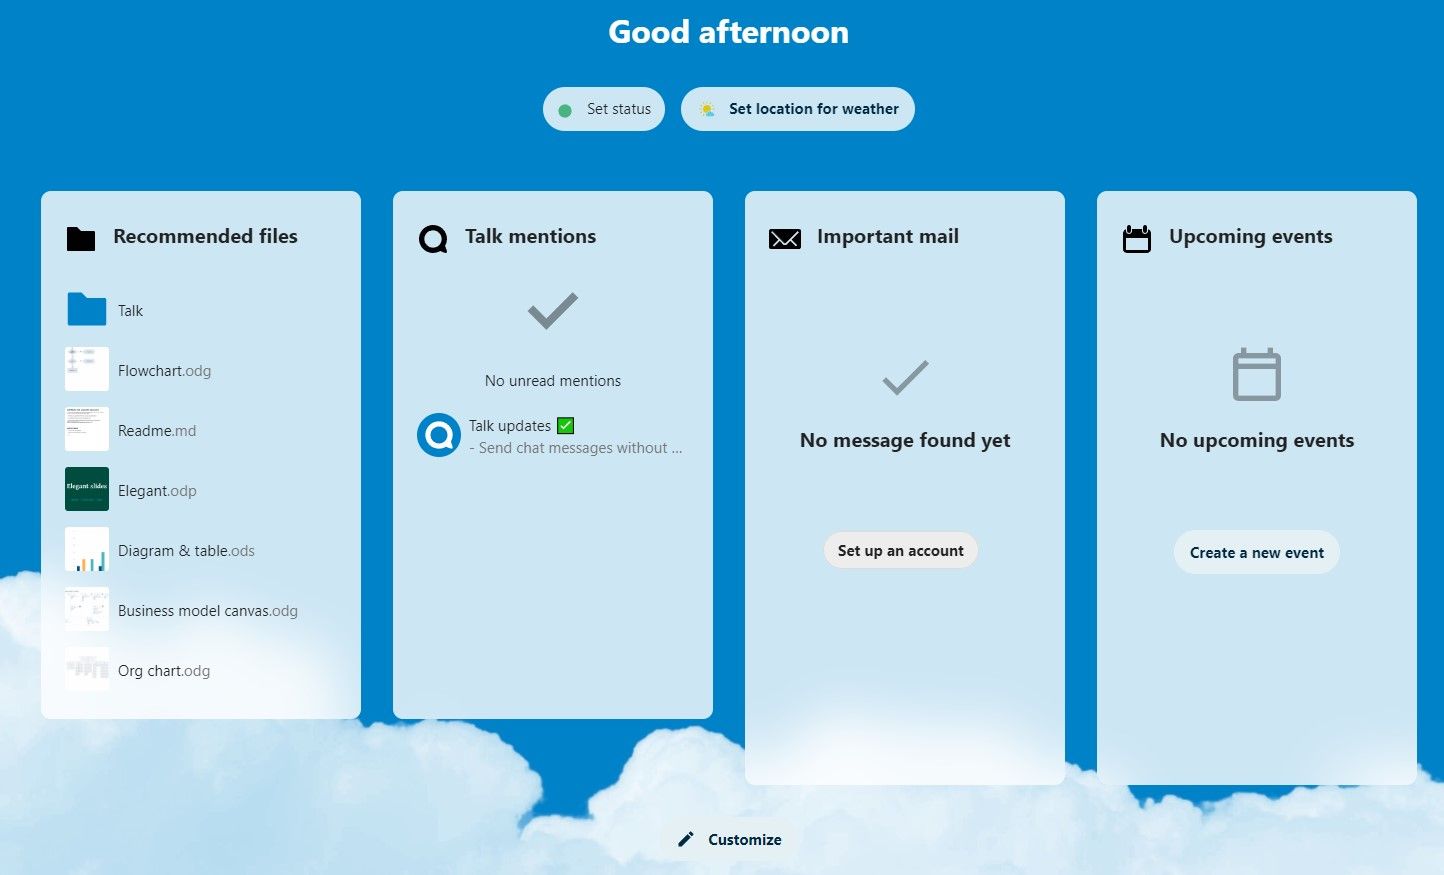
You can customize your dashboard and proceed with your work.