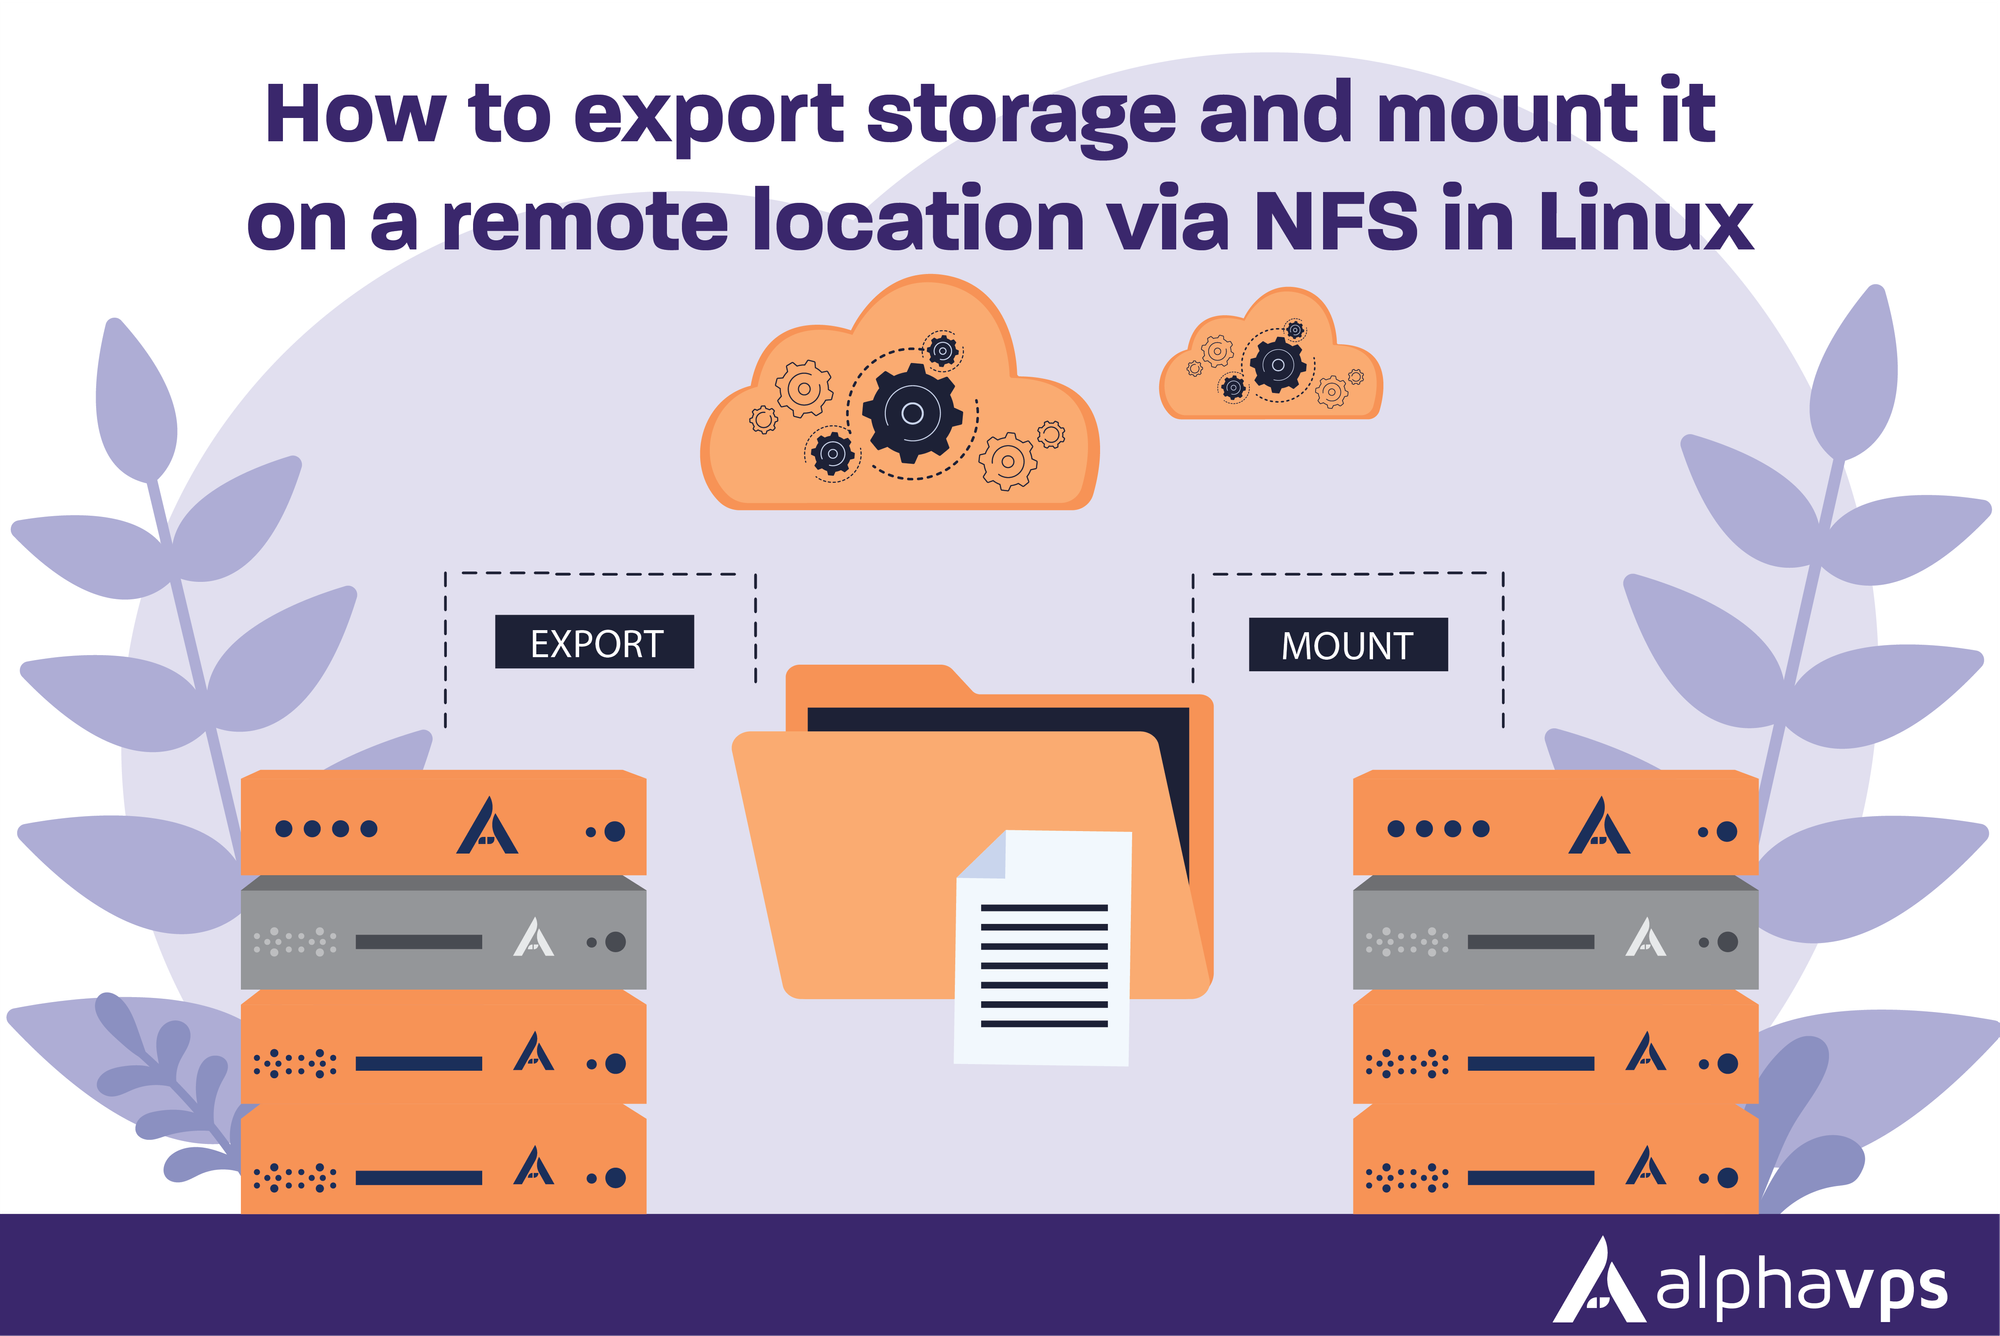
NFS, or Network File System, is a distributed file protocol that allows a computer to access files over a network as if they were on the local file system.
NFS operates on the client-server model, where one machine acts as the NFS server and provides access to its file system resources, while other machines (clients) can mount those resources and access them as if they were local files.
NFS provides multiple benefits like centralized storage, ease of sharing resources, backups, remote file access, and many others
This article will be split into two parts, setting up the NFS server and the NFS client.
Setting up the NFS server
First, we need to download the required packages
For Debian based
sudo apt update
sudo apt install nfs-kernel-server
For CentOS and Fedora
yum -y install nfs-utils
apt-get install nfs-kernel-server
Now we can configure the directories we want to share. We can either create a new directory or use an existing one. We will give examples for both with different configurations depending on your use-case.
sudo mkdir /var/nfs/testSince we are using sudo, to create the directory it is owned by the host’s root user:
ls -la /var/nfs/test
drwxr-xr-x 2 root root 4096 Aug 22 11:51
NFS will translate any root operations on the client to the nobody:nogroup credentials as a security measure, so we need to change the directory ownership to match those credentials.
sudo chown nobody:nogroup /var/nfs/testTo specify which directories we want to export we need to edit the /etc/exports file which is the NFS configuration file. For example, we will export the directory we have made and also our /home.
The syntaxis is the following :
directory_to_share client(option1,option2,...)So to add our two directories open the file with your text editor of choice:
sudo nano /etc/exportsand add the following to the file:
/var/nfs/test    	client_ip(rw,sync,no_subtree_check)
/home             	client_ip(rw,sync,no_root_squash,no_subtree_check)
Here are some flags you might find useful:
NFS /etc/exports Flags and Descriptions
| Flag | Description |
|---|---|
| rw | Allows read and write access to the shared directory. |
| ro | Grants read-only access to the shared directory. |
| sync | Requires changes to be written to disk before considering the operation complete. |
| async | Considers operations complete before changes are written to disk. |
| no_root_squash | Maintains root user privileges on the client for administrative tasks. |
| root_squash | Maps root user on the client to an unprivileged user on the server for enhanced security. |
| all_squash | Maps all users on the client to an unprivileged user on the server for enhanced security. |
| no_all_squash | Disables the all_squash mapping, allowing individual user mapping. |
| secure | Requires that requests originate from a privileged port (below 1024) for greater security. |
| insecure | Allows requests to originate from unprivileged ports for more flexible client connections. |
When you are finished making your changes, save and close the file. Then restart the NFS server with the following command:
sudo systemctl restart nfs-kernel-serverSetting up the NFS client
First, we need to download the required packages
For Debian based
sudo apt install nfs-commonFor CentOS and Fedora
yum -y install nfs-commonThen we need to create a mount point for our directories
sudo mkdir -p /nfs/test
sudo mkdir -p /nfs/home
Now that we have where to mount the directories we can use the following command to attach them to the mounting points:
sudo mount host_ip:/var/nfs/test /nfs/test
sudo mount host_ip:/home /nfs/home
We can use the df -h command to check if the mounting was successful. You should get an output like this:
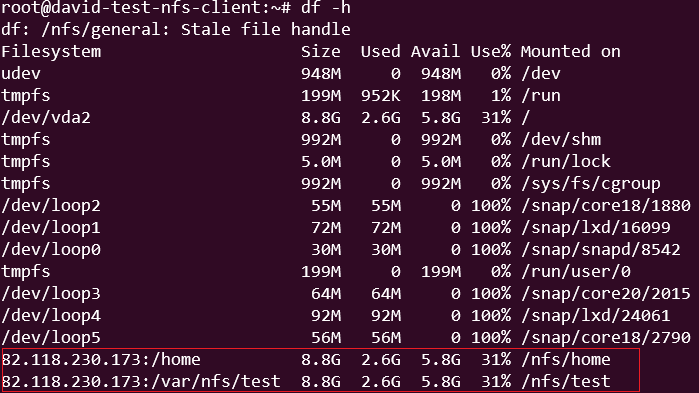
As you can see the directories that we exported earlier appear at the bottom. The usage percentage that we get here is inaccurate. If you would like to get the actual space taken up use the following command
du -sh /nfs/homeOutput:
4.0K /nfs/homeTesting the NFS configuration
Now that we have successfully set up NFS we can test if our configuration works as intended.
First, we create a file in the directory:
touch /nfs/test/test.fileThen we can test its ownership:
ls -l /nfs/test/test.fileOutput:
-rw-r--r-- 1 nobody nogroup 0 Aug 22 13:39 /nfs/test/test.fileBecause we have not set specific permission flags in our /etc/exports configuration file and generated the file using the sudo command on the client machine's root user, the ownership of the file is set to nobody:nogroup by default. As a result, client superusers will encounter limitations in performing standard administrative tasks, such as modifying the file's owner or establishing a new directory for a user group, within this NFS-mounted shared space.
Now let's try the same with our /home directory
touch /nfs/home/test.filels -l /nfs/home/test.fileOutput:
-rw-r--r-- 1 root root 0 Aug 22 13:46 /nfs/home/test.fileWe utilized the same commands to create the same files in both directories however, there's a distinction: in this scenario, the ownership rests with root. This is because of the 'no_root_squash' flag, permitting our client machine's root users to function as root entities. Consequently, administering user accounts becomes notably more streamlined. This approach concurrently negates the necessity of granting these users root permissions on the host system.
Mounting NFS directories at Boot
It is possible to mount the directories during the boot process of the client by adding them to /etc/fstab
Open the file with root privileges in your text editor:
sudo nano /etc/fstabhost_ip:/var/nfs/test /nfs/test nfs auto,nofail,noatime,nolock,intr,tcp,actimeo=1800 0 0
host_ip:/home /nfs/home nfs auto,nofail,noatime,nolock,intr,tcp,actimeo=1800 0 0