Firewalld is a Linux utility, which provides a convenient way to configure and manage firewall rules dynamically.
Firewalld allows administrators to define firewall zones, which are groups of network connections that have a similar level of trust. Each zone has a set of rules that define what traffic is allowed or denied.
For this tutorial, we are using a non-root user with sudo privileges.
Installing Firewalld
Firewalld comes pre-installed on many Linux distributions such as CentOS, Rocky Linux, or Alma Linux.
You can check this by running:
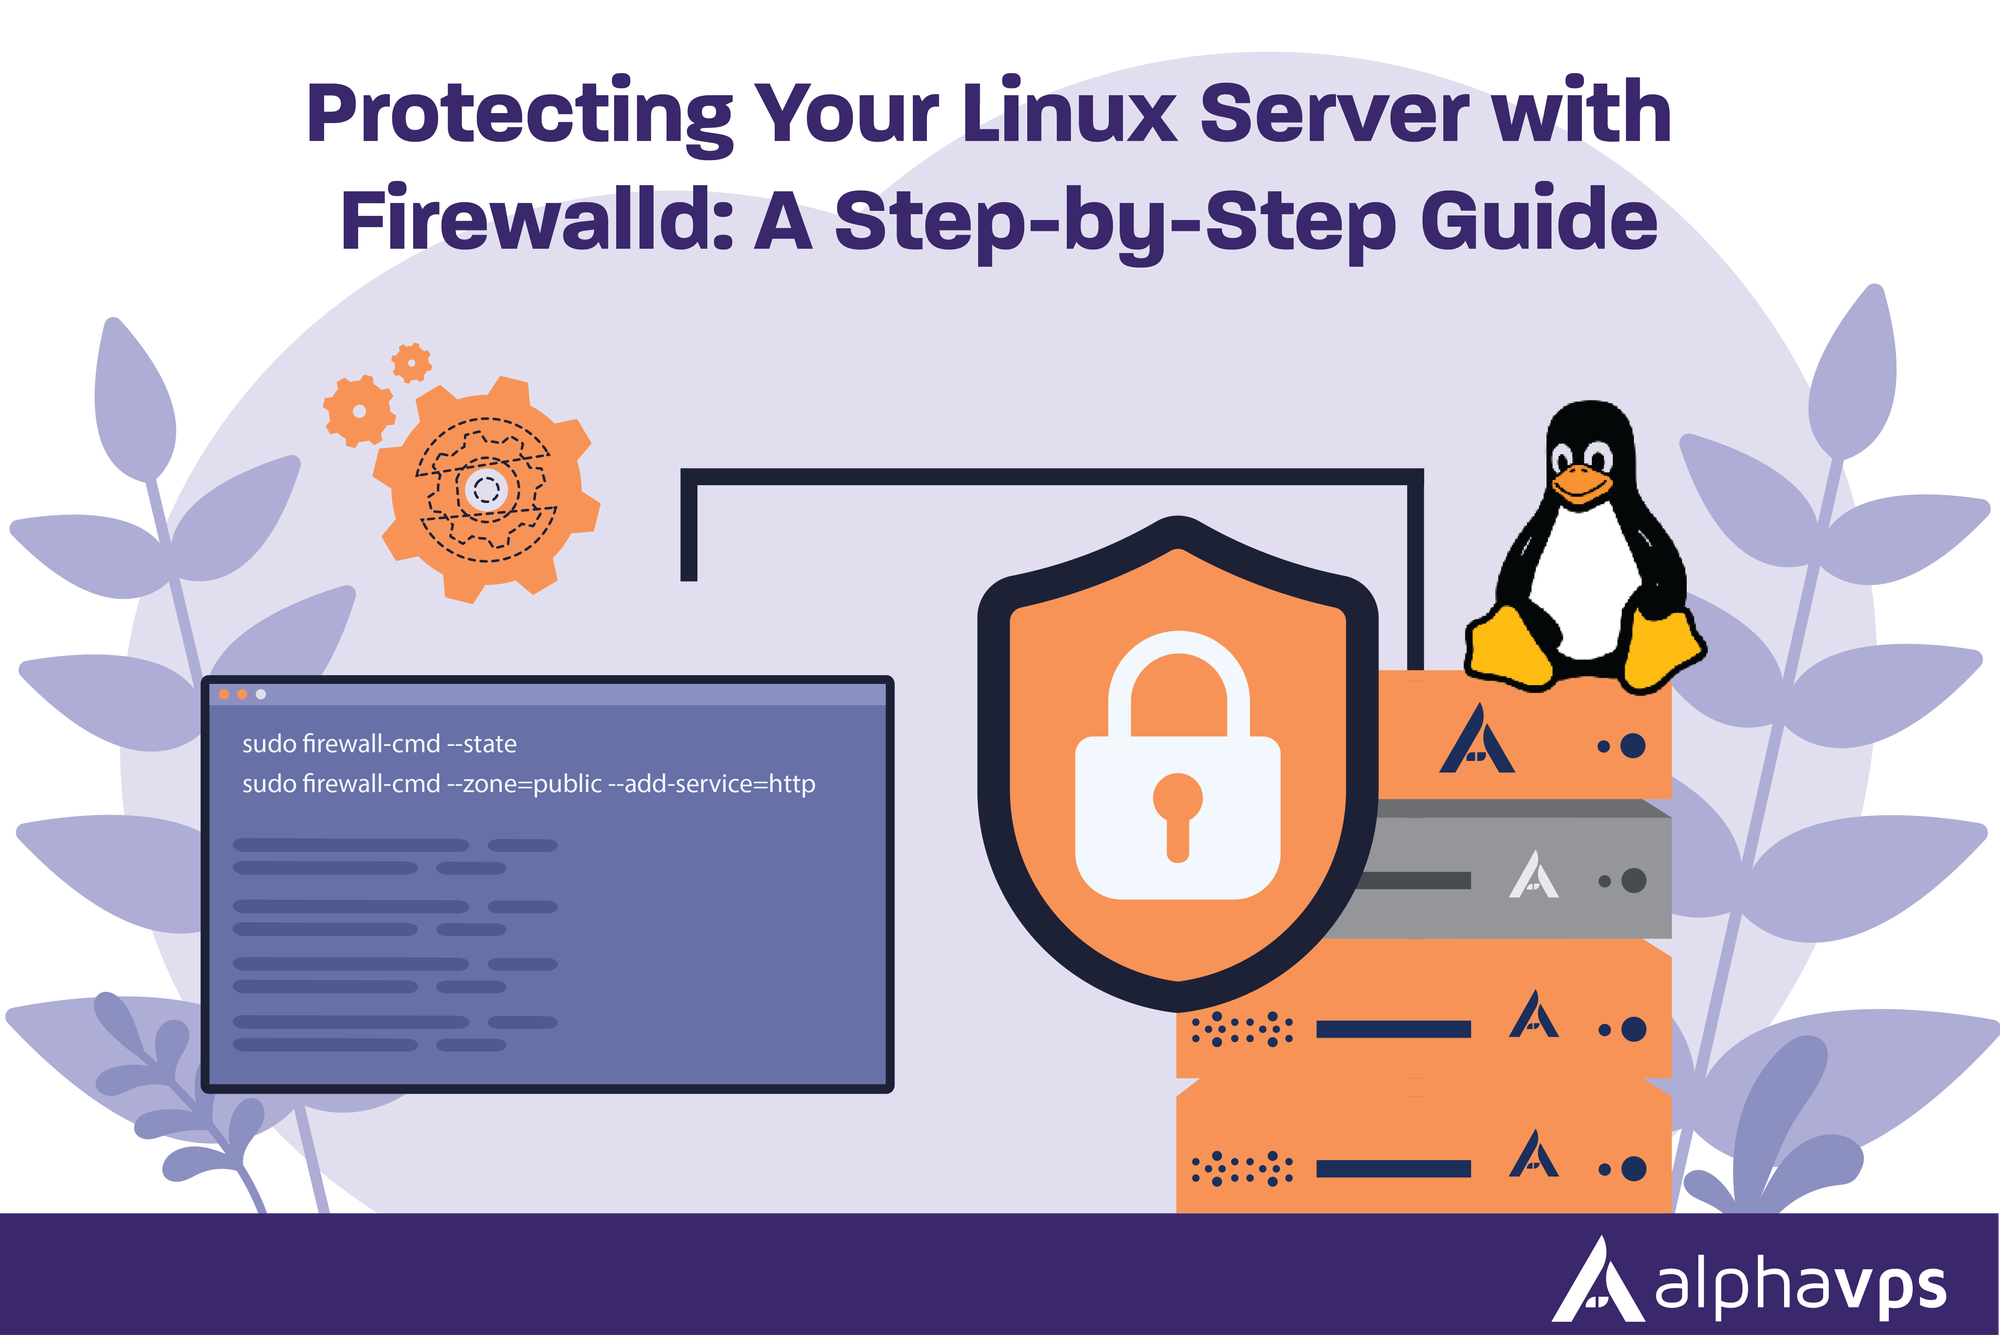
sudo firewall-cmd --stateIf Firewalld is present and running, you will receive the following output:
runningIf not, you can easily install it by running a simple command.
For this tutorial, our OS choice is Alma Linux 8 and we are able to install firewalld via the dnf package manager.
The installation can be performed by running:
sudo dnf install firewalld -y
dnf is a software package manager, quite similar to yum.
If dnf is not available on your system, you can substitute it with yum, for example, if you are running CentOS 7.
Enable and start firewalld by running:
sudo systemctl enable firewalld
sudo systemctl start firewalld
Zones
Firewalld uses zones to group together network connections that have similar levels of trust. Each zone has a set of predefined firewall rules that define which network traffic is allowed or denied. Examples of different zones are:
- drop: In this zone, all incoming traffic is dropped without any notification to the sender. Outgoing traffic is allowed.
- block: In this zone, all incoming traffic is blocked and the sender is notified that the traffic has been blocked. Outgoing traffic is allowed.
- public: In this zone, incoming traffic is blocked by default. Outgoing traffic is allowed. This is typically used for connections that are made from outside of the local network, such as from the Internet.
- external: This zone is similar to the public zone, but it is designed for use with external-facing network devices such as routers. Incoming traffic is blocked by default, but outgoing traffic is allowed.
- internal: In this zone, incoming traffic is usually allowed by default, but outgoing traffic may be restricted. This zone is typically used for connections that are made within the local network, such as between different machines on a LAN.
- dmz: This zone is used for connections that are made to a separate zone that is designed to provide limited access to specific resources. Incoming traffic may be allowed to specific ports, but outgoing traffic may be restricted.
- work: In this zone, incoming traffic is usually allowed by default, but outgoing traffic may be restricted. This zone is typically used for connections made to work-related resources.
- home: In this zone, incoming traffic is usually allowed by default, but outgoing traffic may be restricted. This zone is typically used for connections made to home-related resources.
- trusted: In this zone, both incoming and outgoing traffic may be allowed by default. This zone is typically used for connections that are considered to be trusted, such as connections made by known users or applications.
Administrators can define their own custom zones with specific firewall rules based on their network environment and security needs. By grouping connections into zones with predefined rules, Firewalld provides a flexible and easy-to-manage way to control network traffic and enhance system security.
You can check which zone is currently selected as the default by running:
firewall-cmd --get-default-zoneYou will receive output such as:
public
You can check all of the rules for this default zone by running:
firewall-cmd --list-all
All of the available zones can be viewed by running:
firewall-cmd --get-zonesInitially, the expected output should be:
block dmz drop external home internal nm-shared public trusted work
Default zone
The default zone is initially set to the public zone, which is designed to be a basic, "default" zone that provides a reasonable level of security for most general-purpose networks.
By default, the public zone allows incoming traffic on a limited set of common ports, including HTTP (port 80), HTTPS (port 443), and SSH (port 22). It also allows outgoing traffic to any destination, and ICMP (ping) requests to any source.
A common practice is to use it and configure your firewall settings around it.
How to make your rules permanent
Rules in Firewalld are either permanent or immediate. When you add or modify a rule, by default, it is added only to the currently running firewall. Upon a system reboot, your modifications will not be present and the old rules will be applied.
To make a firewall rule permanent via Firewalld, you can apply the --permanent flag to the command.
Pairing zones with interfaces
Initially, each network interface will be put in the default zone when the firewall is started.
Changing the zone of an Interface
A network interface can be moved between zones during a session by running the following command:
sudo firewall-cmd --zone=home --change-interface=eth0Notice how you append --zone and --change-interface flag.
All active zones can be viewed with:
sudo firewall-cmd --get-active-zones
Adjusting the default zone
Considering that your AlphaVPS service will always be in a constant network environment, a suitable solution would be that all of your network interfaces are handled by one zone. The best approach for this configuration is to select one zone as the default one and then use it for your configuration.
You can do this by running:
sudo firewall-cmd --set-default-zone=home
You can change home with any other preferred zone.
Application rules / Services
You can define firewall exceptions for a specific service.
All available services can be viewed via:
sudo firewall-cmd --get-services
You will receive output such as:
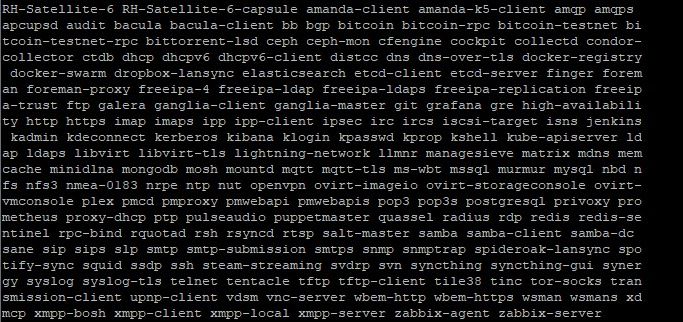
Each of these services is defined in the /usr/lib/firewalld/services/ directory.
You can check the details for each service in its respective .xml file there.
Adding a Service to your zone
Each one of the services above can be added to each one of the zones.
In this step, we will demonstrate how to allow http and https traffic.
The following command adds the service to the default zone:
sudo firewall-cmd --add-service=httpYou are also able to target a specific zone by adding the --zone parameter:
sudo firewall-cmd --zone=public --add-service=http- if you want to also make the rule permanent, remember, you need to add the
--permanentflag and run the command with it as well.
sudo firewall-cmd --zone=public --permanent --add-service=http
You are able to confirm this by running:
sudo firewall-cmd --zone=public --permanent --list-servicesOnce again, you are able to specify the zone with the --zone flag.
HTTPS can be allowed similarly by running the same commands for the https service.
sudo firewall-cmd --add-service=https
sudo firewall-cmd --permanent --add-service=https
You can remove the service by specifying --remove-service flag instead.
sudo firewall-cmd --remove-service=http
Allowing SSH
You can directly enable the OpenSSH service for a specific zone by running:
sudo firewall-cmd --zone=public --add-service=ssh --permanent
Not specifying the --zone flag will enable the service for the default zone.
Do note that the provided OpenSSH service allows traffic on the default ssh port - 22. If you have changed your default ssh port, you will need to specify this in the /usr/lib/firewalld/services/ssh.xml file.
An alternative solution is to directly enable the custom port by running:
sudo firewall-cmd --add-port="port-number-here"/tcp
sudo firewall-cmd --permanent --add-port="port-number-here"/tcp
Creating a Service
The included services cover many popular applications and their best firewall practices.
Of course, these services do not cover all use cases and this is why you are able to create your own, similar to application profiles in UFW.
Services are like a group of ports with a name and description.
You can easily create a service by copying one of the .xml files in the /usr/lib/firewalld/services or use the boilerplate below:
<?xml version="1.0" encoding="utf-8"?>
<service>
  <short>"SERVICE-NAME-HERE"</short>
  <description>"SERVICE-DESCRIPTION-HERE"</description>
  <port protocol="tcp/udp" port="PORT-NUMBER-HERE"/>
</service>
Give your service file an appropriate name that matches its role.
Make sure that you change the service name, description, protocol (either tcp or udp), and service port. You are able to add multiple consecutive port specifications to the service.
Once the service is created, you will need to reload your firewall.
You can do this by running:
sudo firewall-cmd --reload
Adding port exceptions to a zone
Instead of creating a new service, you are also able to directly add port exceptions to your zone.
Running the command below will add a port exception for port 80 in our default zone.
sudo firewall-cmd --add-port=80/tcp
We can specify the zone by running:
sudo firewall-cmd --zone=public --add-port=80/tcp
The exception can be made permanent with the --permanent flag added:
sudo firewall-cmd --permanent --zone=public --add-port=80/tcp
You are also able to add a whole range of ports with a command such as:
sudo firewall-cmd --add-port=1050-1100/udp
Port exceptions can also be removed by instead of the --add-port flag, you specify the --remove-port flag.
sudo firewall-cmd --zone=public --remove-port=80/tcp
Creating a zone
Usually, the number of available zones is enough for almost any firewall configuration. Of course, you are able to add an additional custom zone and set it as per your requirements.
You can add a zone by running:
sudo firewall-cmd --permanent --new-zone=zone-name-hereYou can confirm the creation by running:
sudo firewall-cmd --permanent --get-zonesDeleting a zone
A zone can also be deleted after removing all interfaces and services from it.
You can remove an interface by adding the --remove-interface flag and you can remove a service by adding a --remove-service flag.
Example commands are:
#remove service
sudo firewall-cmd --zone=public --remove-service=http

#remove interface
sudo firewall-cmd --zone=public --remove-interface=eth0
The command for deleting the whole zone is:
sudo firewall-cmd --delete-zone=zone-name-here