WordPress is a free and open-source content management system (CMS) that allows you to host and build websites. It is very popular and has been around for the past 20 years.
WordPress is written in PHP and paired with a MySQL/MariaDB database with supported HTTPS.
A CMS is a software application, which useful for users who don't have the knowledge to code their own websites. It provides you with a comfortable graphical interface that lets you:
1. Write, create, and add your own content.
2 Manage, customize, and edit your website
3. Store, format, and retrieve data
Installing WordPress on Ubuntu 22.04 with a LAMP stack can be a great way to set up a powerful and flexible website platform.
This guide should provide you with all the information you need to install WordPress on your Ubuntu server.
The installation will require a pre-installed LAMP stack and a sudo user.
You can refer to our guide here for an explanation, but we will process this during the preparation steps below.
Preparation
Update the system
sudo apt update
sudo apt upgrade
reboot
Install the Apache webserver
sudo apt install apache2Install MySQL and secure the installation
The 'mysql_secure_installation' script performs a few actions that keep your MySQL installation secure. To avoid potential issues with the latest MySQL versions, it is advisable to change the root user’s authentication method to one that uses a password prior to running the script.
Make sure that you provide your own password and note it down.
sudo apt install mysql-server
sudo mysql

mysql> ALTER USER 'root'@'localhost' IDENTIFIED WITH mysql_native_password BY 'your-password-here';
mysql>exit

sudo mysql_secure_installation
Installing PHP
sudo apt install php libapache2-mod-php php-mysql
Create a virtual host
Don't forget to swap the domain name with your own one.
sudo mkdir /var/www/domain-name
sudo chown -R www-data:www-data /var/www/domain-name
sudo nano /etc/apache2/sites-available/domain-name.conf
The 'sudo nano /etc/apache2/sites-available/domain-name.conf' command will create a new blank configuration file.
Add the following configuration and swap the domain name with your own.
<VirtualHost *:80>
    ServerName domain-name
    ServerAlias www.domain-name
    ServerAdmin webmaster@localhost
    DocumentRoot /var/www/domain-name
    ErrorLog ${APACHE_LOG_DIR}/error.log
    CustomLog ${APACHE_LOG_DIR}/access.log combined
</VirtualHost>
Save and close the file.
Enable the virtual host and disable the default one.
sudo a2ensite domain-name
sudo a2dissite 000-default
Create a MySQL Database
WordPress utilizes MySQL to store site information.
We will need to create a database and database user for WordPress and grant them the required permission.
We will name our database 'wordpress' and our user 'wordpressuser'.
This is not mandatory and you can name them as you wish, just try not to forget them.
sudo mysql
If you have enabled password authentication for your root MySQL user use the command below instead:
mysql -u root -p
mysql> CREATE DATABASE wordpress DEFAULT CHARACTER SET utf8 COLLATE utf8_unicode_ci;
mysql> CREATE USER 'wordpressuser'@'%' IDENTIFIED WITH mysql_native_password BY 'your-password-here';
mysql> GRANT ALL ON wordpress.* TO 'wordpressuser'@'%';
mysql> FLUSH PRIVILEGES;
mysql> exit
Installing required PHP Extensions
The initial set of extensions, which we installed during PHP's installation, is not sufficient for WordPress and its plugins.
We will proceed with installing some of the popular ones.
Loading these will require an Apache restart.
sudo apt update
sudo apt install php-curl php-gd php-mbstring php-xml php-xmlrpc php-soap php-intl php-zip
sudo systemctl restart apache2
Each WordPress plugin has its own set of requirements and dependencies.
Installing additional plugins may require other packages to be installed as well.
Configuring Apache
We will need to perform a few changes to our virtual host configuration file - the same one, which we created during the preparation steps.
Open the file.
sudo nano /etc/apache2/sites-available/domain-name.confWe will need to allow .htaccess files by setting the AllowOverride directive.
Nest the following block inside your VirtualHost block and save the file.
<VirtualHost *:80>

    <Directory /var/www/domain-name/>
        AllowOverride All
    </Directory>

</VirtualHost>
It should look like this.
<VirtualHost *:80>
    ServerName domain-name
    ServerAlias www.domain-name
    ServerAdmin webmaster@localhost
    DocumentRoot /var/www/domain-name
    ErrorLog ${APACHE_LOG_DIR}/error.log
    CustomLog ${APACHE_LOG_DIR}/access.log combined

    <Directory /var/www/domain-name/>
        AllowOverride All
    </Directory>

</VirtualHost>
Now we will need to enable the Rewrite module.
The Rewrite module lets you rewrite URLs more cleanly, translating human-readable paths into code-friendly query strings.
sudo a2enmod rewrite
sudo systemctl restart apache2
Downloading, Installing, and Configuring WordPress
Now that we have prepared our infrastructure for WordPress, we can proceed with the main event - the installation.
Navigate to a writable directory and download WordPress.
The compressed file needs to be extracted.
cd /tmp
curl -O https://wordpress.org/latest.tar.gz
tar xzvf latest.tar.gz
Create a blank .htaccess file for WordPress and copy the sample configuration file.
We will also need to create the upgrade directory.
WordPress will require it when the software is updated.
touch /tmp/wordpress/.htaccess
cp /tmp/wordpress/wp-config-sample.php /tmp/wordpress/wp-config.php
mkdir /tmp/wordpress/wp-content/upgrade
We will now need to move our WordPress installation to its permanent directory - your web root. Make sure that you substitute the domain name with your actual one.
sudo cp -a /tmp/wordpress/. /var/www/domain-nameSetting Ownership and Permissions
sudo chown -R www-data:www-data /var/www/domain-name
sudo find /var/www/domain-name/ -type d -exec chmod 750 {} \;
sudo find /var/www/domain-name/ -type f -exec chmod 640 {} \;
We will now need to do changes to the main WordPress configuration file.
We need to set some secret keys to add a level of security for WordPress.
WordPress provides a tool that generates these keys for you.
Run the following command:
curl -s https://api.wordpress.org/secret-key/1.1/salt/You will receive similar output:
define('AUTH_KEY',         '@-6JbK?k5I~90H[tbpy|nss~dy3Bc%u*NfKn>Y LWe2YtA2D0pUEg2F%tP;.yeyJ');
define('SECURE_AUTH_KEY',  '<7k-p5c4Go}E)C.5*zi/X(N$6lUyQ$!3WC?r~]cpw;Yt_S 9PRMj!I+.pIax|xbj');
define('LOGGED_IN_KEY',    '.||O.okyT3M]BIsj:mF[Nn!!Lgn}kp1KMgLX&sH:Ph*m}aI^Lrp>%ZV.%C~ ?#_@');
define('NONCE_KEY',        'q-3Qng@i)TS5hgg{3uP~EPZ:1)Cz>XhGwURZ=cW}[&>OZ>Y~QksU6D:k]Bd+7}zl');
define('AUTH_SALT',        ':q]+1=-I0z+tfRQbp=Oowjn+9}|3rZ2vzsFT^B8{0e:pK;DDoU Pba)rS+7(~bs-');
define('SECURE_AUTH_SALT', 'o#y76iYLaS@ @ux]j0ca~4?Q.+B4bJF*H~RO!z(sqpT6=-;. *M<+ E+d|or%Qx1');
define('LOGGED_IN_SALT',   'g-kPdy9K-h+2)>N!+S/ARP3{oJg2F?-nU=0X1Zw{]urmF+BMPyj.bO$~E%|``a>n');
define('NONCE_SALT',       ' dXiLYb]-{4ZP1Oa)nd> -buE8F<Fvk1j>j|)0ipO|g1wW0(`brR_b+71hmaY5&E');
Copy your own generated values, not these, and note them down somewhere.
Open WordPress's configuration file.
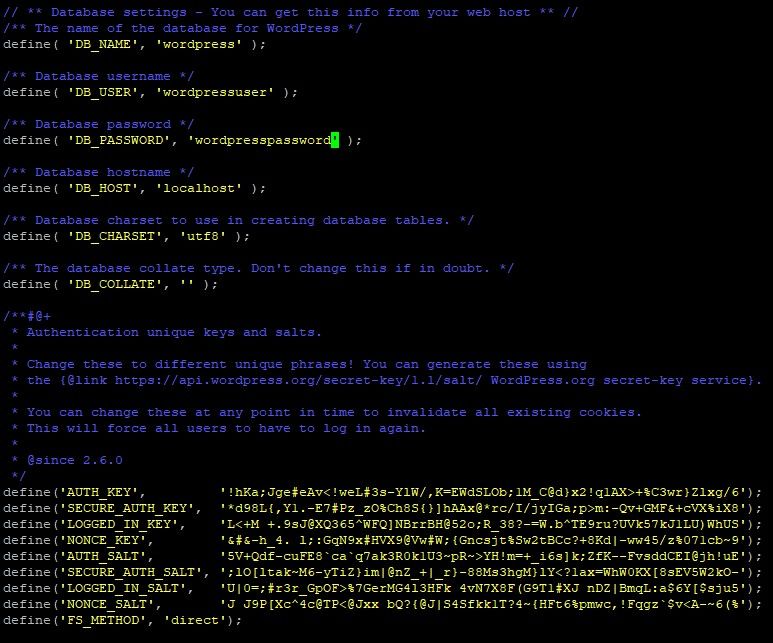
sudo nano /var/www/domain-name/wp-config.phpReplace all the existing "define" lines with yours and adjust the values which concern your database.
Add your WordPress database, database user, and password - the same ones from the MySQL setup step.
You will also need to add a line that specifies the method that WordPress should use to write to the filesystem. You can add it after your other 'define' lines.
define( 'DB_NAME', 'wordpress' );

/** MySQL database username */
define( 'DB_USER', 'wordpressuser' );

/** MySQL database password */
define( 'DB_PASSWORD', 'password' );


. . .

define('FS_METHOD', 'direct');
Your configuration file should look like this.
Save and close
Complete the installation via the web interface
From your web browser, navigate to your server:
https://domain-name-or-ip-addressYou will now need to select your preferred language.
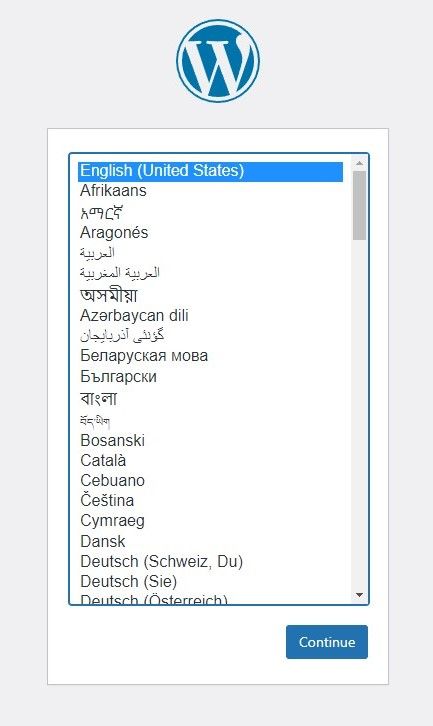
The next step is your main setup page.
Fill in a name for your WordPress site, add a username, and add your e-mail.
A strong password will be automatically generated and is advisable to use it.
Of course, you can also write your own secure password.
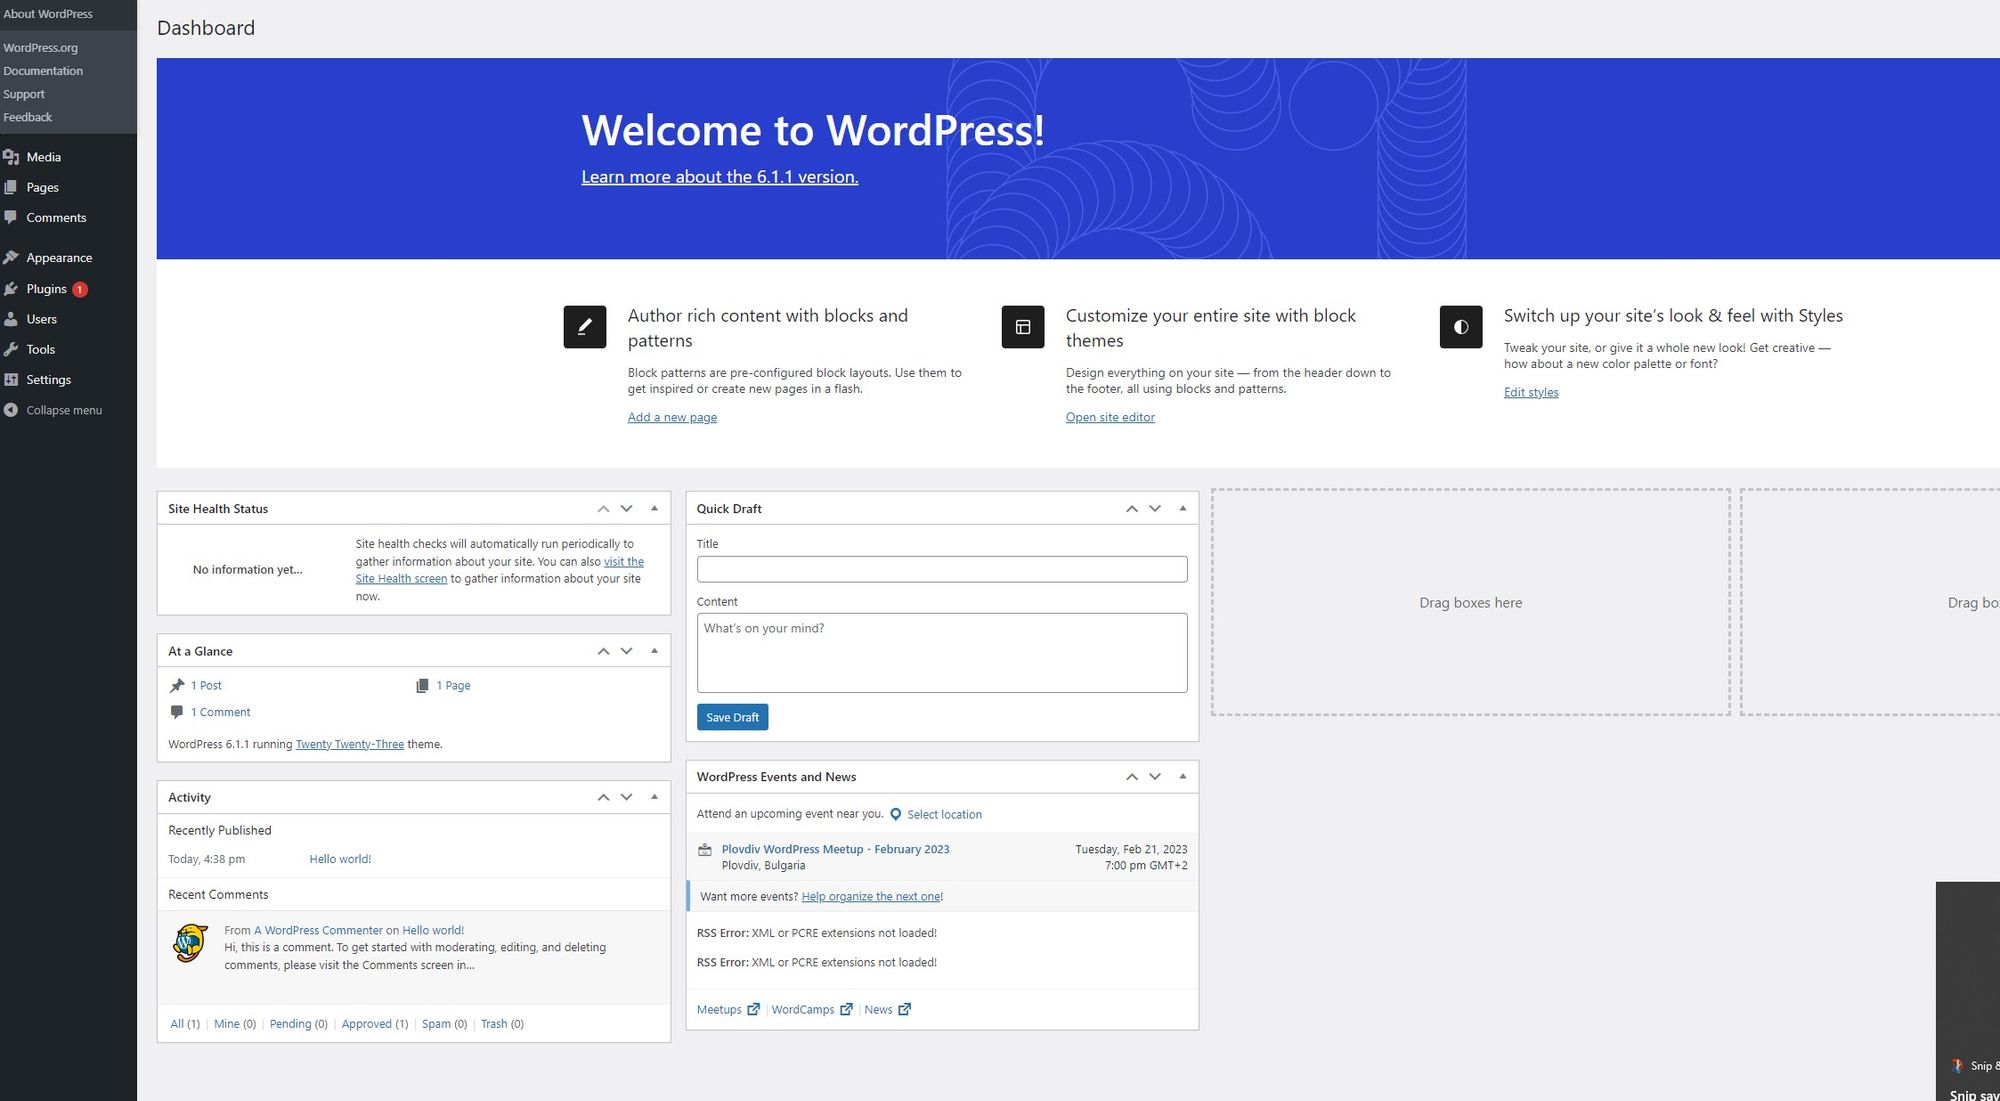
That's it! You have successfully installed WordPress.
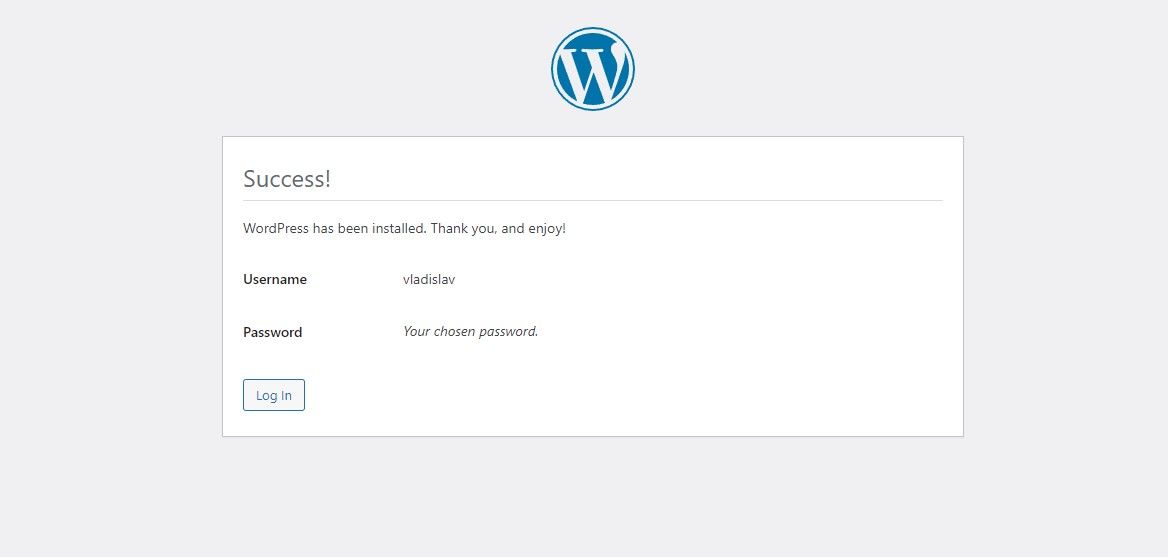
Click on the 'Log In' button and use your credentials to continue.
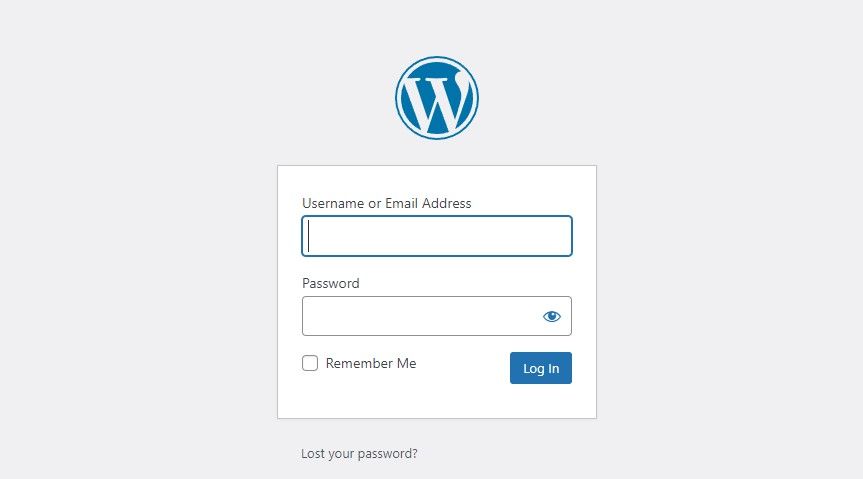
From now on, it's all up to you.
You can now build a whole properly functioning website via WordPress.
You will be provided with a wide variety of customization features and plugins, which will help you tailor your site as per your preference.