Ubuntu is a popular Linux-based operating system known for its user-friendly interface and open-source nature. The latest version of Ubuntu, 22.04, offers many new features and improvements over previous versions. In this blog post, we will show you how to install Ubuntu 22.04 manually via an ISO and enable LUKS encryption on your drive.
Manually installing Ubuntu via an ISO is a great option for those who want more control over the installation process.
By following the step-by-step instructions in this post, you will be able to easily and efficiently install Ubuntu 22.04 on your VPS.
To install Ubuntu 22.04, mount the provided ISO from your clients' area panel and change the boot order of your VPS. If you're installing on a dedicated server, you'd need to have IPMI access to perform this task. A reboot will be required to start.
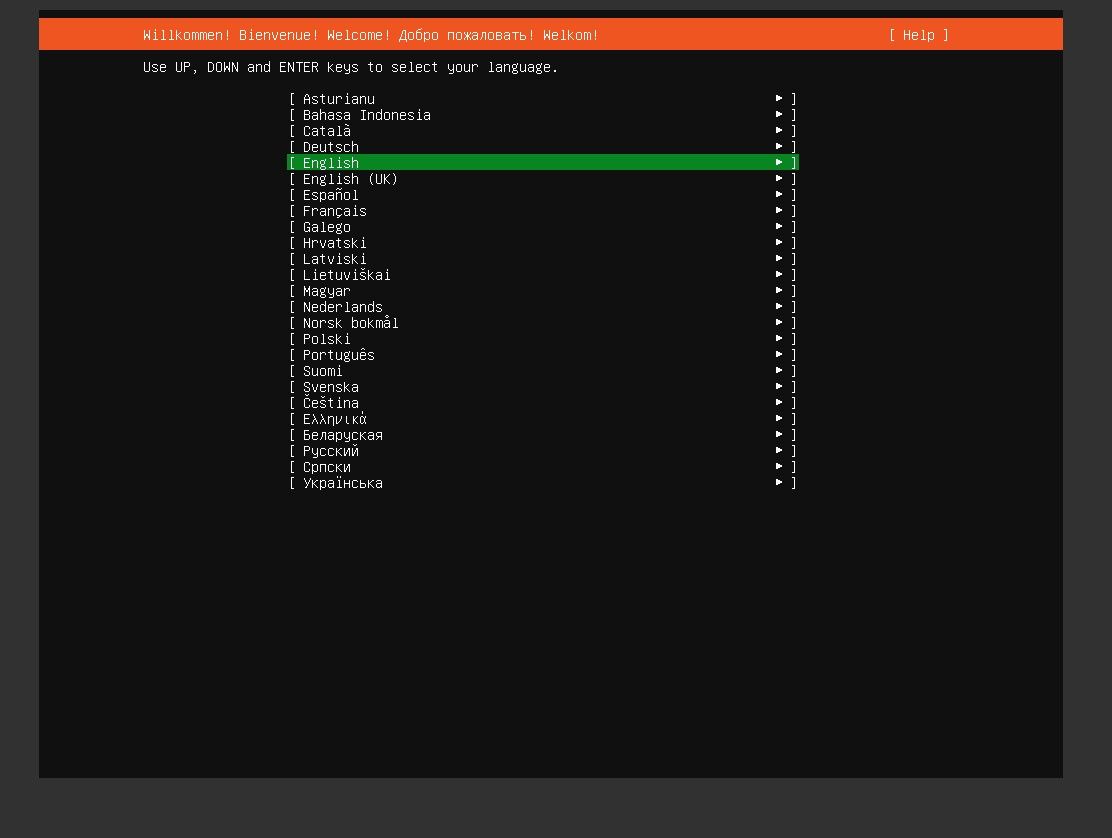
Ubuntu will begin to load, and you will be presented with the Ubuntu installer. Select your language, and then click on "Try Ubuntu" to start the installation.
Each step is displayed and described in this post.
Initial settings
Select your preferred language.
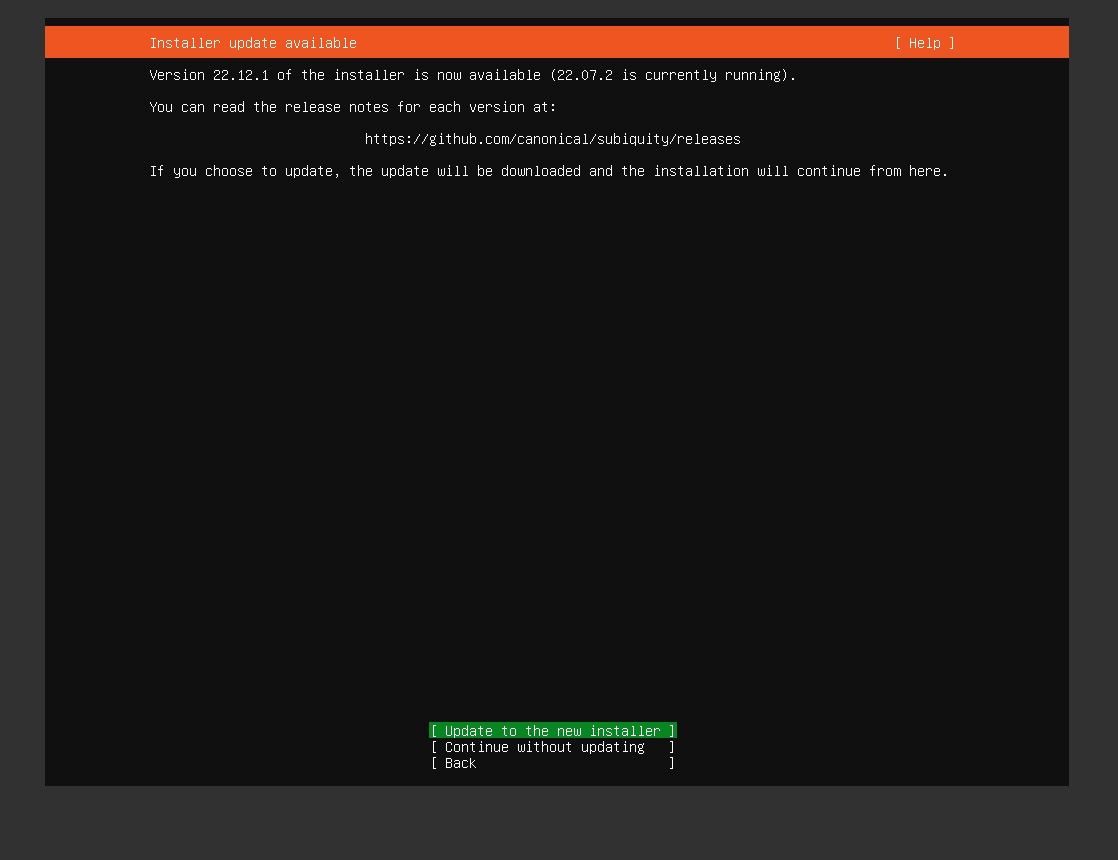
You will be prompted to proceed with an update of the installer itself.
It is recommended to do so.
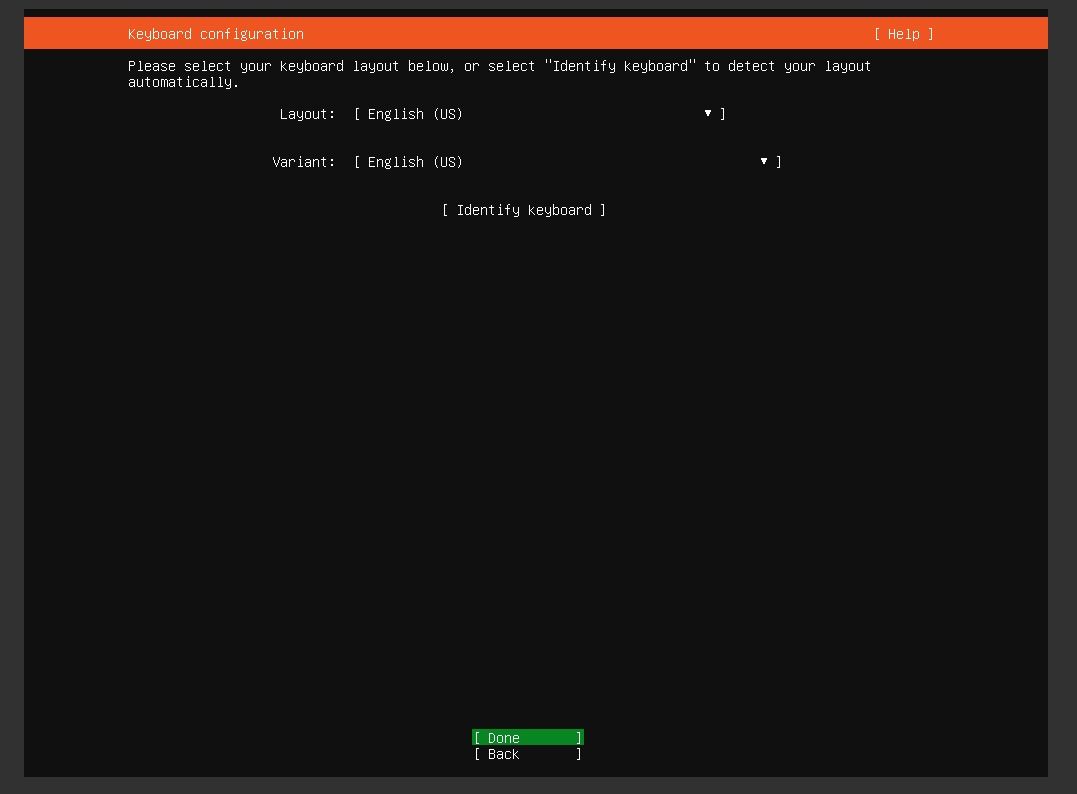
Select keyboard layout.
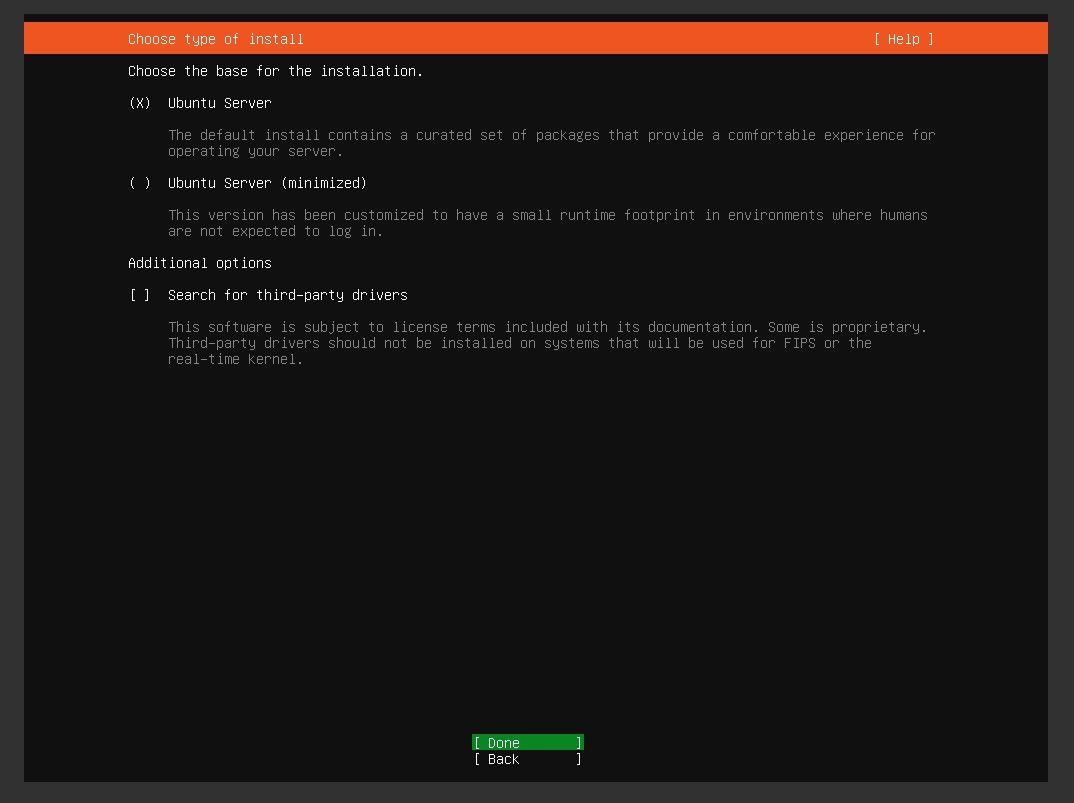
Choose the installation type. The best solution would be to continue as suggested.
The default option will provide you with a comfortable experience without the need to install basic packages immediately after the installation is completed.
Of course, this depends on your needs and intentions for the server. Choosing Minimized is a good option for advanced users.
Network settings
Your network interface will be automatically configured if your provider supports DHCP.
All you need to do is to confirm the setting and continue.

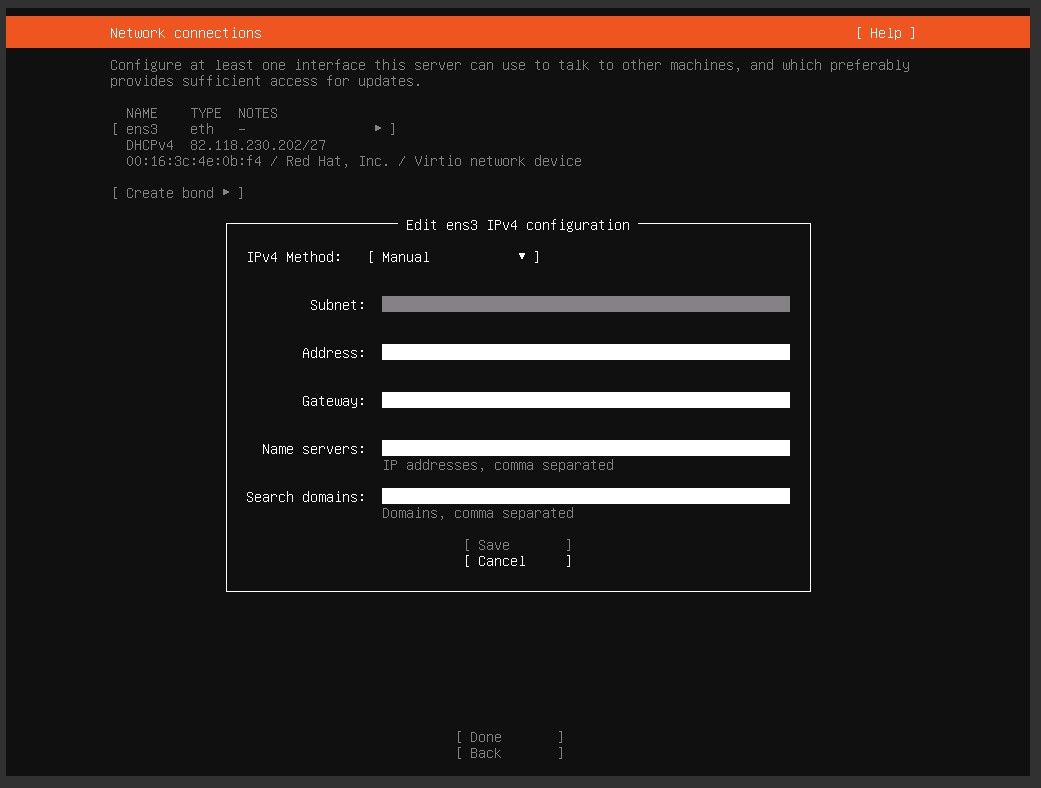
*If DHCP is not supported and you need static configuration you can modify the settings and set the IP configuration manually.
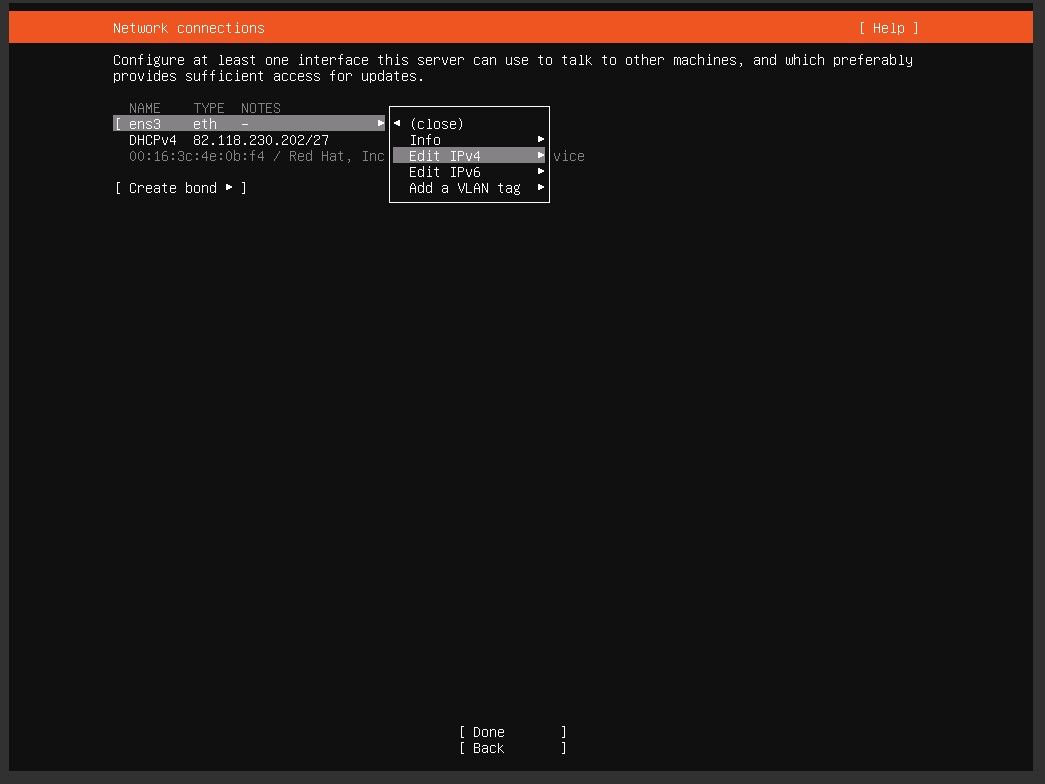
To do this, the IPv4 method needs to be changed to Manual.
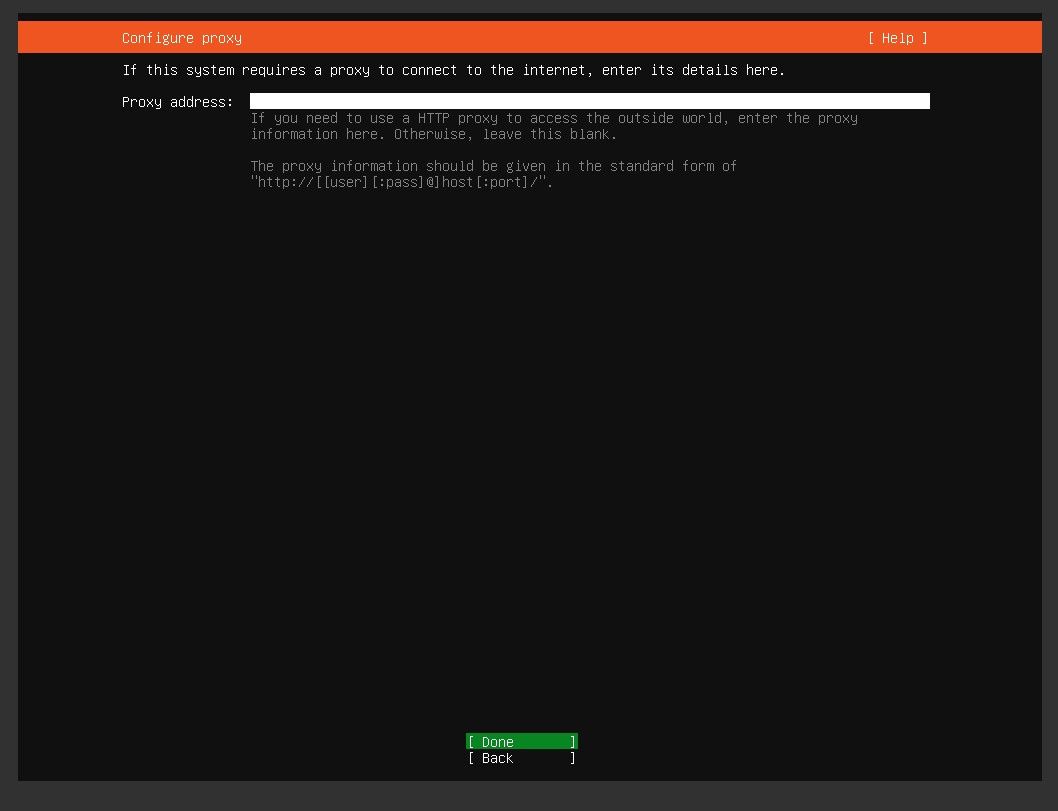
If you require a proxy setup, you can add its address in the field.
This is not mandatory, so you can just leave it blank and continue.
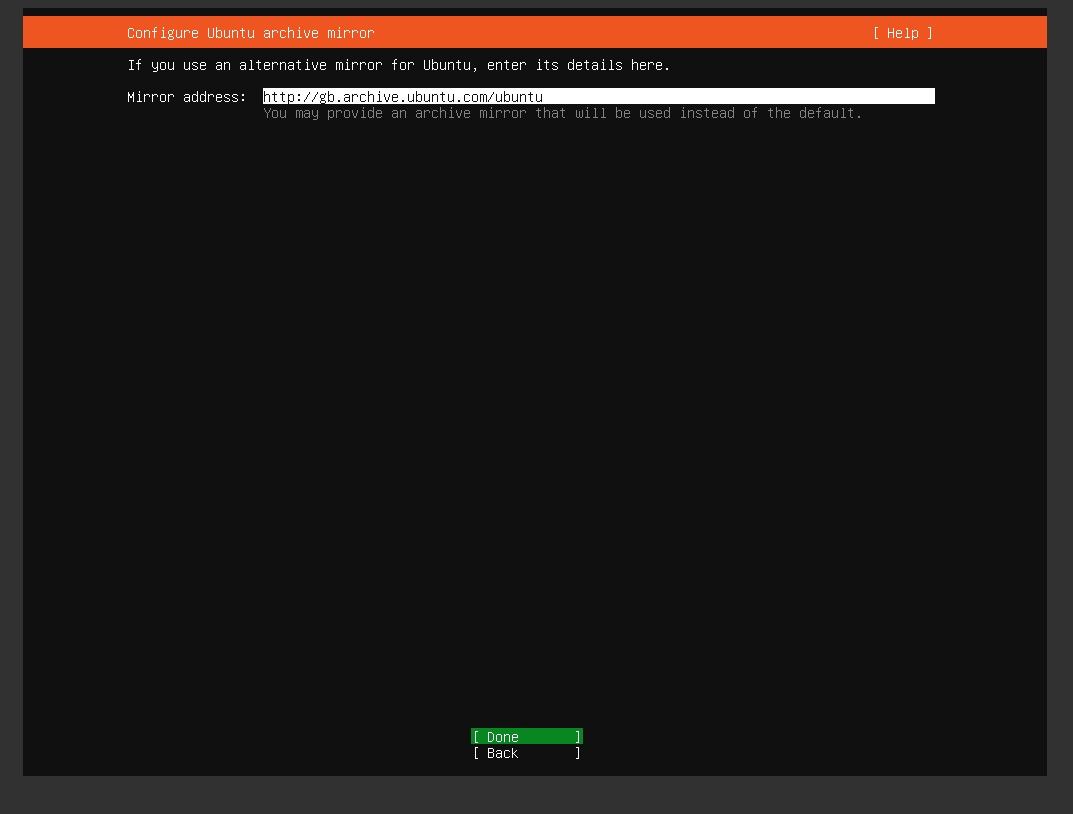
You can point the installer to a mirror address of your choice.
Once again, you can leave it untouched and continue, Ubuntu will try to find the closest mirror by itself, based on the geolocation of your server's IP address.
Partition settings
You can configure partitioning as per your own requirements.
In this case, the "Custom storage layout" option is exactly what you need.
You can split your storage space into multiple partitions, name them, and adjust their mount points.
If you do not have a need for special partitioning, you can leave the default checkbox set.
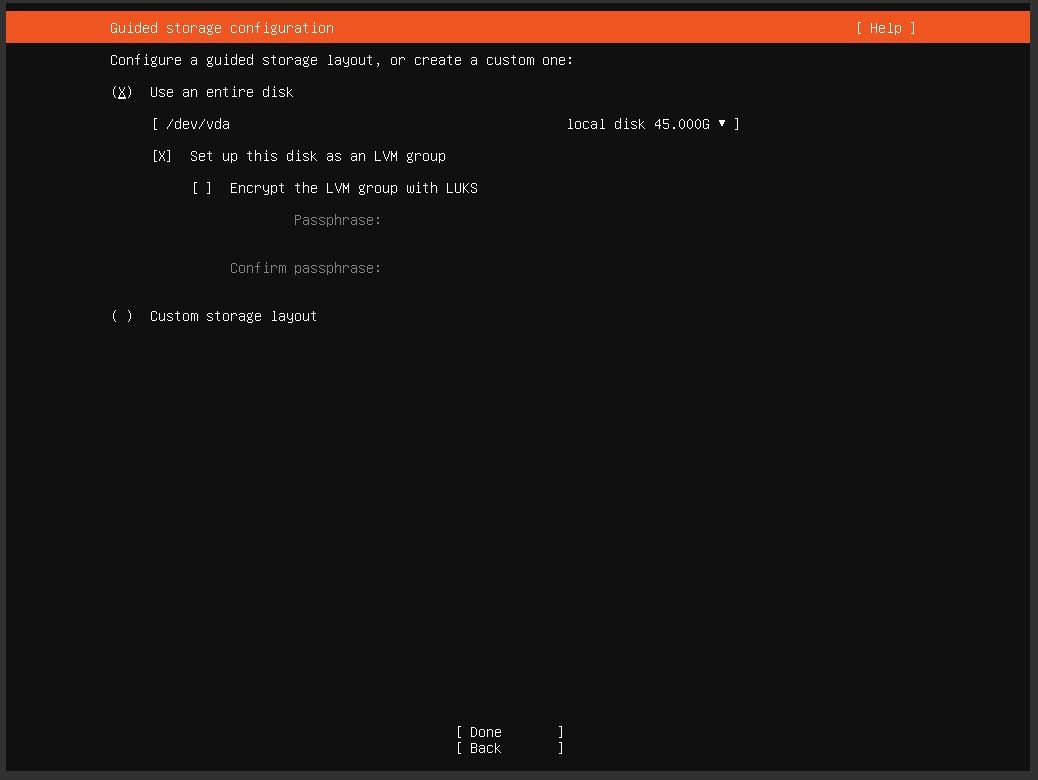
It is not mandatory to set up the disk as an LVM group, but you can do so.
Specifically, if you need to enable full-disk encryption, you can do so with LUKS.
Full-disk encryption (FDE) is a security method for protecting sensitive data at the hardware level by encrypting all data on a disk drive.
FDE with LUKS requires setting up the disk as an LVM group.
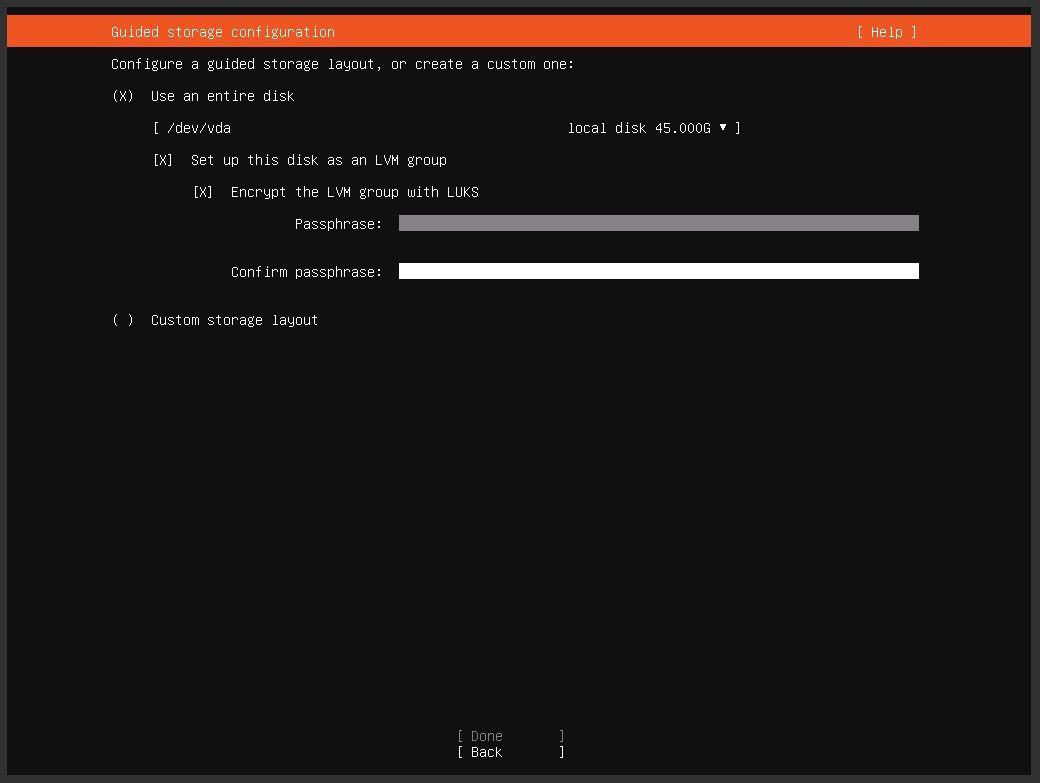
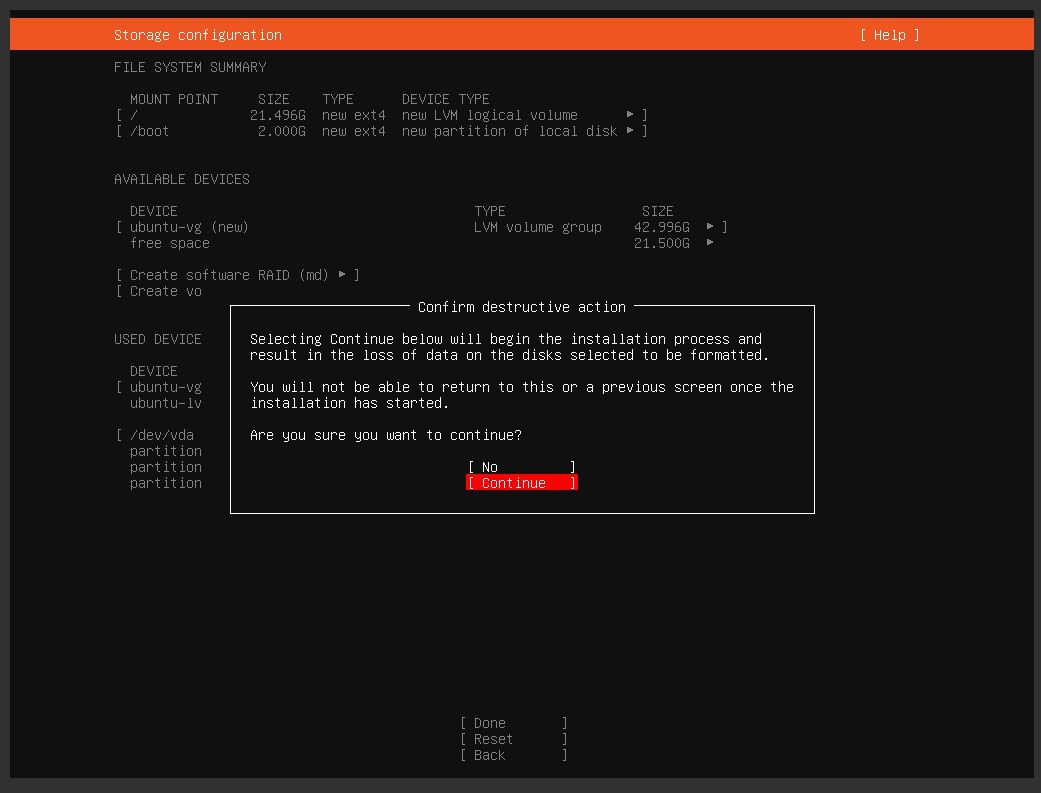
Simply enter your passphrase and confirm it.
Have in mind that this will require you to enter the passphrase for encryption unlock, on each server start-up.
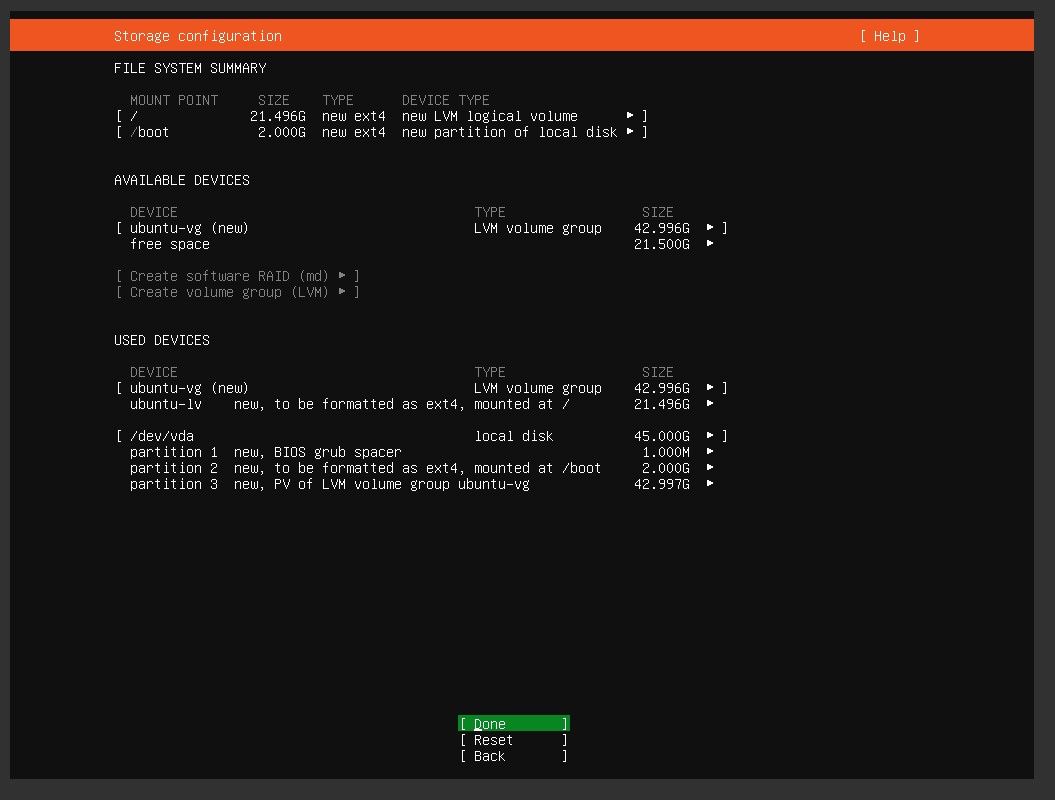
Confirm partitioning and continue.
User settings
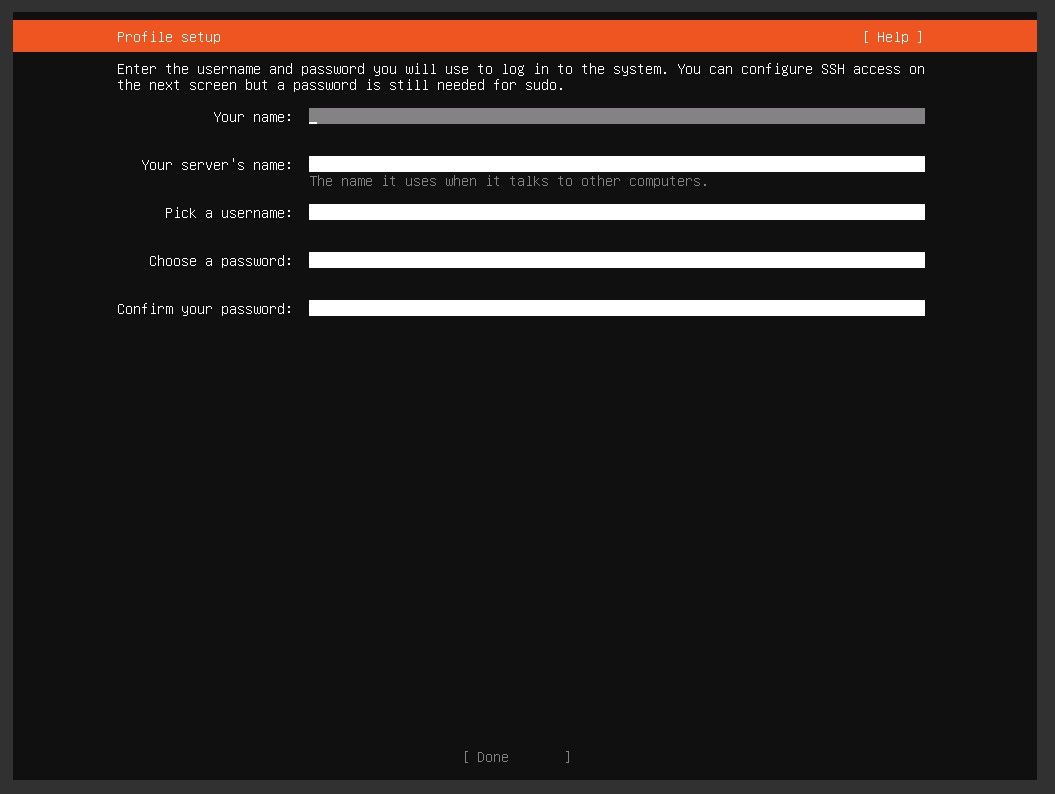
Set up your profile by filling out the form.
Enter your name, name your service, and create a sudo user with a strong secure password.
Initially, remote root logins are disabled by default for security purposes.
Make sure that you remember or note down the created user's credentials.
You will certainly need to log in via ssh with it.
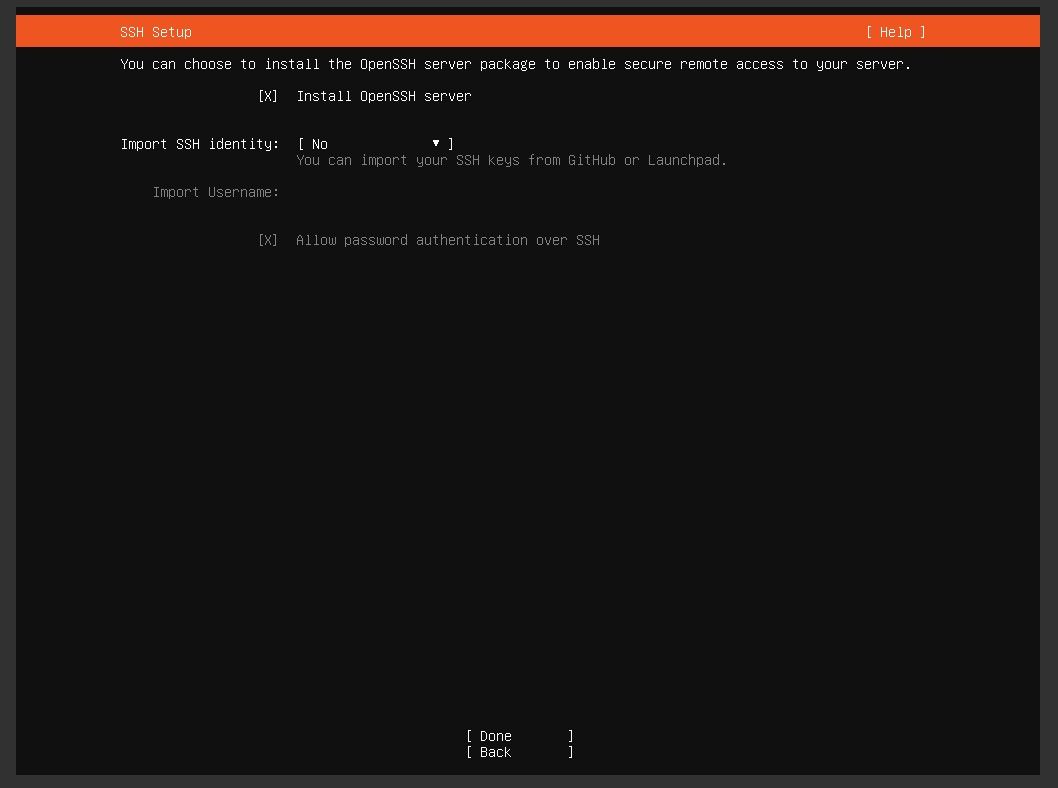
To enable remote SSH access to your server, you will definitely need the OpenSSH server installed on your VPS. By default it is checked, so we advise leaving it so.
Otherwise, you will need to manually install it via the console in your clients' area panel or your IPMI.
Additional options are also available - you can import your SSH keys and a username for password authentication via SSH.
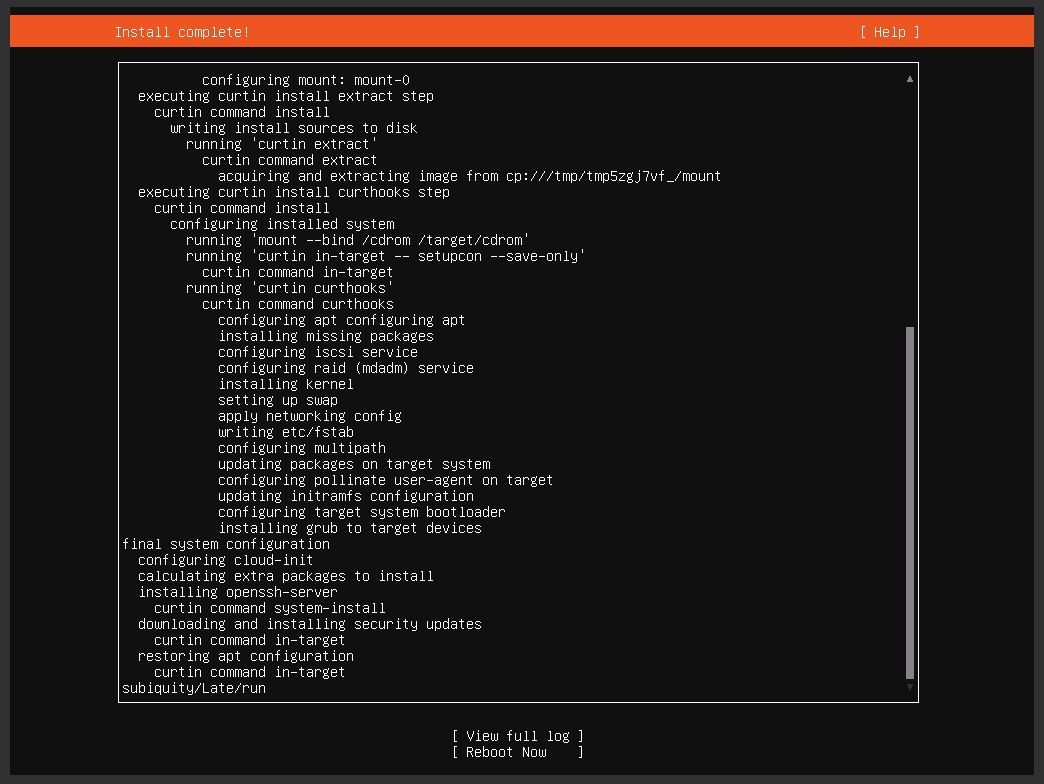
Once the installation is complete, you will be prompted to restart your VPS.
You will need to unmount the ISO and change your boot order back to normal.
Enabling remote root logins
Enabling remote root logins is not recommended due to security concerns. It is generally considered best practice to use a non-root user to log in remotely and then use the sudo command to perform actions that require root privileges.
However, if you still want to enable remote root logins, here are the steps to do so:
- Log in remotely to your VPS with the created sudo user or directly log in as the root user from the console in your clients' area panel.
The console provides OOB access and you will be able to log in as root. - Open the SSH configuration file by running the command
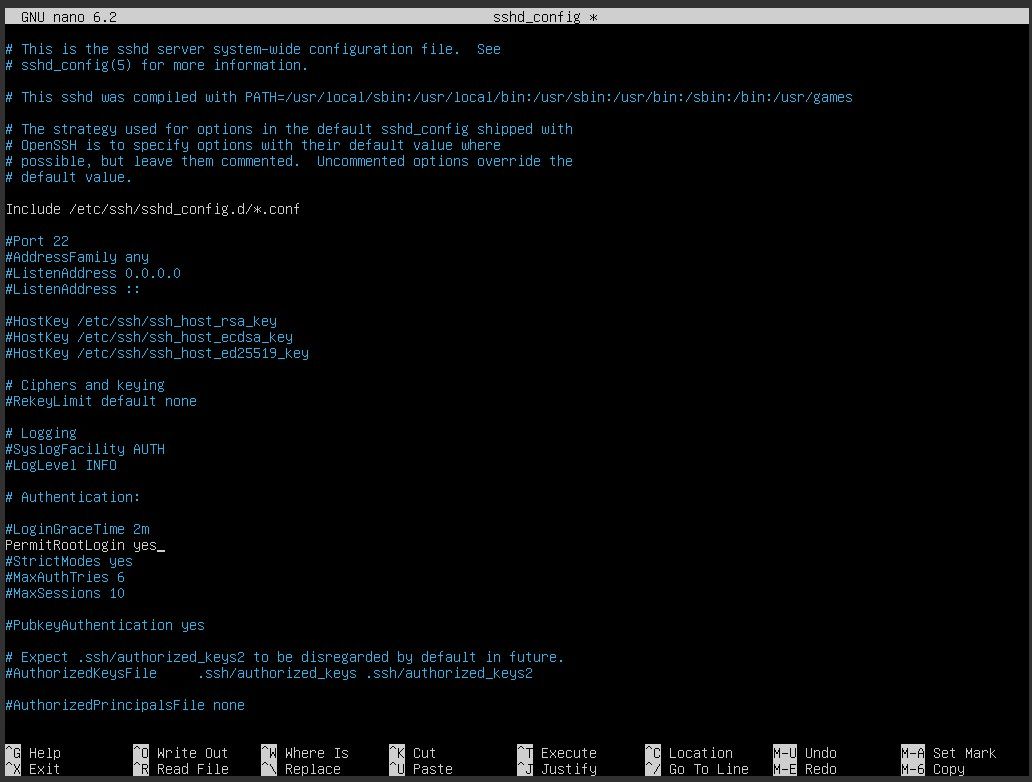
sudo nano /etc/ssh/sshd_config - Search for the line that says
PermitRootLoginand set it toyesafter removing the comment #.
You can also refer to the image below.
4. Save the changes to the file by pressing CTRL+X, then Y, then ENTER
Restart the SSH service by running the command sudo systemctl restart ssh
You are now able to log in remotely as the root user.