
In this guide, we will show you how to self-host a vpn wide ad blocker using headscale(or tailscale) and pi-hole
Prerequisites
- Docker installed
- A VPS for the main VPN machine and pi-hole ## use more descriptive name instead of "main"
👉 You can grab a reliable and affordable VPS from our AlphaVPS VPS plans, starting from just €3.50/month — perfect for hosting lightweight self-hosted projects like Pi-hole, Headscale, or personal VPNs.
Setuping Pi-Hole
Ok, so the server we are going to be installing the pi-hole needs to be a part of the tailnet.
You can add your server to the tailnet by running the following commands:
### If using headscale
tailscale up --login-server https://headscale.example.com --authkey <key>
### Or if you don't have auth key
tailscale up --login-server https://headscale.example.com

### If using tailscale
tailscale up
After that is done we can do tailscale status we will get something like this:
100.64.0.4      adblock-vpn          server       linux   -
100.64.0.3      desktop-admin        admin        windows offline
100.64.0.2      localhost            users        android offline
100.64.0.1      machina              users        linux   offline
Your output may look different. What you are looking for is the IP of the server you are currently logged in which we are going to use to create the pihole configuration. In this case, it's 100.64.0.4
Now create a folder named pihole and cd into it:
mkdir pihole && cd piholeCreate a file named docker-compose.yml and add this inside:
version: "3"

services:
  pihole:
    container_name: pihole
    image: pihole/pihole:latest
    ports:
      - "100.64.0.4:53:53/tcp"
      - "100.64.0.4:53:53/udp"
      - "100.64.0.4:81:80/tcp"
    environment:
      TZ: 'Europe/Sofia'
      WEBPASSWORD: 'admin123'
    volumes:
      - './etc-pihole:/etc/pihole'
      - './etc-dnsmasq.d:/etc/dnsmasq.d'
    restart: unless-stopped
As you can see for the ports we are using our tailscale IP as we want it to be accessible only on our VPN without having to deal with docker firewalls and such.
Now simply do:
docker compose up -dAnd it should spin right up.
You can then access the WebUI on https://100.64.0.4:81
That's about it for the installation now we have one more thing to do before we can enjoy VPN-wide AD blocking.
DNS Settings Headscale
For the headscale DNS config go to headscale/config/config.yaml or wherever your config.yaml file is stored and open it.
Go to the DNS part of the config add your pi-hole IP as a name server and comment out any other name servers that you may have. The end result should look something like this:
dns:
  magic_dns: true
  base_domain: tailnet.example.com ### replace with actual base domain
  nameservers:
    global:
      - 100.64.0.4
#      - 1.1.1.1
#      - 1.0.0.1
#      - 2606:4700:4700::1111
#      - 2606:4700:4700::1001
Now save the file and restart headscale and every device in the tailnet should now automatically resolve DNS requests from this IP aka the pi-hole.
DNS Settings Tailscale
You can manage the DNS settings for your tailnet from the DNS page of the admin console. This includes settings for MagicDNS, nameservers, and search domains.
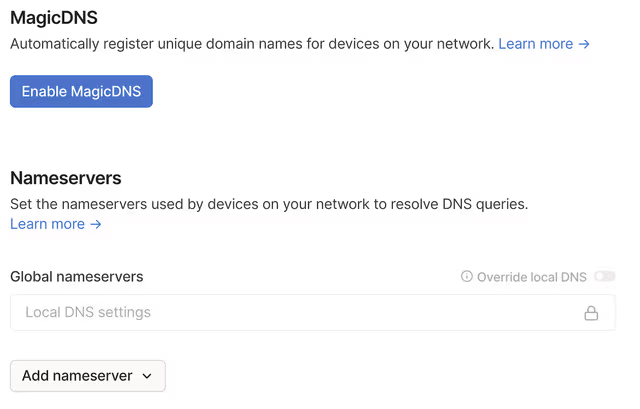
Click on Add nameserver and then on Custom... and now put the IP (In this case 100.64.0.4)
Conclusion
And that's everything!
Now you should have a fully functioning VPN with automatic AD blocking
If you want to learn more about how you can use tailscale or headscale as a traditional VPN you can take a look at this guide here ### ADD LINK TO ARTICLE WHEN ITS COMPLETE