Have you ever been in the following situation - you are working with the command line and you are jumping between multiple tasks and windows at the same time?
If you've been, you might have experienced the frustration of losing track of where you are. Luckily for us, there's a tool that can make dealing with multiple tasks way easier: GNU Screen.
GNU Screen is a terminal multiplexer. It lets you create and manage multiple terminal sessions within a single window. With Screen, you can run several shell sessions, detach them, and later reattach them from anywhere, even after logging out and logging back in. You can also split the terminal window into multiple regions and run different commands in each one.
In this tutorial, you will get familiar with GNU Screen and some of its features.
Installation
Screen is pre-installed on most Linux distributions. You can check this by typing:
screen --versionIf it is pre-installed, the output should be similar to the one below.
Screen version 4.08.00 (GNU) 05-Feb-20If not, you can easily install via the following commands:
For Debian/Ubuntu
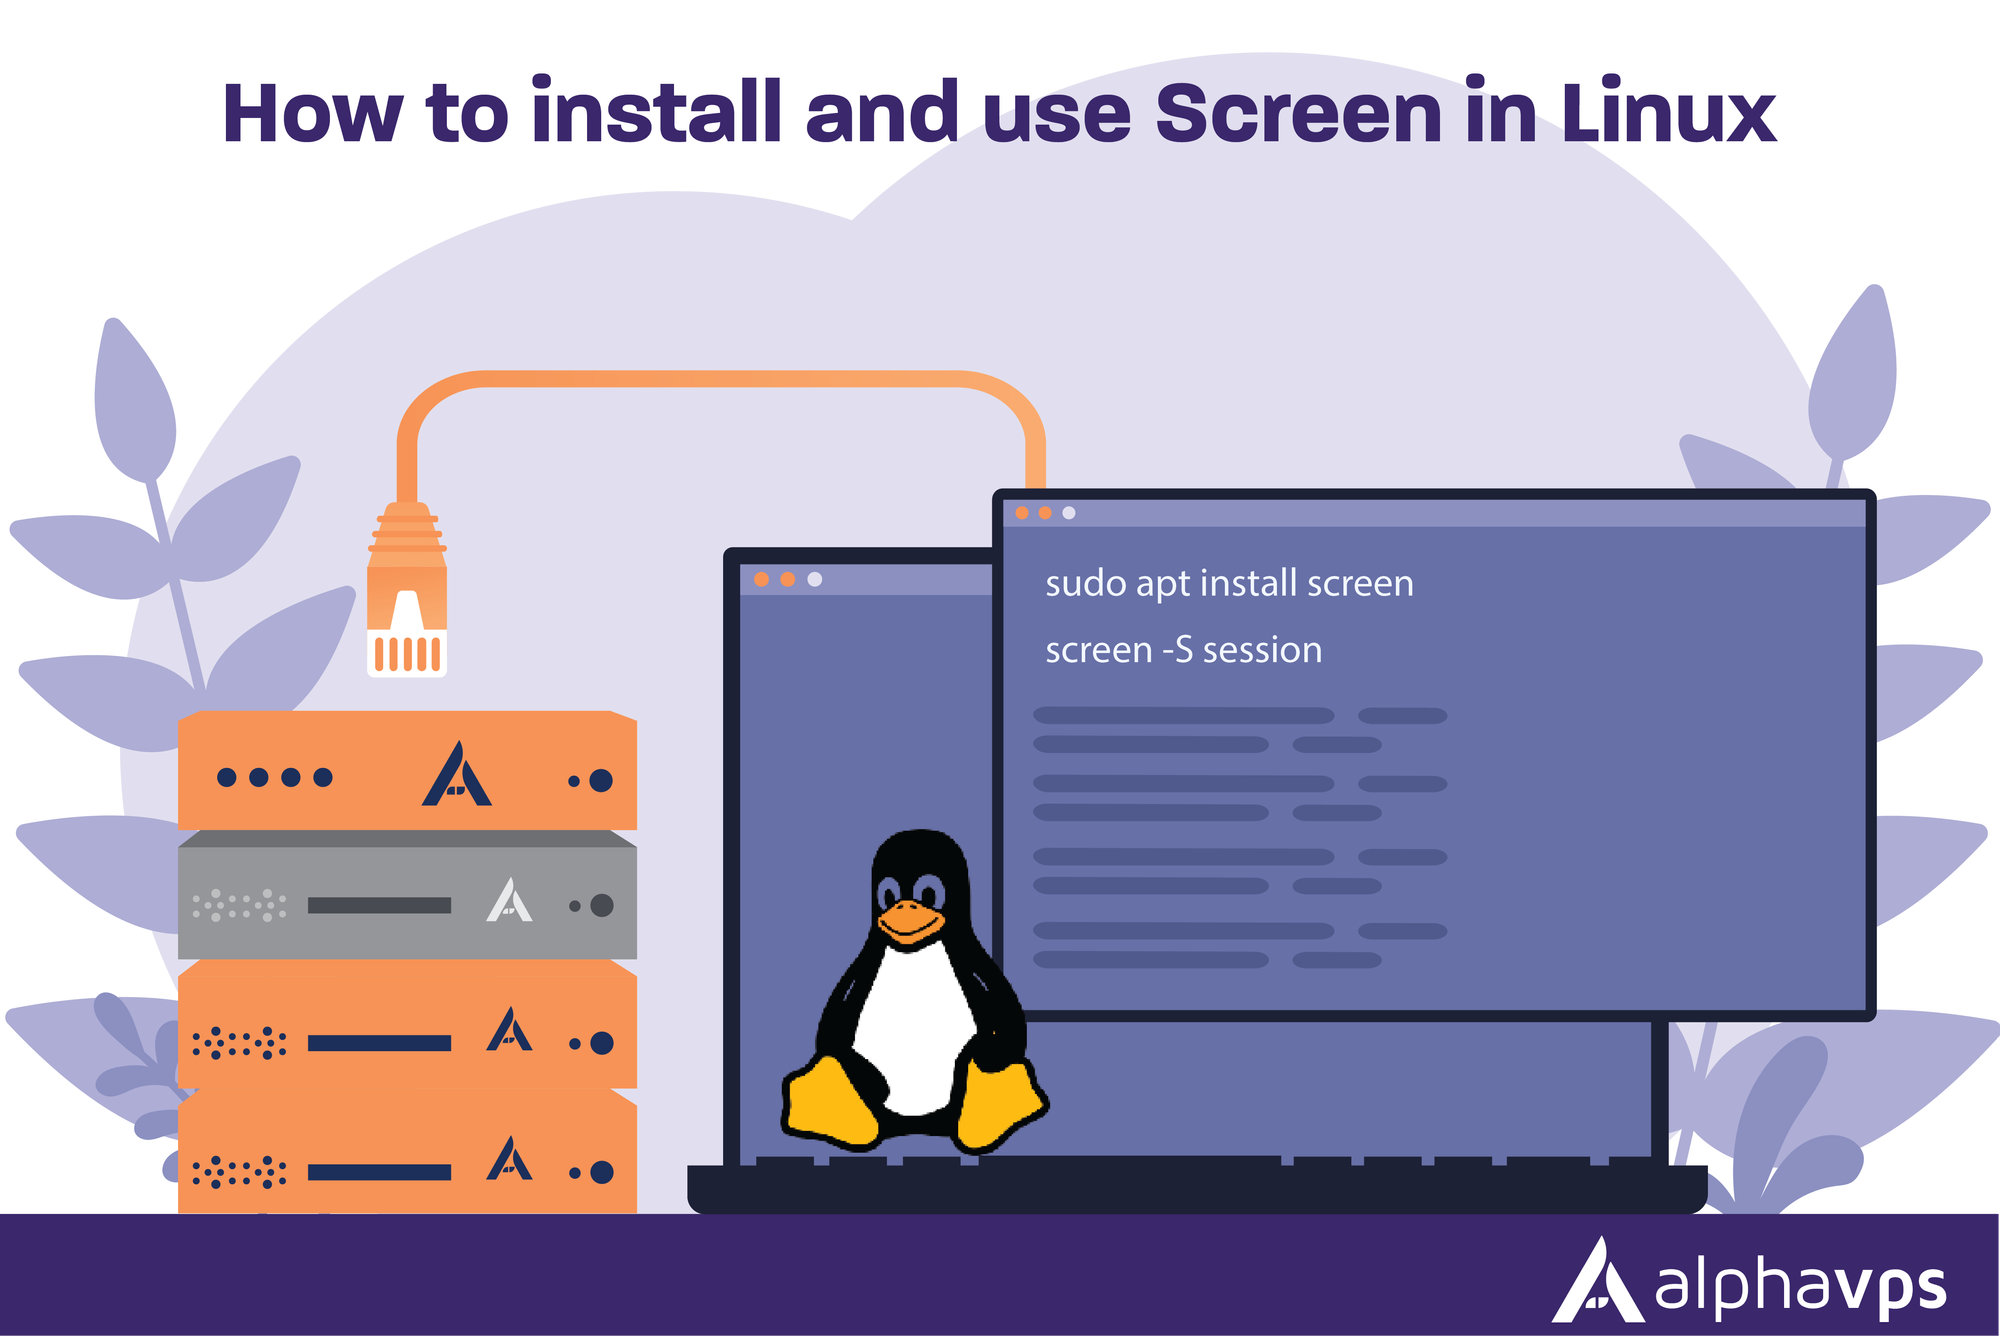
sudo apt install screenFor CentOS/Fedora/Alma/Rocky
sudo yum install screenStarting Screen
Screen can be started by simply typing "screen" in your console.
screenThe command opens a screen session, creates a new window, and starts a shell in it.
A named session can be started by running:
screen -S session_nameCommon Commands
For your convenience, Screen relies on keyboard commands. They consist of a Control + a followed by one other character.
All commands that are bound to lower-case letters are also bound to their control character counterparts.
All commands below, which start with a Ctrl+a , are keyboard commands. These can be submitted only through sessions.
Start a new session
screenInvokes screen
screen -lsList all available screen sessions
Reattach to a session
screen -rReattaches to the last active Screen session.
screen -r session_idReattaches to a specific Screen session.
The id of the active sessions can be viewed by listing the sessions with the 'screen -ls' command.
  951.pts-0.example  (03/08/2023 08:16:30 AM)        (Detached)
        901.pts-0.example  (03/08/2023 08:09:41 AM)        (Detached)
        890.pts-0.example  (03/08/2023 08:08:54 AM)        (Detached)
        885.pts-0.example  (03/08/2023 08:08:07 AM)        (Detached)
Detach from a session
Ctrl+a d - Detaches from the current Screen session.
You can also detach a running session via the following command:
screen -d <name>The Ctrl+a D D command lets you detach and logout directly.
Create a new window
Ctrl+a c - Create a new window.
Switch window
Ctrl+a num - Specify the window number and switch to it (example 2).
Ctrl+a session_name - Specify the window name and switch to it (example session-2).
Ctrl+a n or Ctrl+a <space>- Switches to the next window.
Ctrl+a p or Ctrl+a <backspace>- Switches to the previous window.
Ctrl+a <Tab> - Displays a list of all the available windows and lets you select one by using the arrow keys.
Ctrl+a A - Rename the current window
Terminate window
Ctrl-a K- Kill the current window
Ctrl-a \ - Kill all windows
Split regions
Ctrl+a S - Split the currently active region horizontally into two.
Ctrl+a | - Split the currently active region vertically into two.
Ctrl+a tab - Switch the input focus to the next region.
Ctrl+a Ctrl+a - Toggle between windows.
Ctrl+a Q - Close all regions except the currently active one.
Ctrl+a X - Close the currently active region.
Return to screen command prompt
Ctrl+a : - Enters the Screen command prompt, where you can execute various commands. For example, quit to exit Screen, help to show the help screen, resize to resize the current window.
Other usable commands
ctrl+a x - Lets you lock the current session and protect it with a password.
ctrl+a H - Enables logging in to the screen session.
ctrl+a [ -Enter copy mode.
ctrl+a ] - Paste.
Customization
Screen comes with a lot of useful features that can make your work with the terminal more efficient. However, Screen is also highly customizable, allowing you to modify its behavior and appearance as per your preference.
You can modify the default settings for Screen through a personalized .screenrc file which contains commands to be executed at startup or using the colon command.
Screen reads its configuration parameters from /etc/screenrc and ~/.screenrc.
Commands are listed one per line and empty lines are ignored. A command’s arguments are separated by tabs or spaces and may be surrounded by single or double quotes. A ‘#’ turns the rest of the line into a comment, except in quotes. Commands may contain references to environment variables.
Your screen distribution comes with two configuration files: etc/screenrc and etc/etcscreenrc. They contain a number of useful examples for various commands.