WebDAV (Web Distributed Authoring and Versioning), an extension of the HTTP protocol, allows you to create, delete, and modify files on your server. This is a great tool for web developers and teams who want a secure file management system that can be accessed via a browser or OS. WebDAV allows users to access files remotely as if the server were local.
This guide will show you how to configure a WebDAV Server on Ubuntu 24.04 using Apache. It includes configuration, user authentication, and secure SSL encryption.
How to Set Up a WebDAV Server on Ubuntu 24.04 VPS
Setting up a WebDAV on Ubuntu 24.04 is an easy way to share and manage files across multiple devices. By combining Apache WebDAV, Digest authentication, and SSL encryption, you can create a flexible, safe, and secure remote storage environment.
To set up a WebDAV server on Ubuntu 24.04 VPS, follow the steps below:
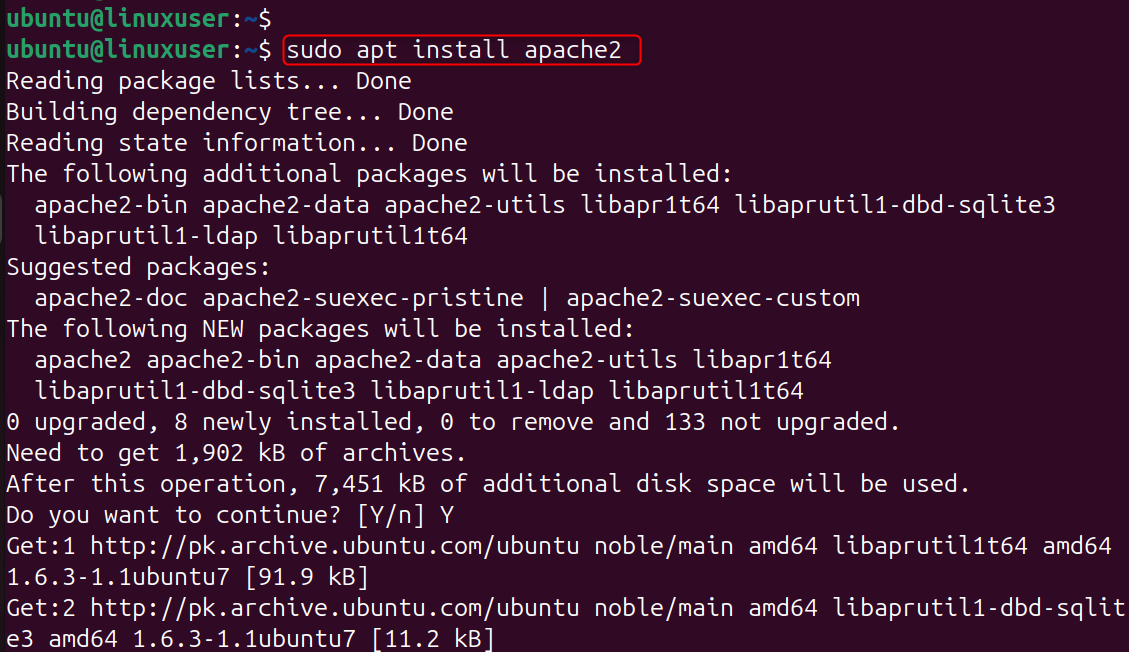
Step 1: Install Apache Web Server
WebDAV is a module of the Apache web server, so install Apache first:
Start the Apache service by enabling it.
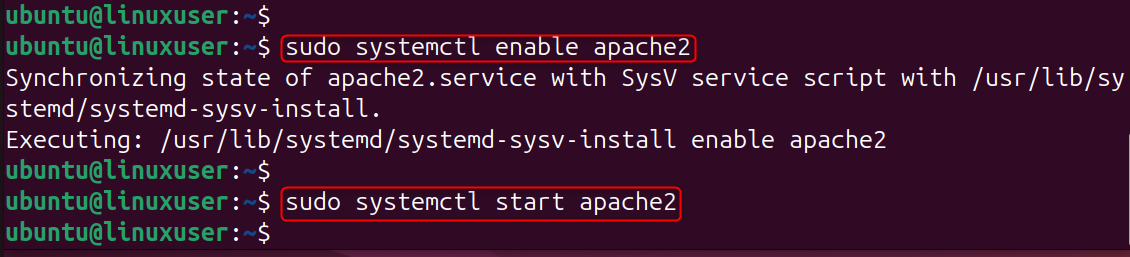
Apache is at the core of your WebDAV installation. By installing and enabling Apache, you can ensure that the server is prepared to host and serve HTTP files. Check to see if Apache is running.
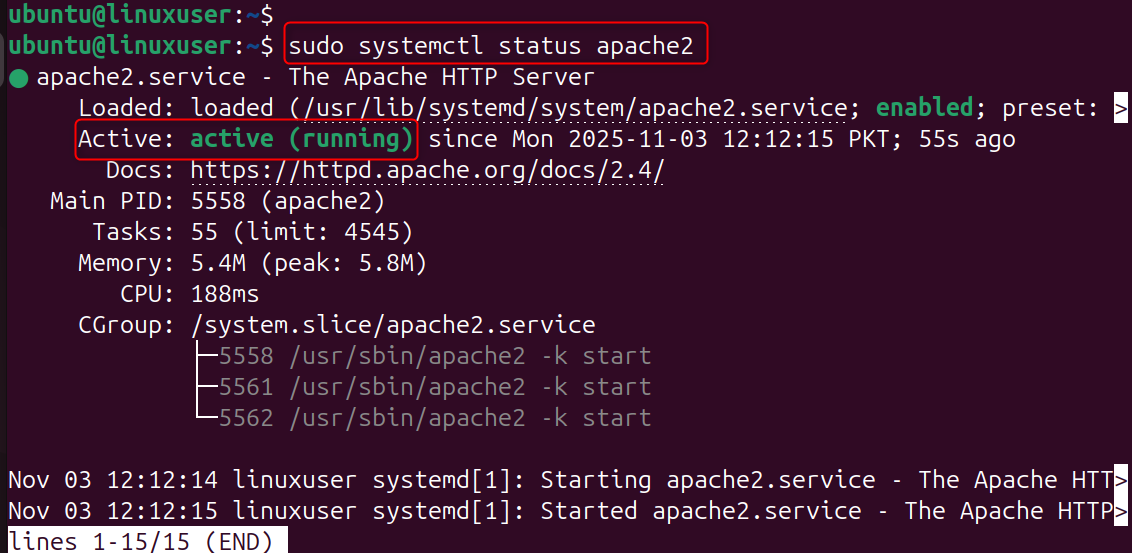
You're ready to move on if it's active.
Step 2: Enable WebDAV Modules in Apache
Apache modules dav, auth_digest, and dav_fs provide WebDAV functionality. Enable them by:
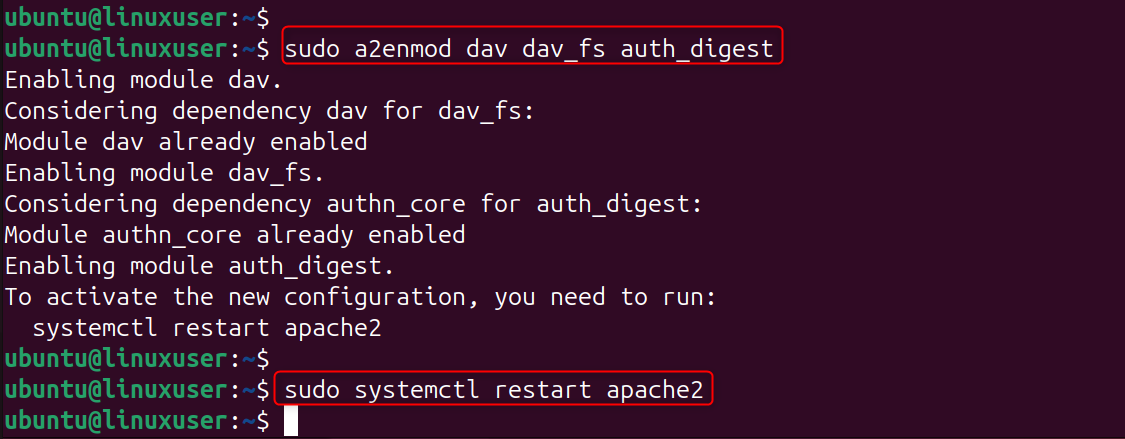
- dav – Enables WebDAV functionality
- Dav_fs – Stores files in WebDAV format on the filesystem
- auth_digest – Adds secure user authentication
Step 3: Create a WebDAV Directory
You will need to create a WebDAV directory. This creates a WebDAV directory and assigns ownership to Apache's user. It also secures the directory with limited permissions.

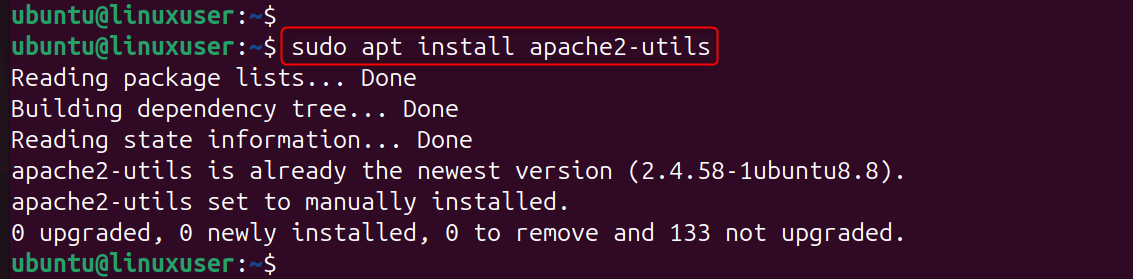
Step 4: Configure Authentication for WebDAV
To secure your WebDAV server, create a password file for authentication. First, install the Apache utilities package:
Create a password file, and then add a user.

You will be asked to enter a passcode.
- webdav.passwd stores user credentials.
- The authentication realm must match the Apache configuration.
- webuser is the username for WebDAV.
Step 5: Configure the WebDAV Virtual Host
Create a new WebDAV configuration file:
Add the following configuration to your system:
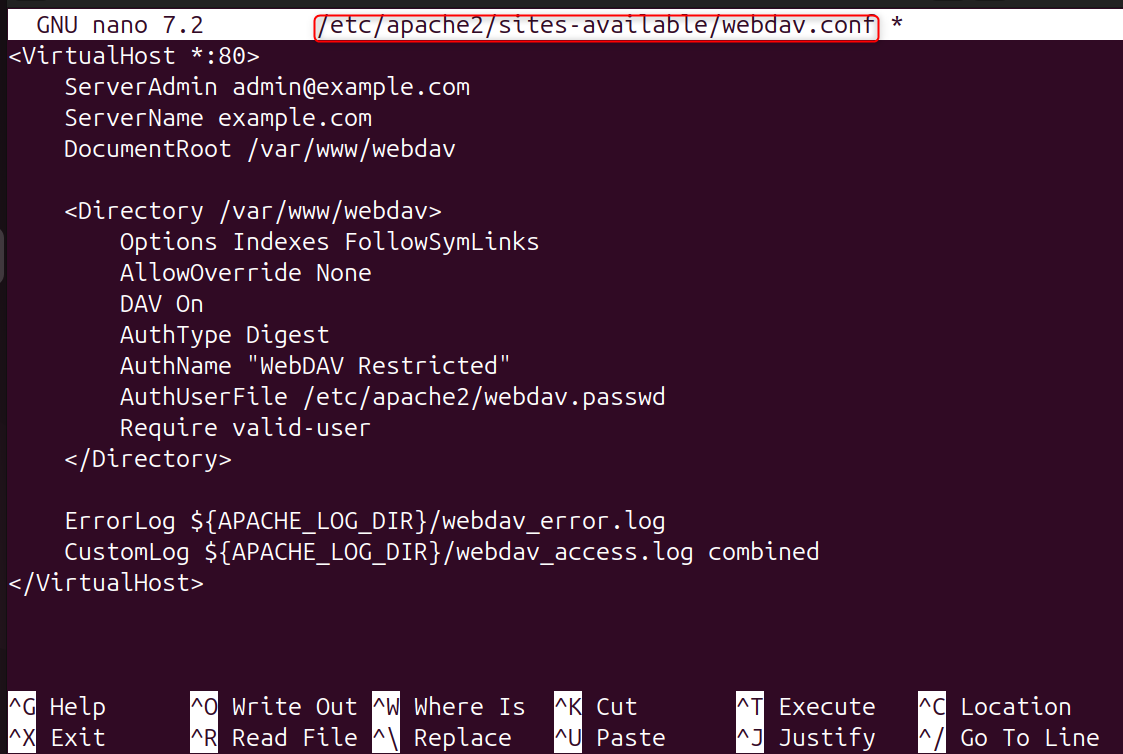
This configuration will enable WebDAV in your domain and secure access with Digest authentication. It records access and errors to make troubleshooting easier. Save and close the file.
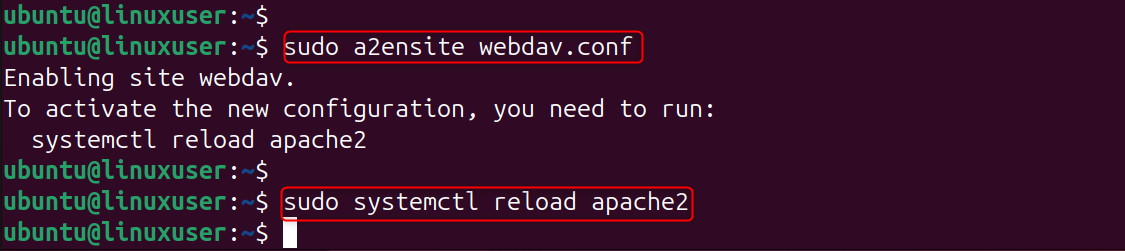
Reload Apache and enable the new site:
Step 6: Secure WebDAV with HTTPS (SSL/TLS)
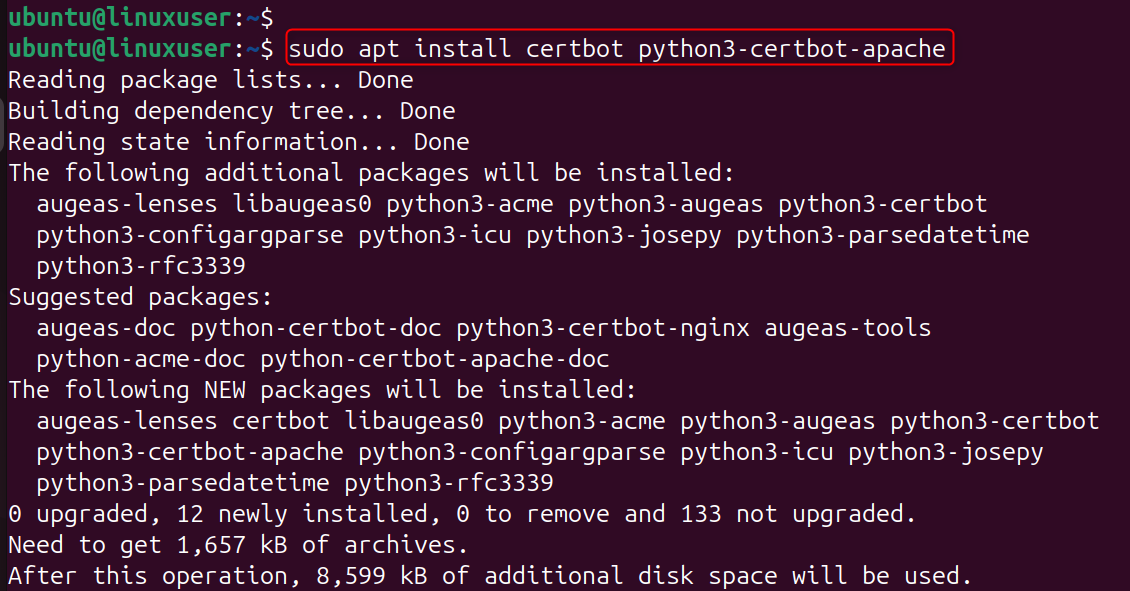
Secure your WebDAV with HTTPS. Install Certbot for a free SSL Certificate:
You can request a certificate to secure your domain.
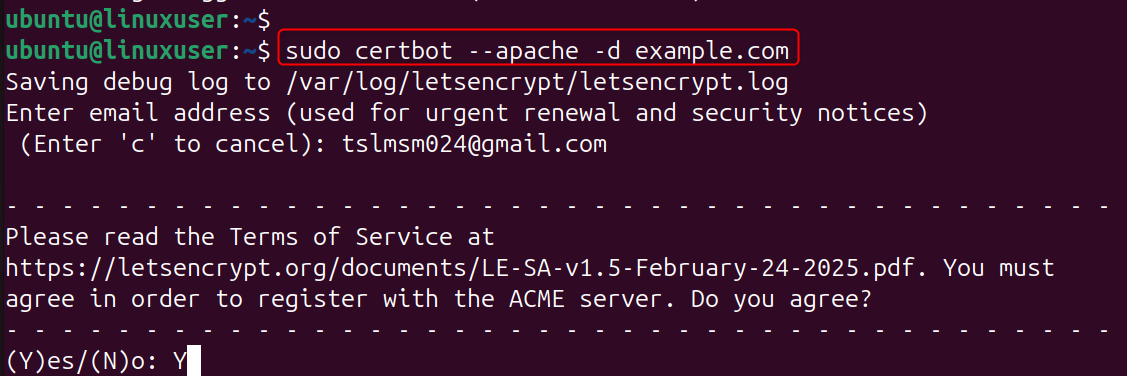
Follow the instructions on the screen to finish SSL installation.
This will configure Apache to use HTTPS automatically and redirect all HTTP traffic to HTTPS. Your WebDAV connections will be encrypted and secured.
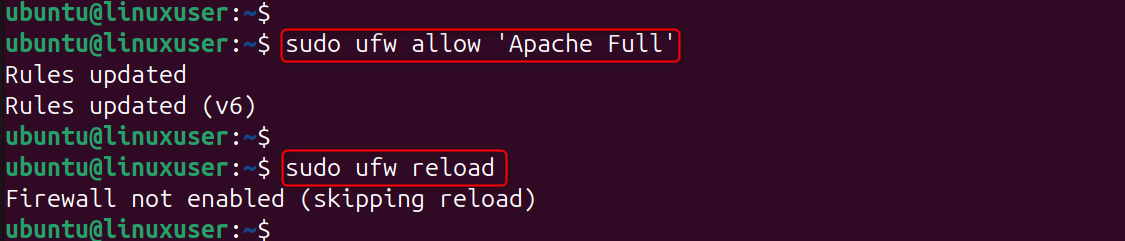
Step 7: Adjust Firewall Settings
Allow HTTPS traffic and HTTP through the firewall.
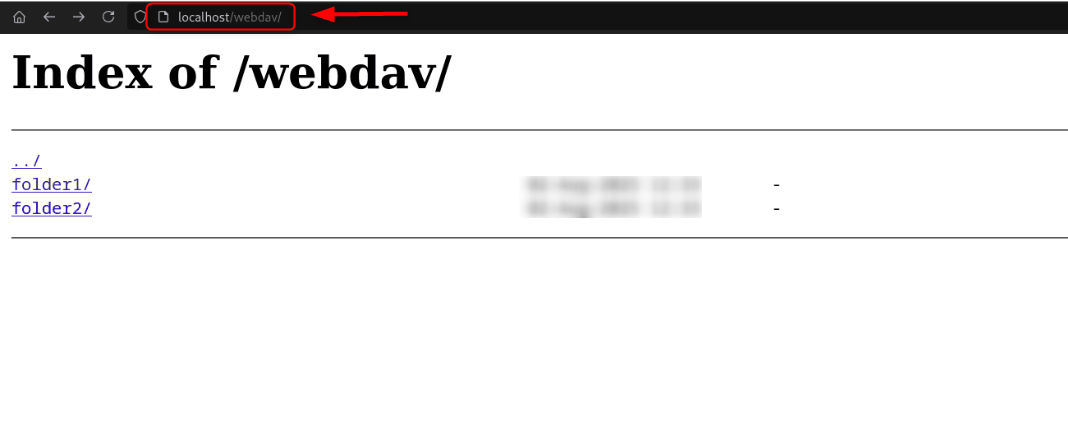
Step 8: Access Your WebDAV Server
You can now access your WebDAV Server from a web browser or as a network drive mapped to the browser:
Web Browser:Log in to your WebDAV account at https://example.com/.
Step 9: Verify and Test WebDAV
Check log files to verify successful file transfers and connections.

To confirm that everything is working, try uploading, renaming, or deleting files remotely.
Conclusion
Install Apache with sudo install apache2 --y, then enable the required modules using sudo dav_fs a2enmod auth_digest. Create a WebDAV folder using sudo: mkdir-p /var/www/webdav. Set permissions by sudo: chown www data:www data /var/www/webdav. Then, create authentication credentials using sudo htdigest -c /etc/apache2/webdav.passwd "WebDAV Restricted" webuser.
Configure the WebDAV site by editing /etc/apache2/sites-available/webdav.conf to enable DAV, set the authentication type, and specify the password file. Reload Apache and enable the site using sudo a2ensite Webdav.conf. Install an SSL certificate with Certbot using sudo certbot -apache d yourdomain.com. Finally, allow Apache through the firewall using sudo ufw. Allow 'Apache Full' and access your WebDAV server at https://yourdomain.com using the username and password you created.
Once configured, a WebDAV server will act as a private cloud or a lite file hosting system. WebDAV allows you to manage websites, backups, or shared documents.
If you want to start an online project and need Storage VPS, contact us and our experts will offer you a solution that meets your needs and goals.
