In this tutorial, we will guide you through the process of manually installing Alma Linux 9 via an ISO. Alma Linux is a community-driven, enterprise-class distribution. It provides a stable and secure platform for running your applications and is a great choice for both personal and business use.
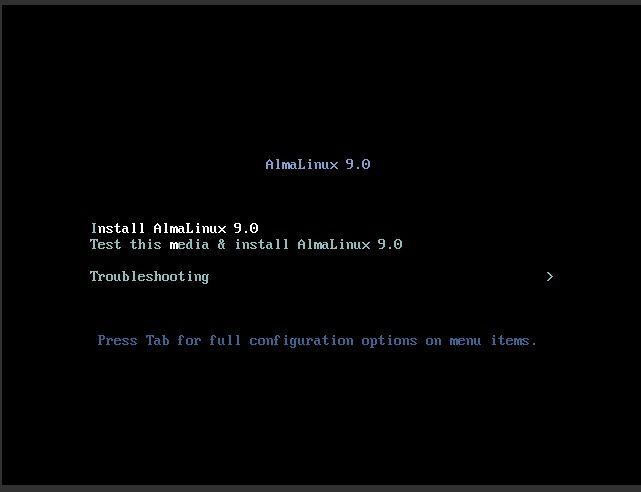
You can start the Alma Linux 9 installer by mounting and booting the ISO.
You can access this functionality from your clients' area panel (or via IPMI).
- Select the ISO from the list
- Mount it
- Change the boot order of your VPS - "CD-ROM only" or "CD-ROM 1st/HDD 2nd" - Shut down the server and boot it back again.
- Open the OOB console
This tutorial will guide you through the installer.
Initial Settings
Start the installer and select its language
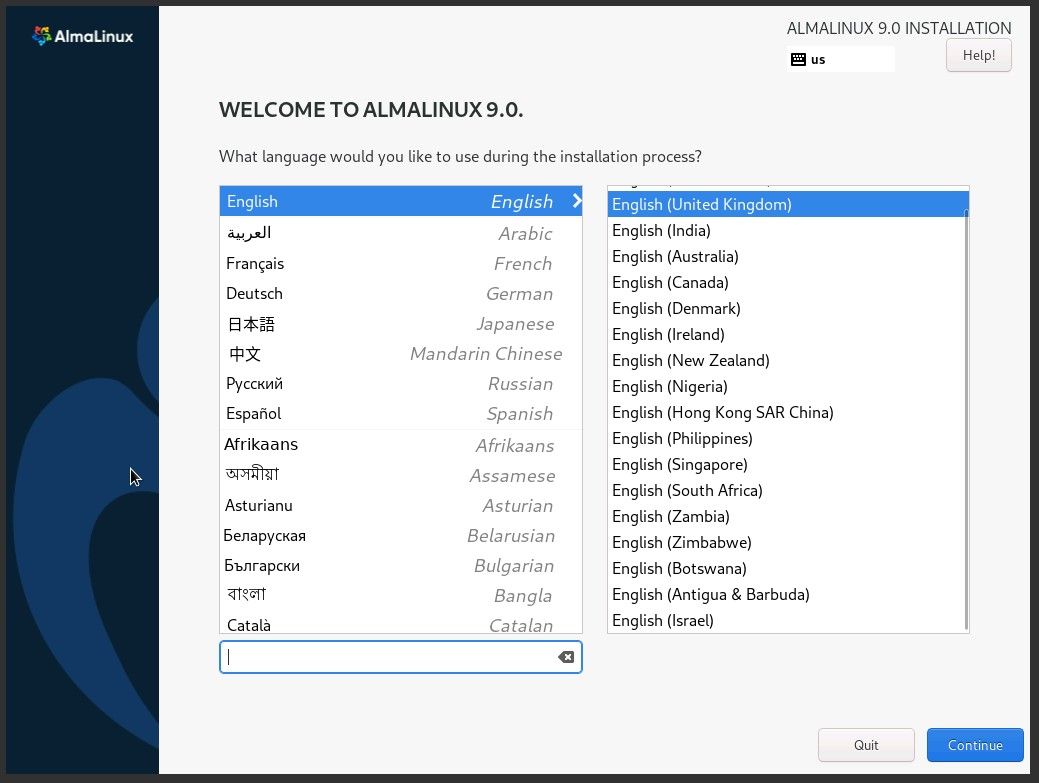
After the language is selected, you will progress to the installation summary.
The installer will be quite familiar if you have previously installed other RHEL-based distributions such as CentOS or Rocky.
The installation can be processed very fast, but in all cases, you will need to set a few things.
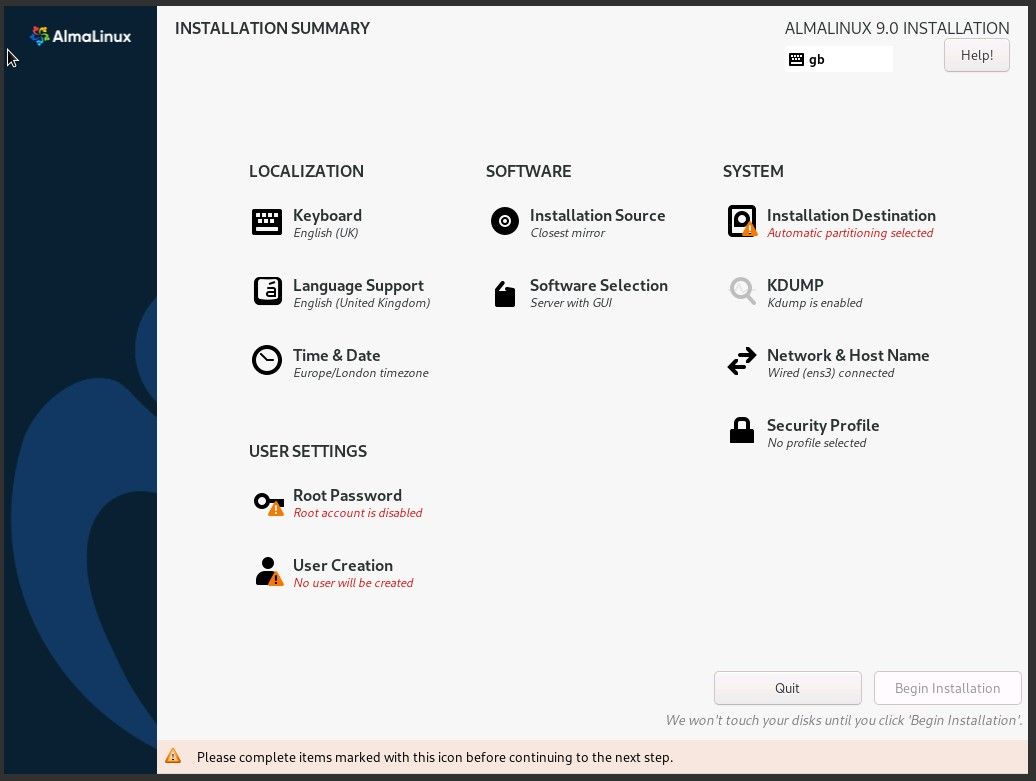
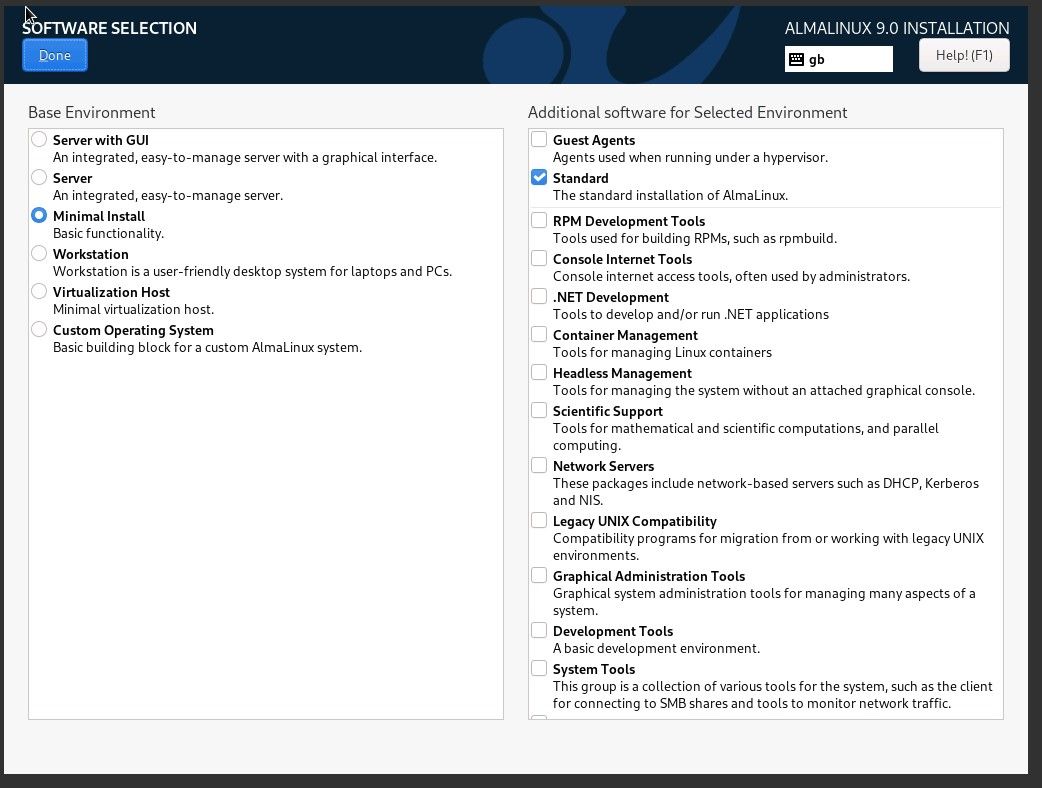
Go to the 'Software Selection' settings and select the installation type.
Multiple choices are provided and, by default, a GUI will be installed.
If you prefer working over the CLI, you should go with the 'Server' or 'Minimal install' options. Additional software features can also be selected for each base environment.
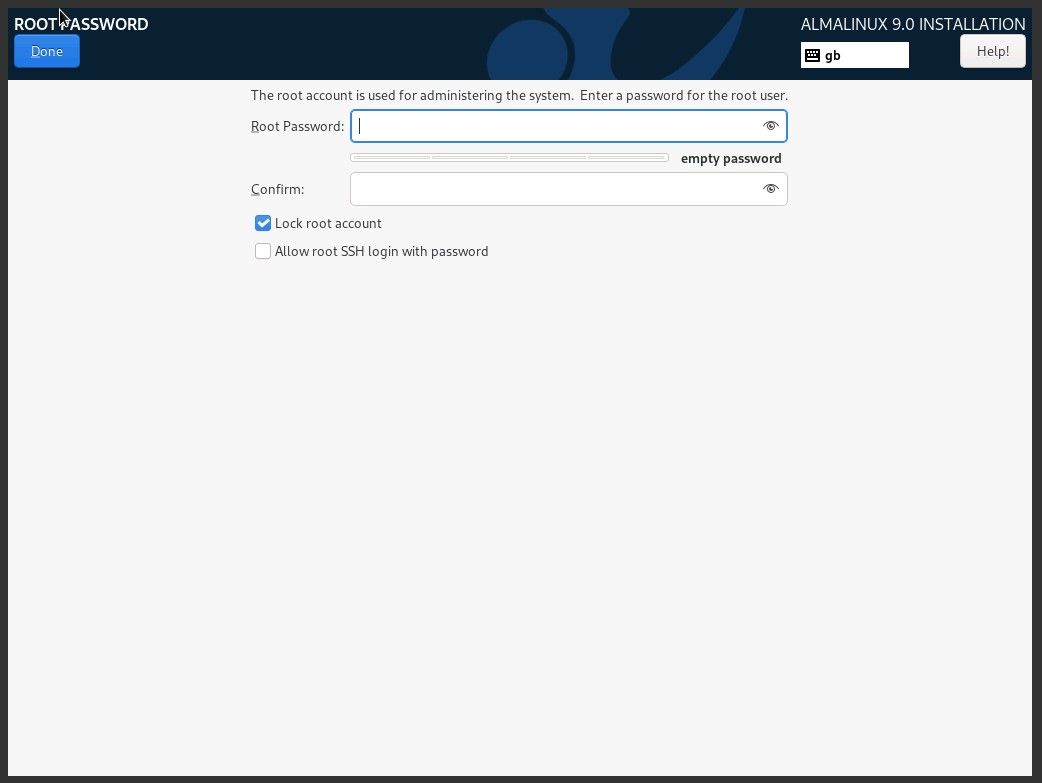
User settings
By default, the root account is locked.
If you want to enable it, you will need to uncheck the checkbox and set a secure complex password.
Enabling remote root logins can be done by clicking the checkbox below.
Alternatively, you will need to modify the sshd_config file after the installation is completed.
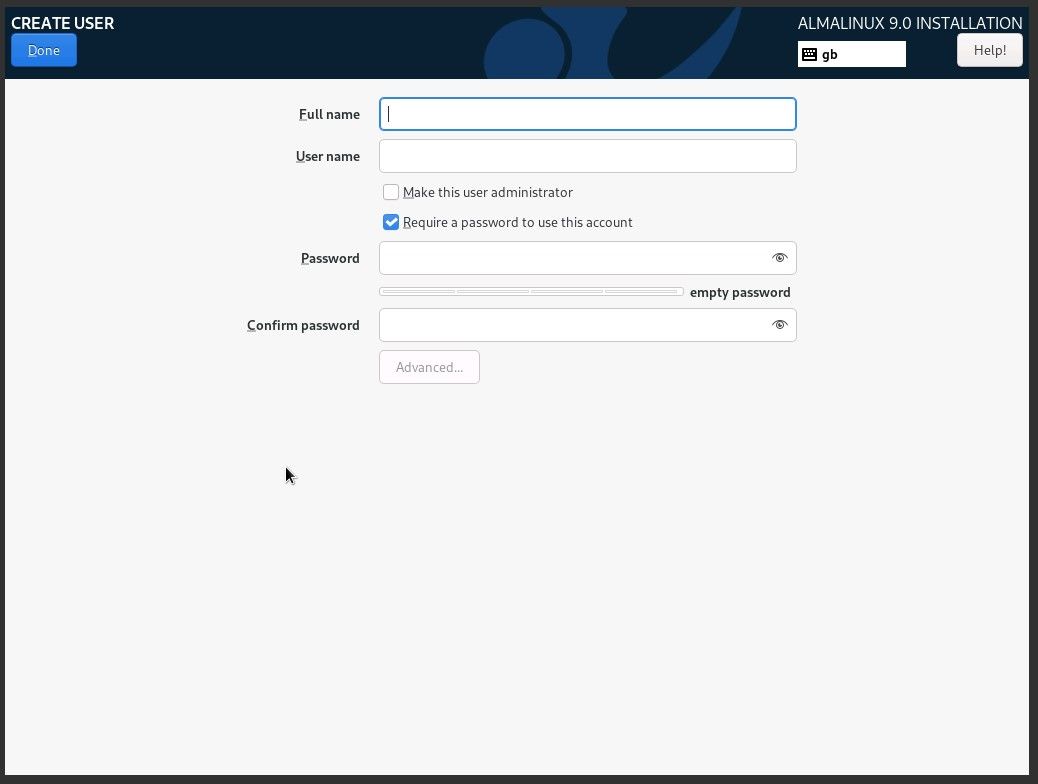
If the root account and remote root logins are enabled, optionally, you can create an additional user account. If they are not, you will certainly need to create it.
Fill in the form and confirm it by clicking the 'Done' button.
Partition settings
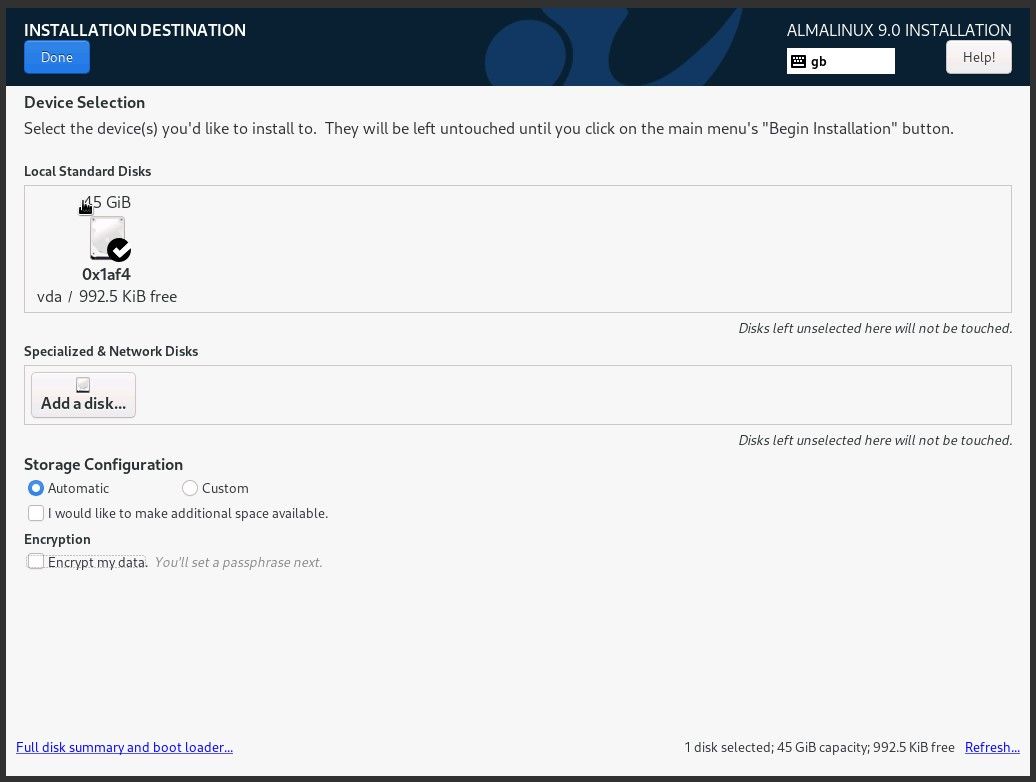
For those who prefer to go with an automatic configuration of their disk partition,
you can simply leave the 'Automatic' button checked.
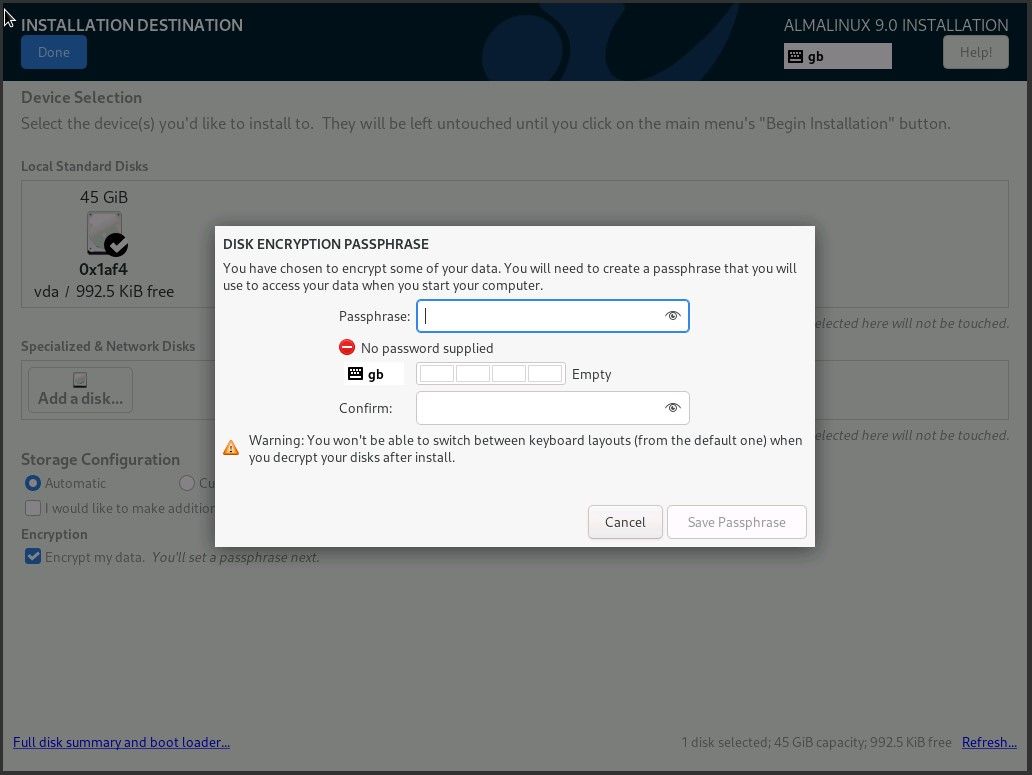
You can enable full-disk encryption by checking the 'Encrypt my data' field.
If full-disk encryption is enabled, you will need to create a passphrase that you will use to access your data when you start the VPS.
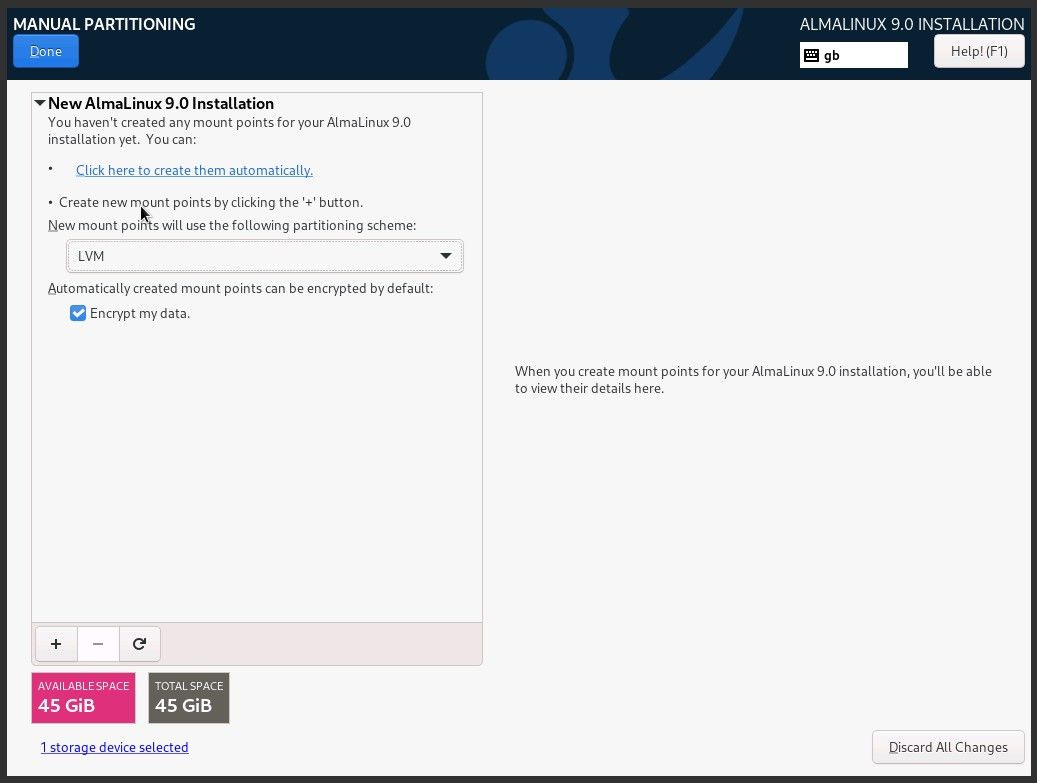
For those who prefer a manual approach and have custom requirements for their partition, they will need to select the 'Custom' option.
You will be then redirected to the manual partitioning menu.
For your own convenience, you can let the installer create your mount points automatically, which you can modify a step later.
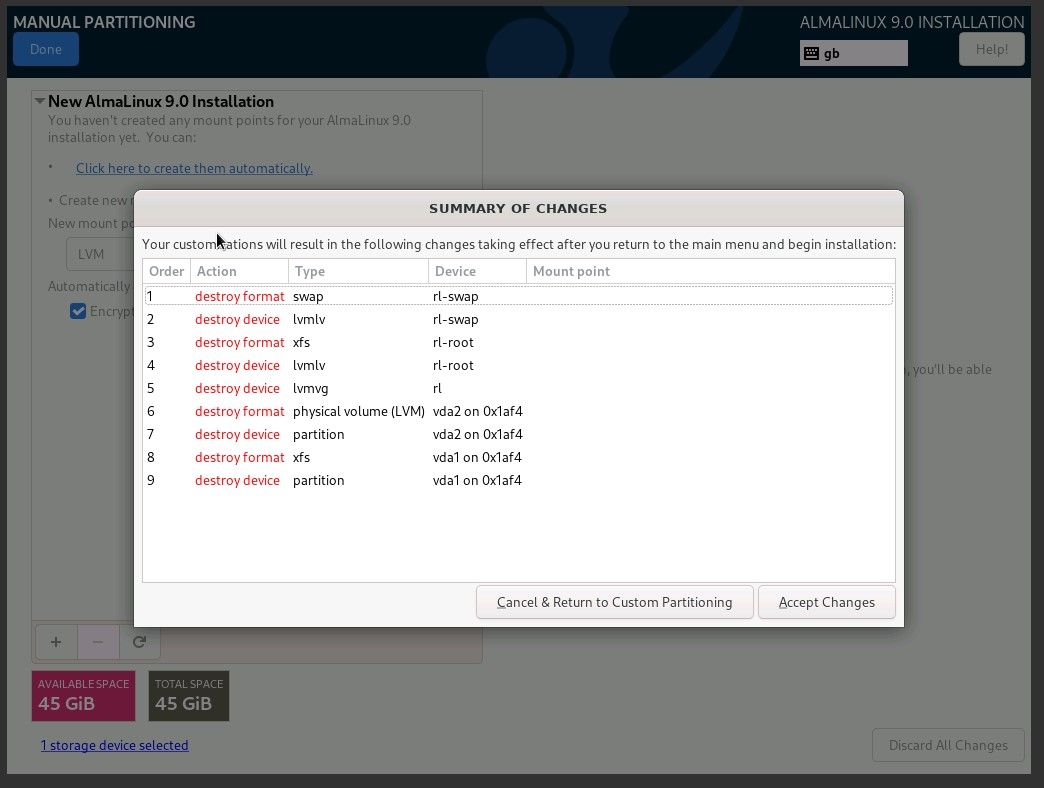
You can split your storage space into multiple partitions, name them, and adjust their mount points. Of course, full-disk encryption is available as well.
If full-disk encryption is enabled, you need to provide a secure passphrase.
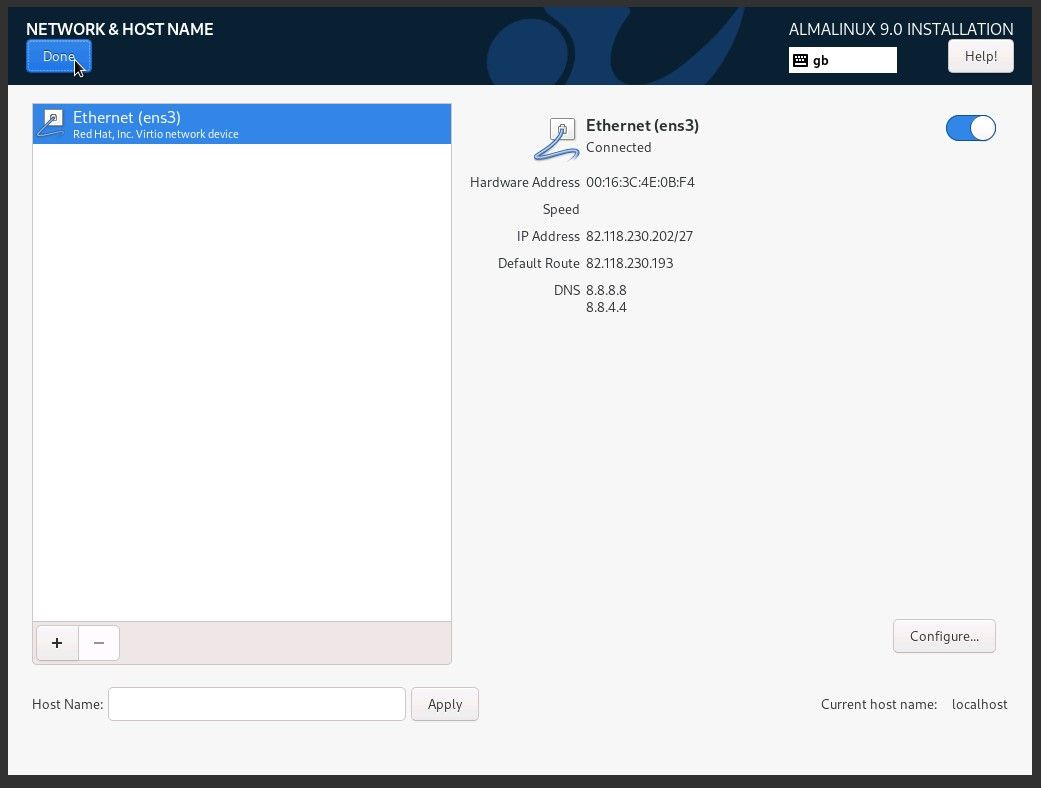
Network settings
Your network interface will be automatically configured if your provider supports DHCP. Confirm the settings and continue.
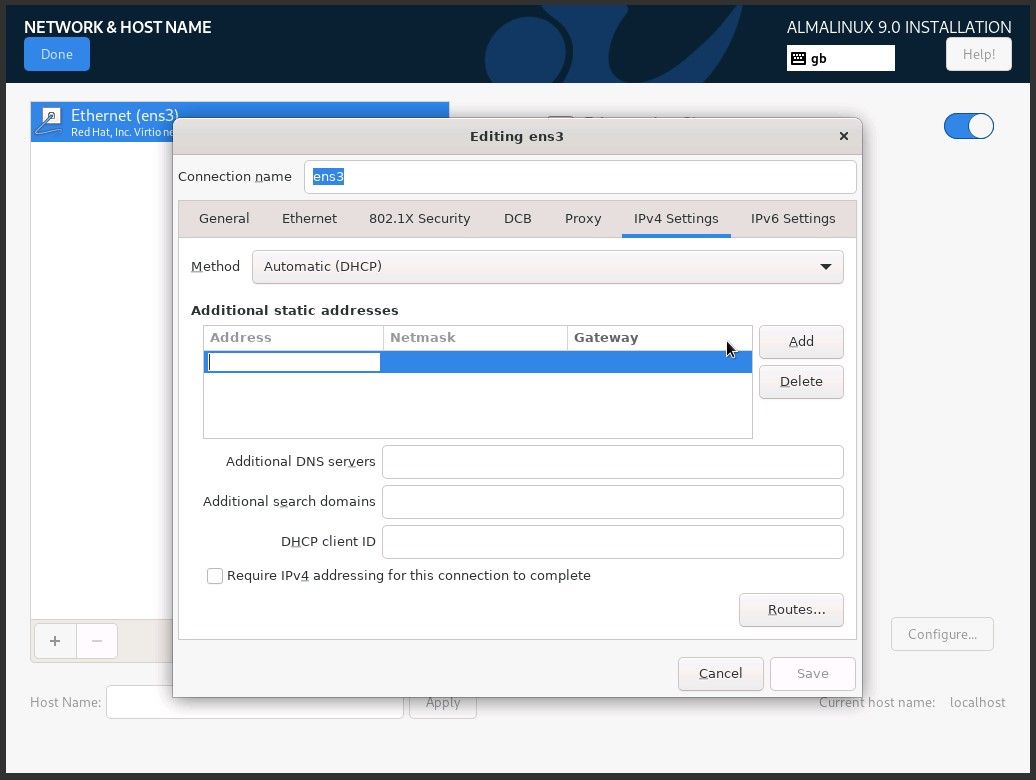
If manual configuration is required, click on the 'Configure...' button and go to IPv4 settings. Switch the method to 'Manual' and add the IP with its details.
Confirm the settings and save them.
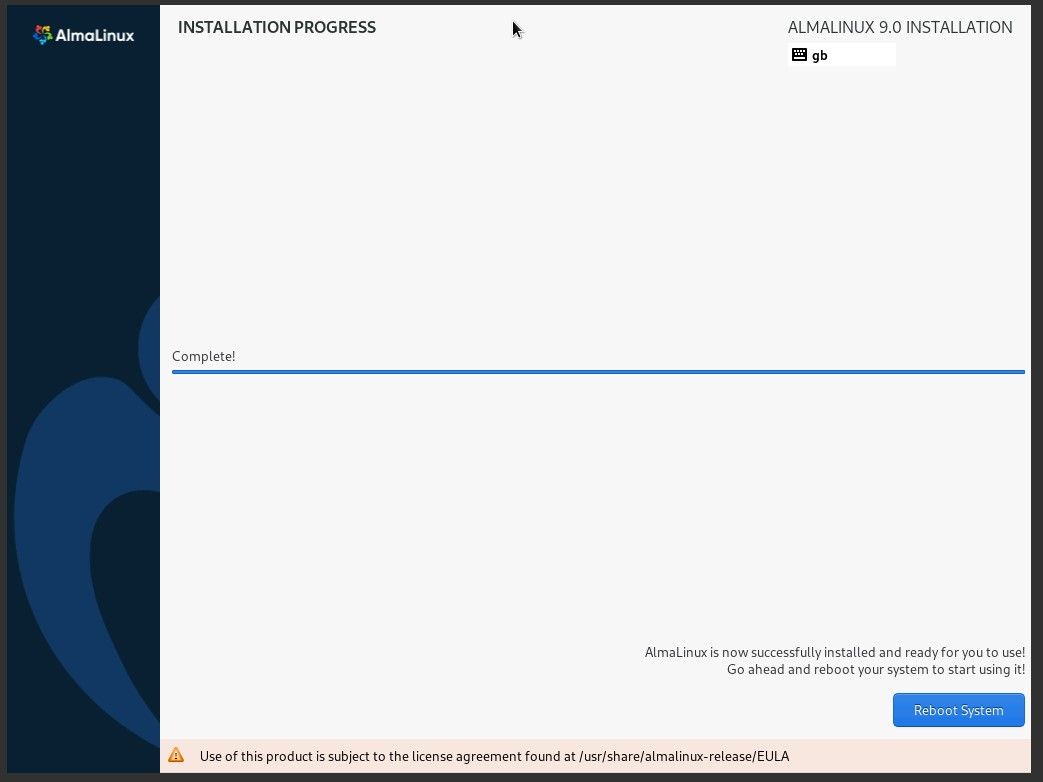
Wait for the installation to finish and reboot the system.
Make sure that you unmount the ISO and change your boot order back to its default state - "HDD 1st/CD-ROM 2nd" or "HDD only".