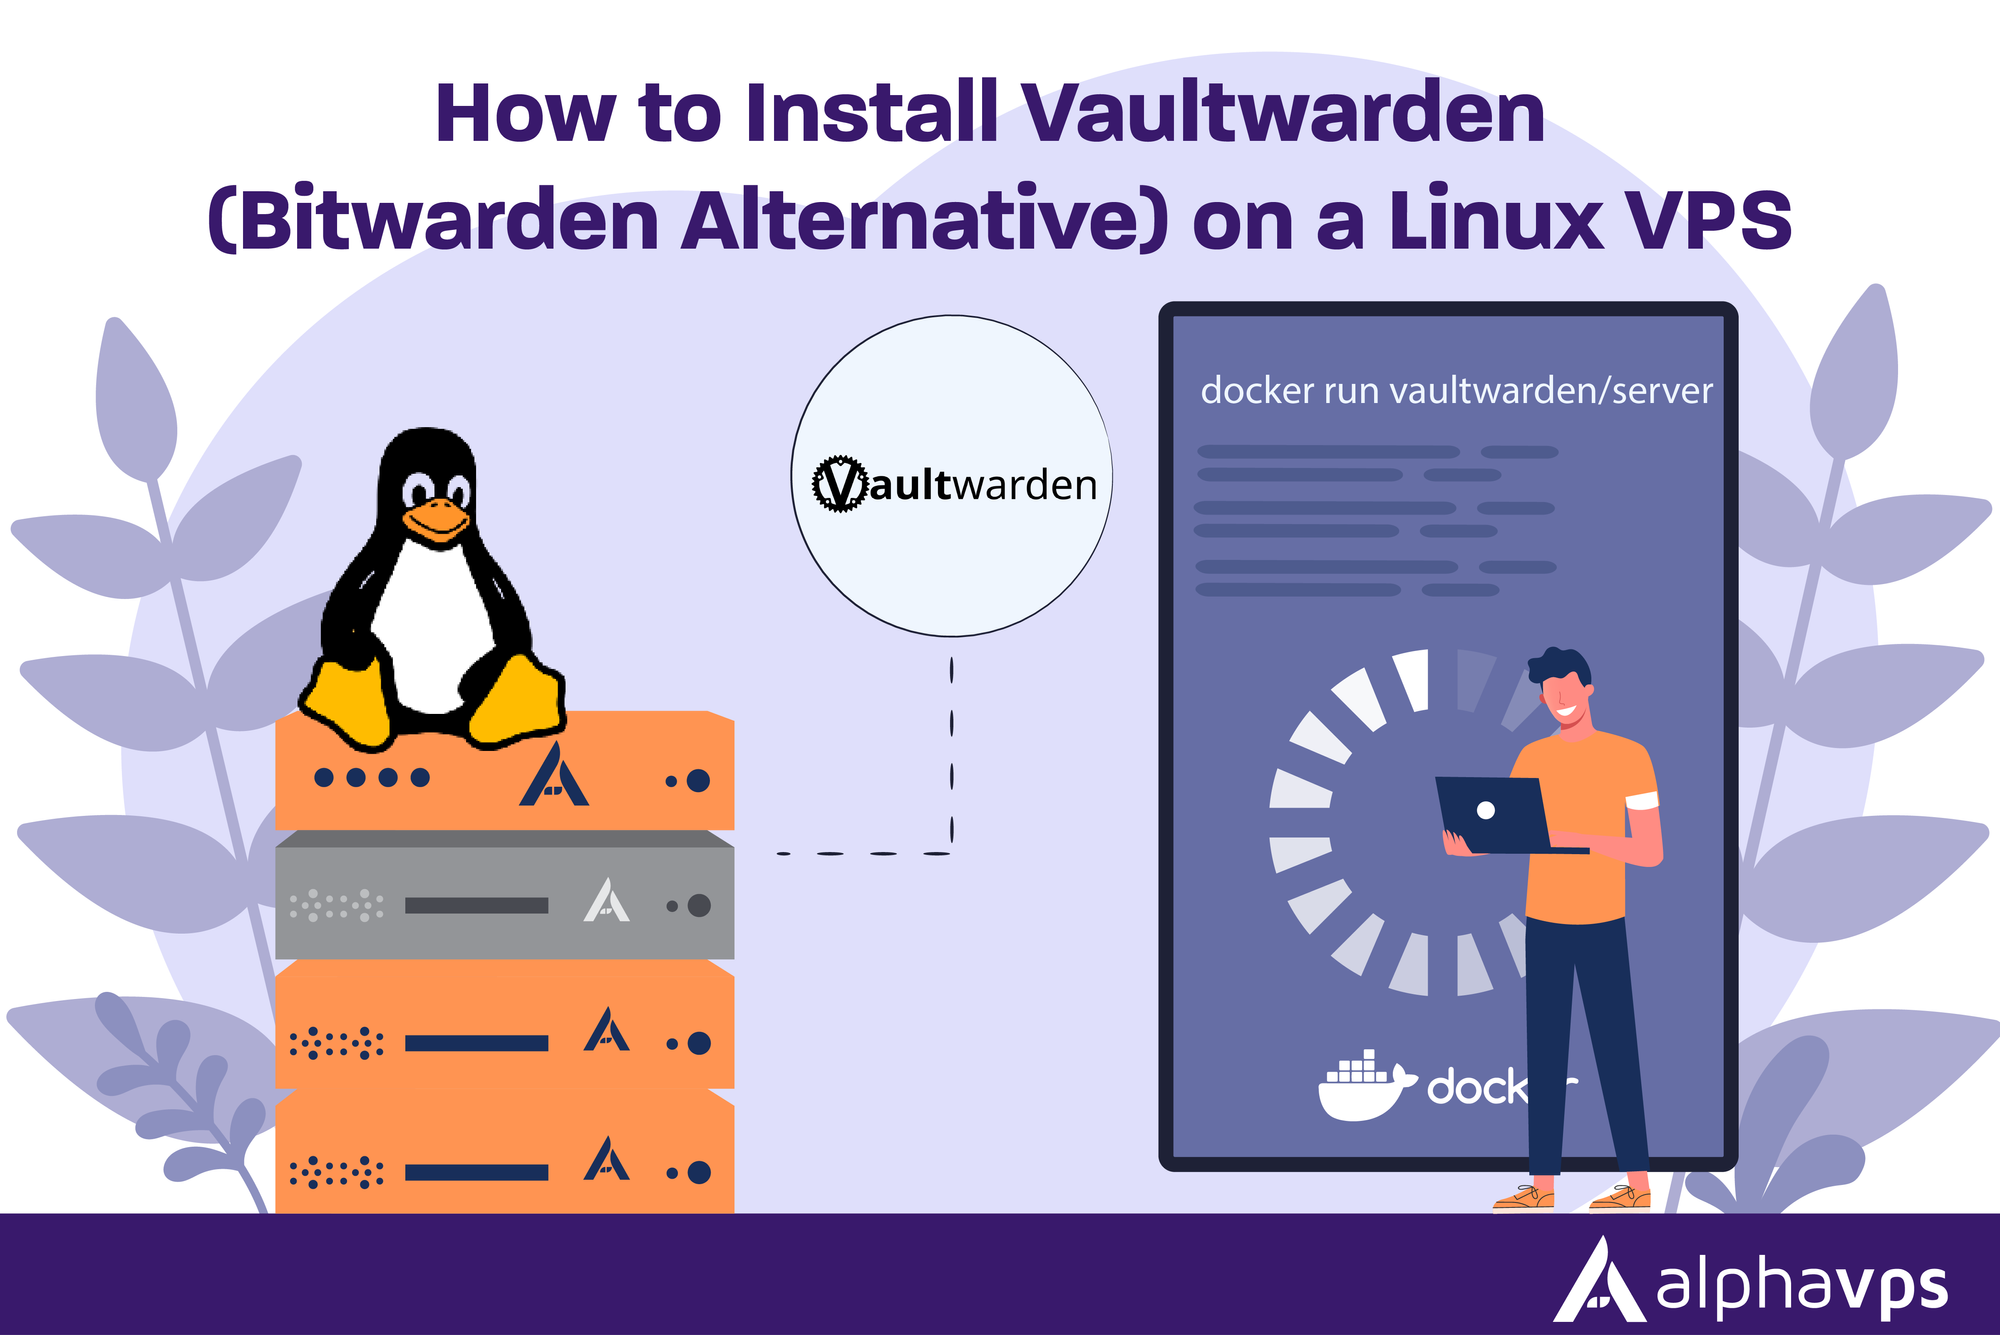
Vaultwarden, a Rust-based alternative to Bitwarden's official server, is a fast and resource-efficient way to host your own password vault on a Linux VPS. Vaultwarden is a Rust alternative to Bitwarden’s official server. It allows you to host a password vault on your Linux VPS with minimal resources. Vaultwarden is a powerful password management tool that gives you complete control over your passwords while using minimal system resources.
This step-by-step tutorial will show you how to install Vaultwarden using Docker, Docker Compose, and Nginx on a Linux VPS, configure a reverse proxy via Nginx, and enable HTTPS. You'll also learn in just minutes how to secure your own password manager.
What Is Vaultwarden?
Vaultwarden, an open-source implementation of Bitwarden compatible server written in Rust, is unofficial. It provides nearly all of Bitwarden's features at a fraction of the resource consumption.
Key Features:
- Fast and lightweight
- Private and self-hosted
- Bitwarden customers are fully supported
- Attachments, 2FA, password-sharing, and more
- Even on small VPS instances with 512MB RAM, it works great
How to Install Vaultwarden (Bitwarden Alternative) on a Linux VPS
Vaultwarden can be installed on Linux VPSs to create a fast, secure, and privacy-friendly password management system. Docker, Nginx, and Let's Encrypt allow you to deploy a production-ready Vaultwarden in just minutes. It includes HTTPS, admin controls, and Bitwarden compatibility.
Prerequisites
Make sure that you have the following:
- A Linux VPS (Ubuntu/Debian/CentOS)
- Root or sudo privileges
- Docker & Docker Compose installed
- Domain name for your VPS is optional, but recommended
- Open ports 80/443 in your firewall
Step 1: Update Your System
Update your system packages first.
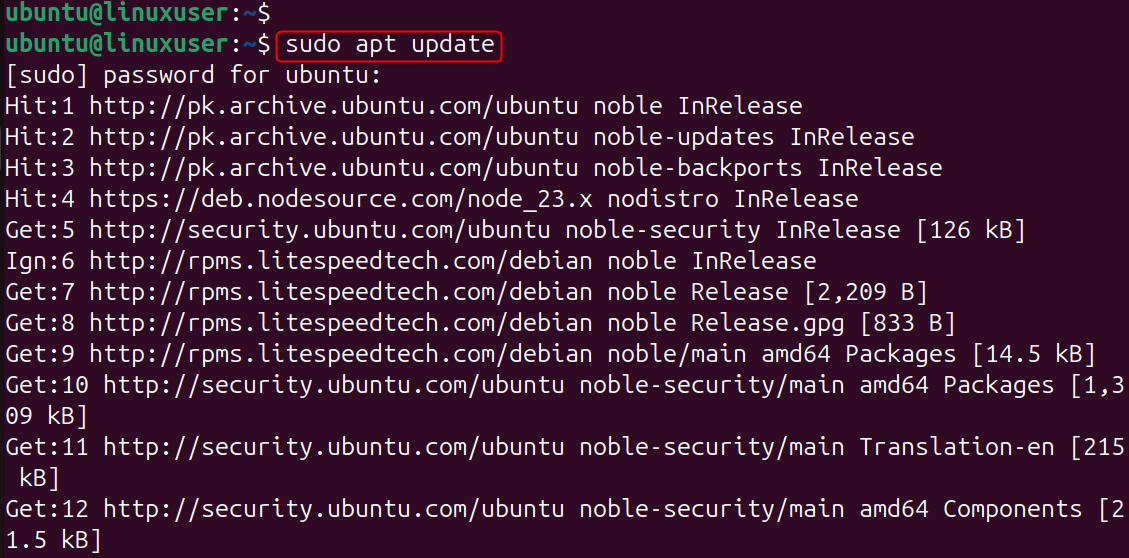
Ensure that your VPS has the latest security patches installed.
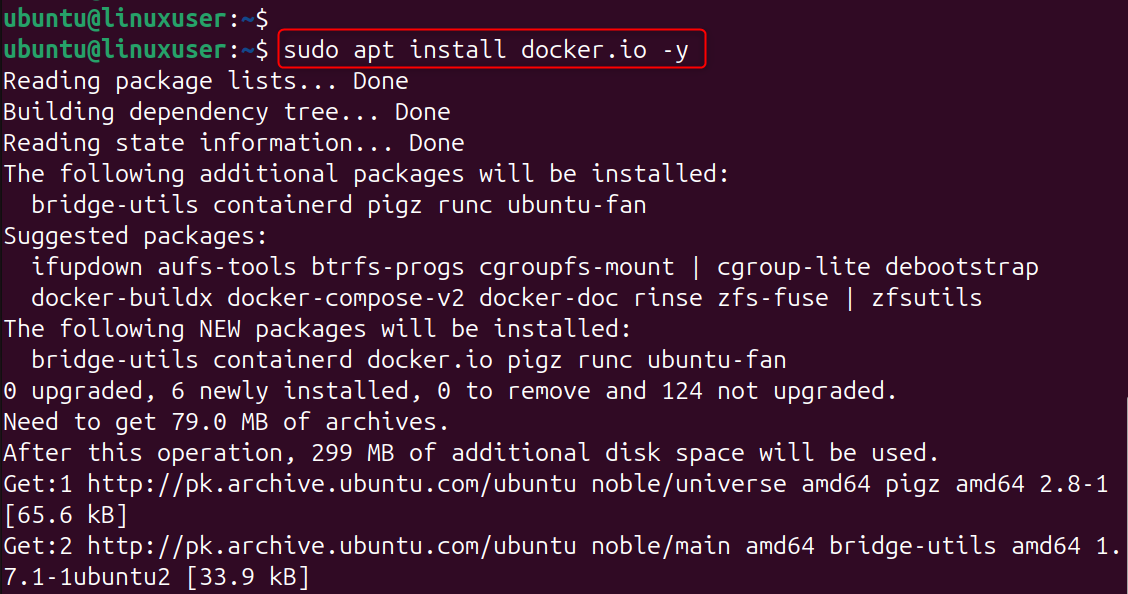
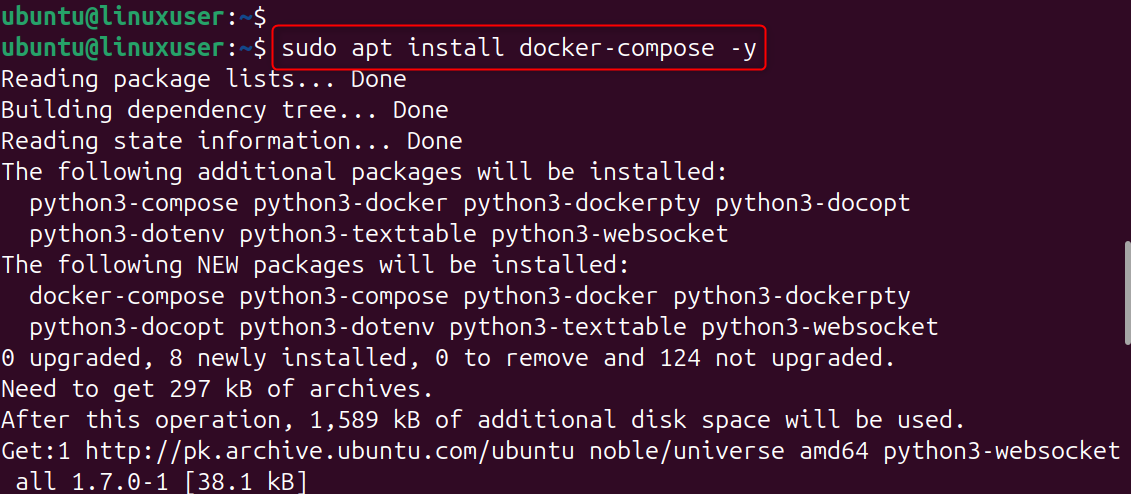
Step 2: Install Docker and Docker Compose
Docker allows Vaultwarden to be easily deployed, managed, and updated with minimal configuration. Docker containers are compatible with Vaultwarden.
Install Docker:
Install Docker Compose:
Enable Docker:

Step 3: Create Vaultwarden Directory
This directory contains your Vaultwarden configuration files and data. Create a working directory:

Step 4: Create Docker Compose File
Create a docker-compose.yml file:
Copy the configuration below:

Save and exit. This will run Vaultwarden at port 8080 and store all encrypted data in the vwdata directory.
Step 5: Start Vaultwarden
Launch the container:

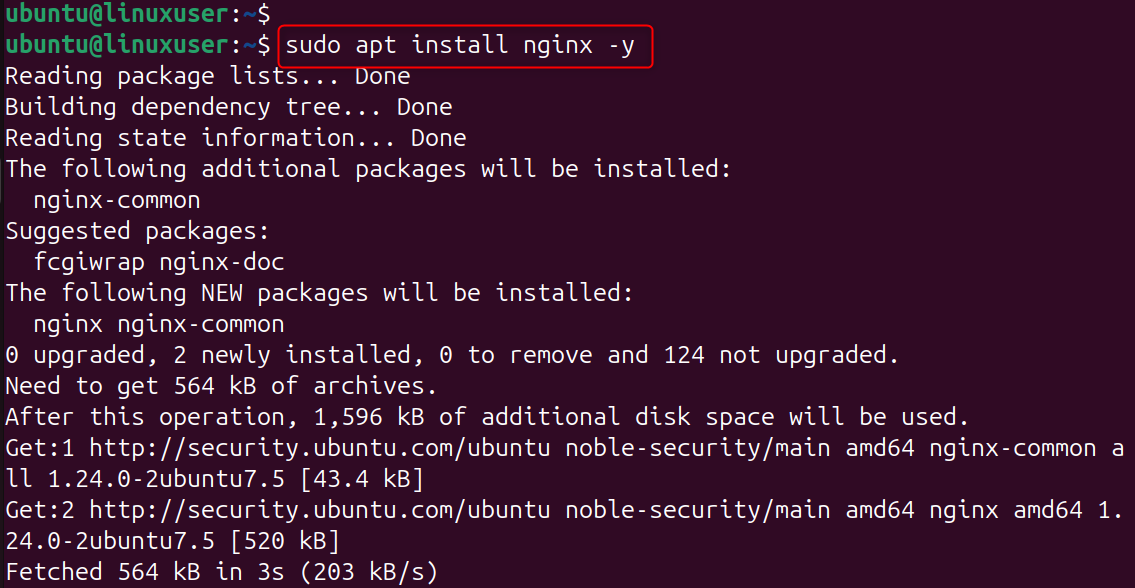
Step 6: Install Nginx (Reverse Proxy)
Install Nginx to enable HTTPS on port 443 and run Vaultwarden safely:
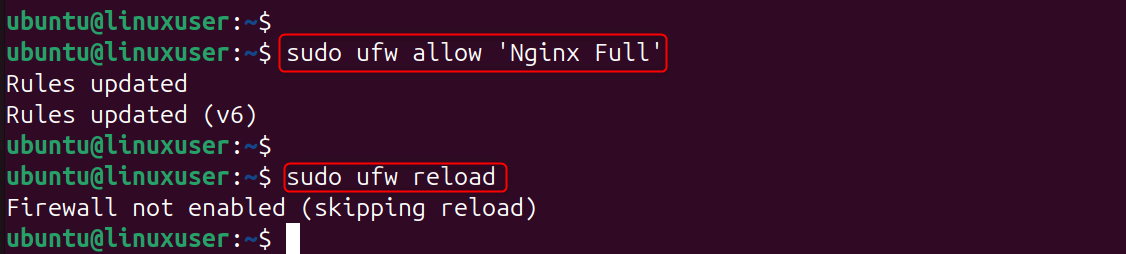
Enable firewall rules in Ubuntu:
Step 7: Configure Nginx Reverse Proxy
Create a new Nginx config file:
Paste:
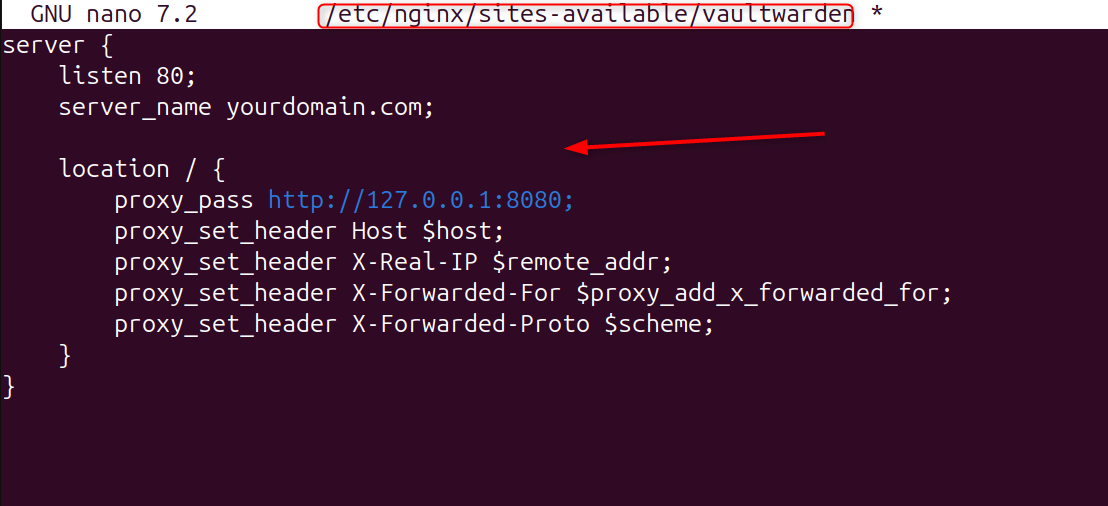
Enable the configuration:

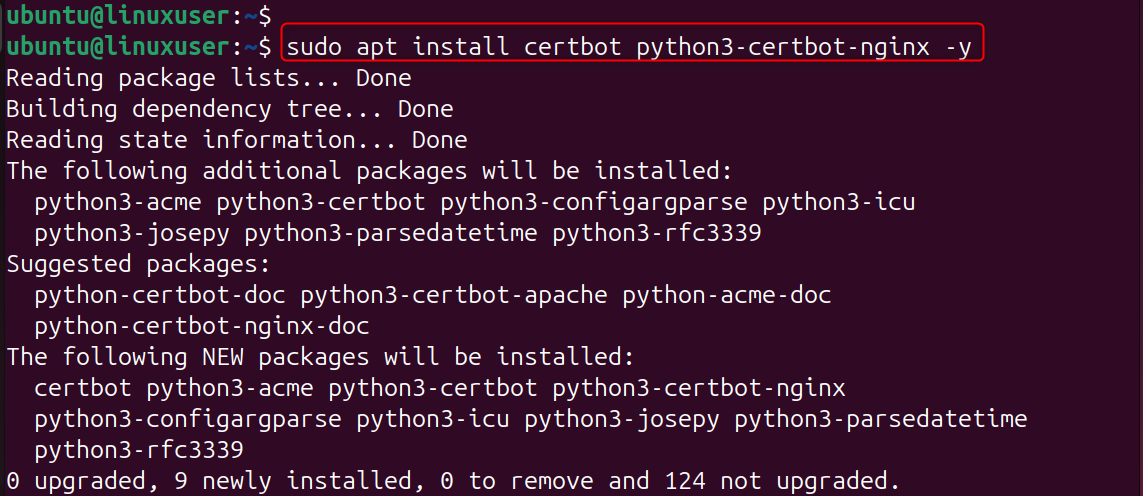
Step 8: Secure Vaultwarden with HTTPS (SSL)
HTTPS is required because Vaultwarden deals with sensitive, encrypted password data.
Install Certbot:
Run SSL auto-install:
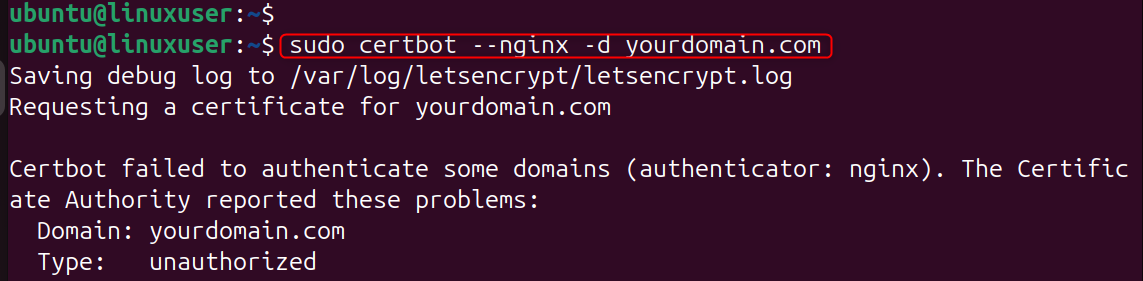
Follow the instructions to get a Let's Encrypt certificate.
Step 9: Enable Admin Panel (Optional)
Add the following environment variables to your docker compose.yml file:
Apply changes:

Step 10: Test Vaultwarden
Visit:
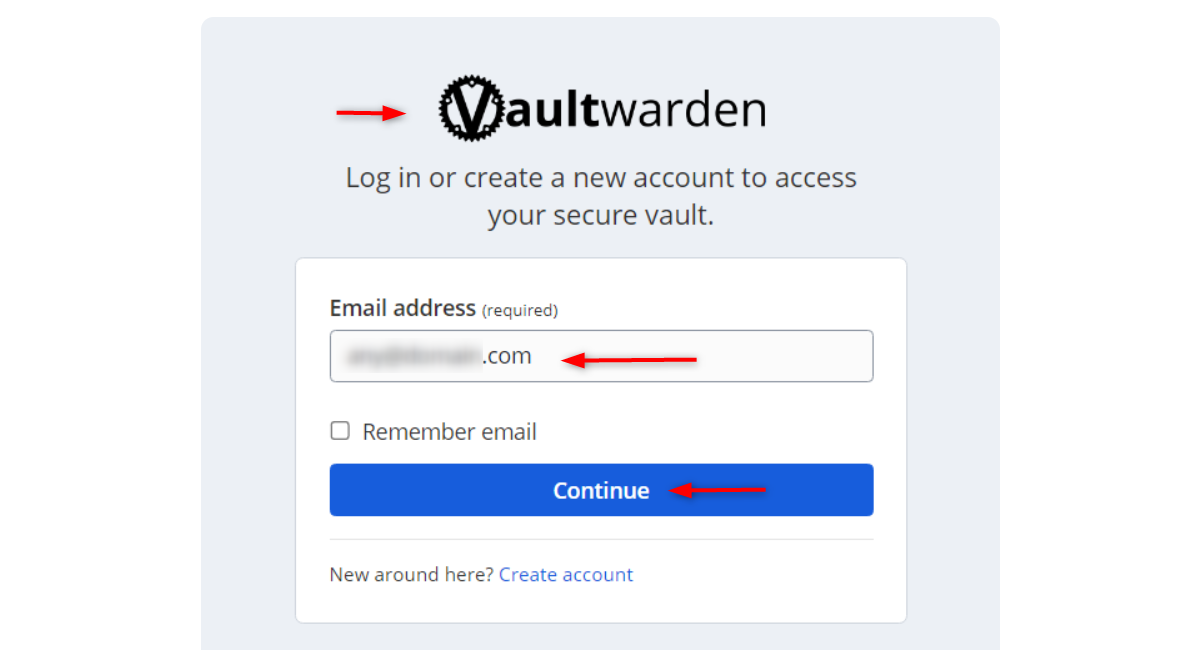
Use your Bitwarden instance URL to log in using the Bitwarden browser extension or client.
Vaultwarden has now been fully installed and is ready to use!
Step 11: Update Vaultwarden Easily
To update:

Optional: Remove Vaultwarden
To uninstall completely:

Conclusion
Installing Vaultwarden onto a Linux VPS requires you to install Docker, Docker Compose, and a Vaultwarden deployment directory. You can then run the official Vaultwarden Container using a docker-compose.yml simple file. Finally, expose it via Nginx and HTTPS for secure access. Install Docker after updating your system. Create a Vaultwarden folder and configure Docker Compose so that the Vaultwarden Server with persistent storage is run. Install and configure Nginx to act as a reverse proxy pointing at Vaultwarden’s internal port. Secure your domain with Certbot and enable SSL. After everything is up and running, you will be able to access your Bitwarden-compatible password manager through your domain. You can also enable the admin panel if you want more control.
Deploy Valutwarden on our Cheap VPS to host your own password valut. Contact us today and we would love to offer you affordable pricing for your project.
