This guide will show you how to self-host an open-source alternative to the popular uptime monitoring platform UptimeRobot.
Prerequisites
- Docker installed (If you don't know how to install it you can take a look at this guide)
- Preferably a VPS or a machine that can be online 24/7 — for best reliability, consider hosting it on a High-Performance VPS from AlphaVPS, which offers powerful AMD EPYC CPUs, NVMe storage, and full root access, perfect for running uptime monitoring or Docker-based workloads.
Installing Uptime Kuma
- Create the Uptime Kuma Volume:
docker volume create uptime-kuma- Start the container:
docker run -d --restart=always -p 3001:3001 -v uptime-kuma:/app/data --name uptime-kuma louislam/uptime-kuma:1And then you can navigate to https://<your-ip>:3001 and run through the initial setup.
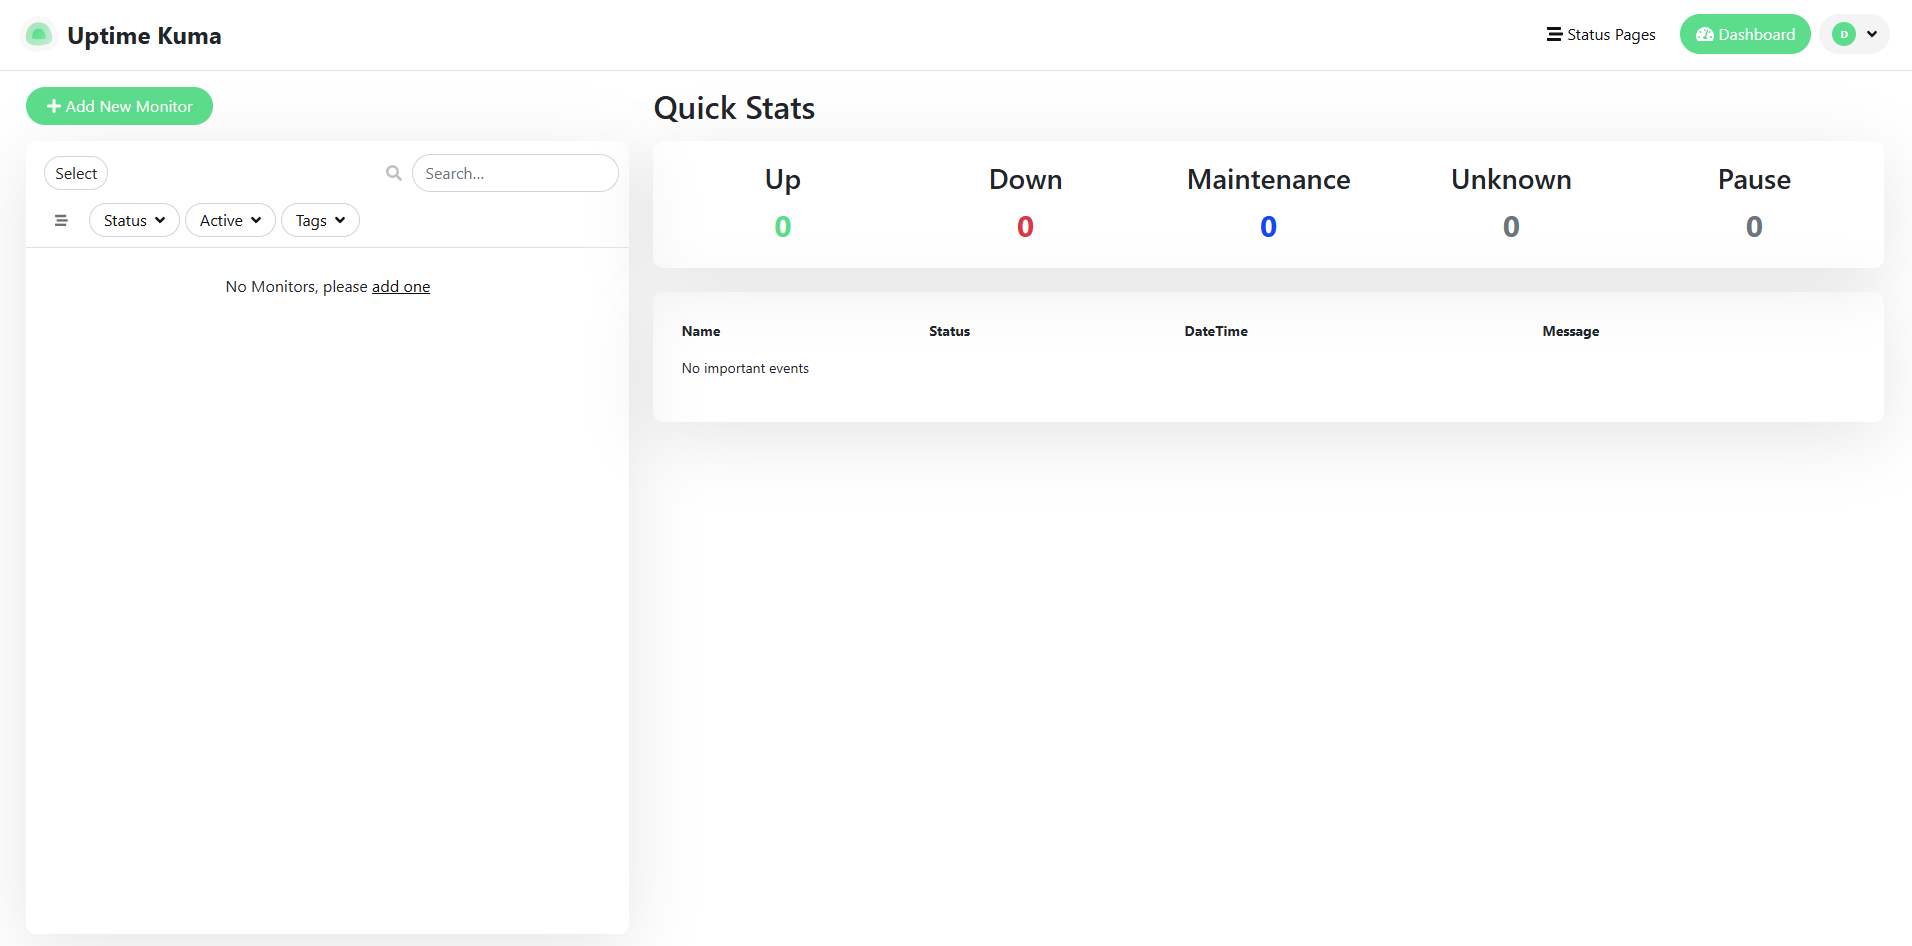
After entering your username and password, you will be presented with the following screen:
Configuring Uptime Kuma
Configuring Uptime Kuma happens through the WebUI once you are logged in you can go ahead and click on the Add New Monitor button.
From there you can select monitor type and you have several choices:
General Monitor Type
- HTTP(s): Basic web endpoint monitoring
- TCP Port: Checks if specific ports are open/accessible
- Ping: Tests basic connectivity using ICMP
- HTTP(s) - Keyword: Searches for specific text in HTTP responses
- HTTP(s) - Json Query: Validates JSON responses
- gRPC(s) - Keyword: Monitors gRPC services
- DNS: Checks DNS resolution
- Docker Container: Monitors container status
- HTTP(s) - Browser: Uses Chrome/Chromium for monitoring (Beta)
Passive Monitor Type
- Push: Allows external services to push status updates
Specific Monitor Type
- Steam/GameDig: Gaming server monitoring
- MQTT: Message queue monitoring
- Database Monitors:
- Microsoft SQL Server
- PostgreSQL
- MySQL/MariaDB
- MongoDB
- Redis
- Radius
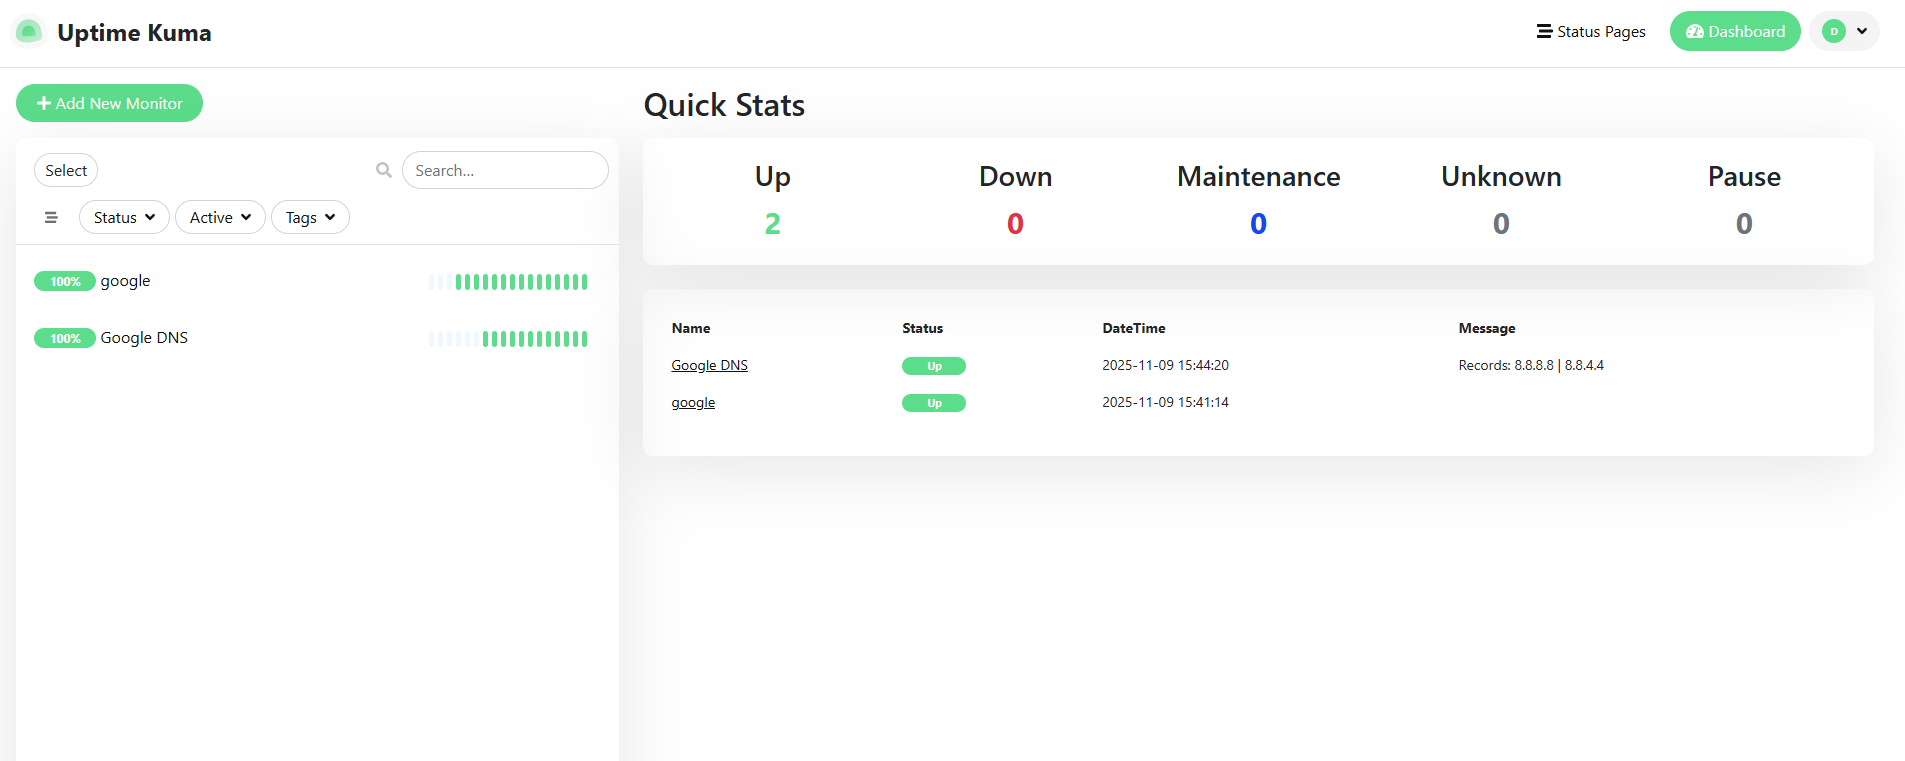
Here we have set up an example for monitoring a certain website, in this case, google.com, and a DNS server which is Google's dns.google server. Here is how this looks:
Notification Setup
There are many choices for notifications, but I will show SMTP notifications (if you self-host your email) and Pushbullet.
SMTP
Open the settings:
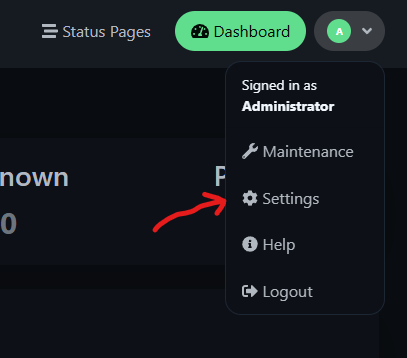
Then navigate to Notifications and click on Setup Notification
On notification type select Email (SMTP)
Give it a friendly name like Mail Notifications
For the hostname give it the hostname of your mail server for instance mail.example.com
The port should be 465 if you are using TLS
Enter the username and password for the sender and then at the very bottom of the page there should be a toggle named Default enabled and Apply on all existing monitors click it and the notification method will be used for all your current and future monitors.
Pushbullet
For pushbullet it's much more straightforward just go to https://www.pushbullet.com/ and create an account.
After the account has been created log in and navigate to the Settings tab:
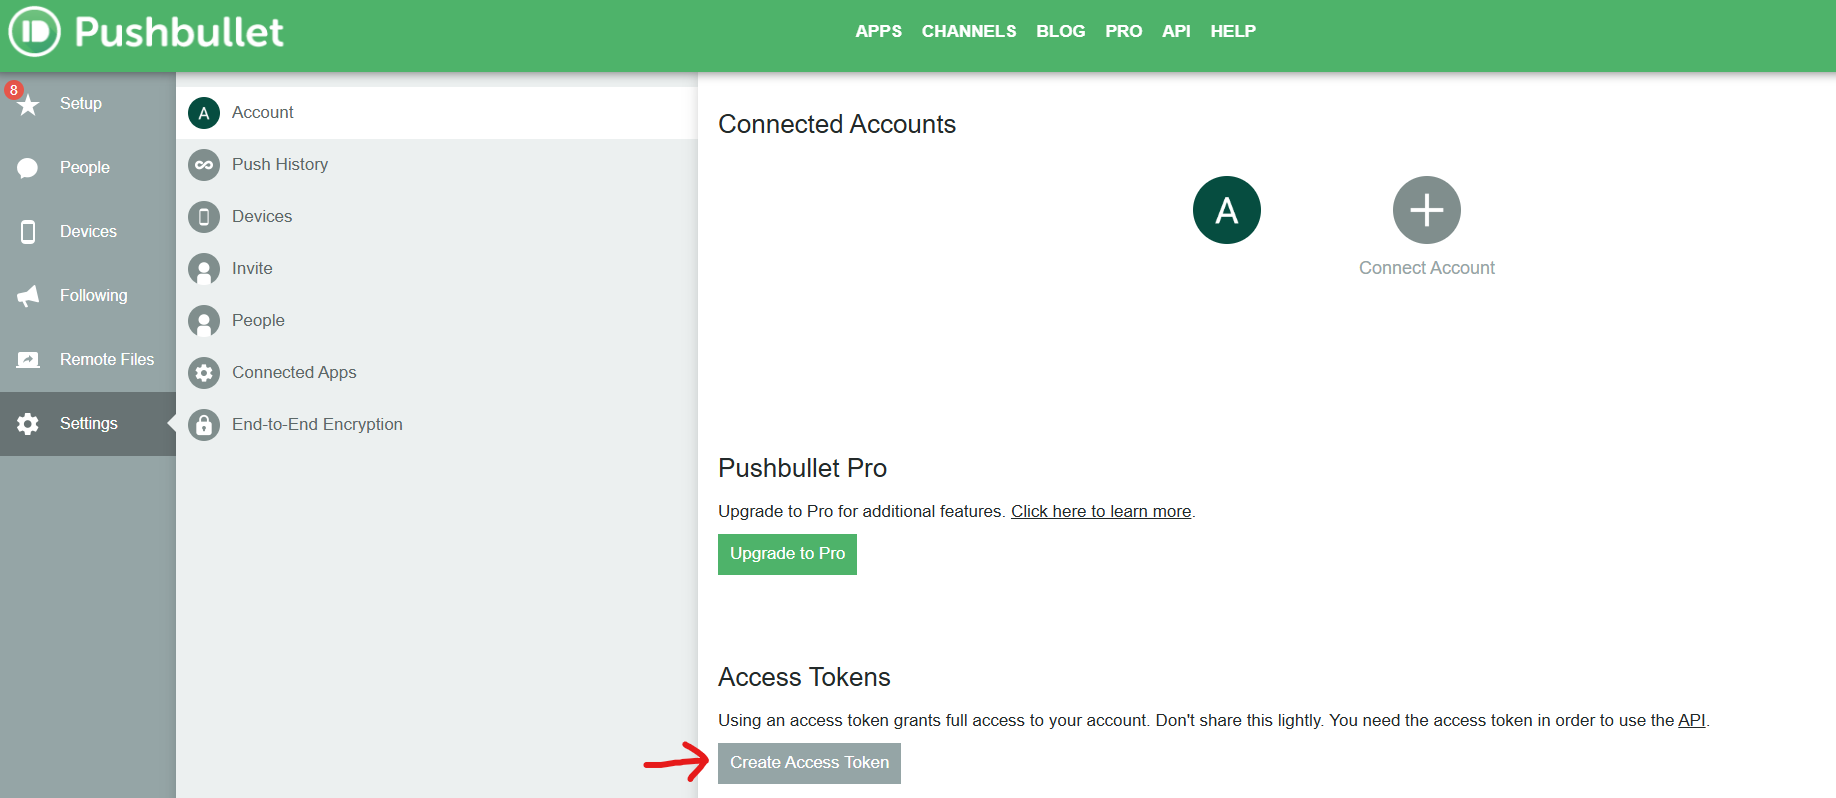
After clicking the button, it will display your API key - copy it.
Now go back to your Uptime Kuma and under Notification Type select Pushbullet and paste in your API key and that should be everything.
Don't forget to check the Default enabled and Apply on all existing monitors if needed.
Conclusion
In this article, we went over how to install Uptime Kuma, as well as a basic SMTP notification setup. Now you can rest easy that in case of any issues with your website or servers, you will be alerted as soon as they occur, so you can swiftly resolve them.