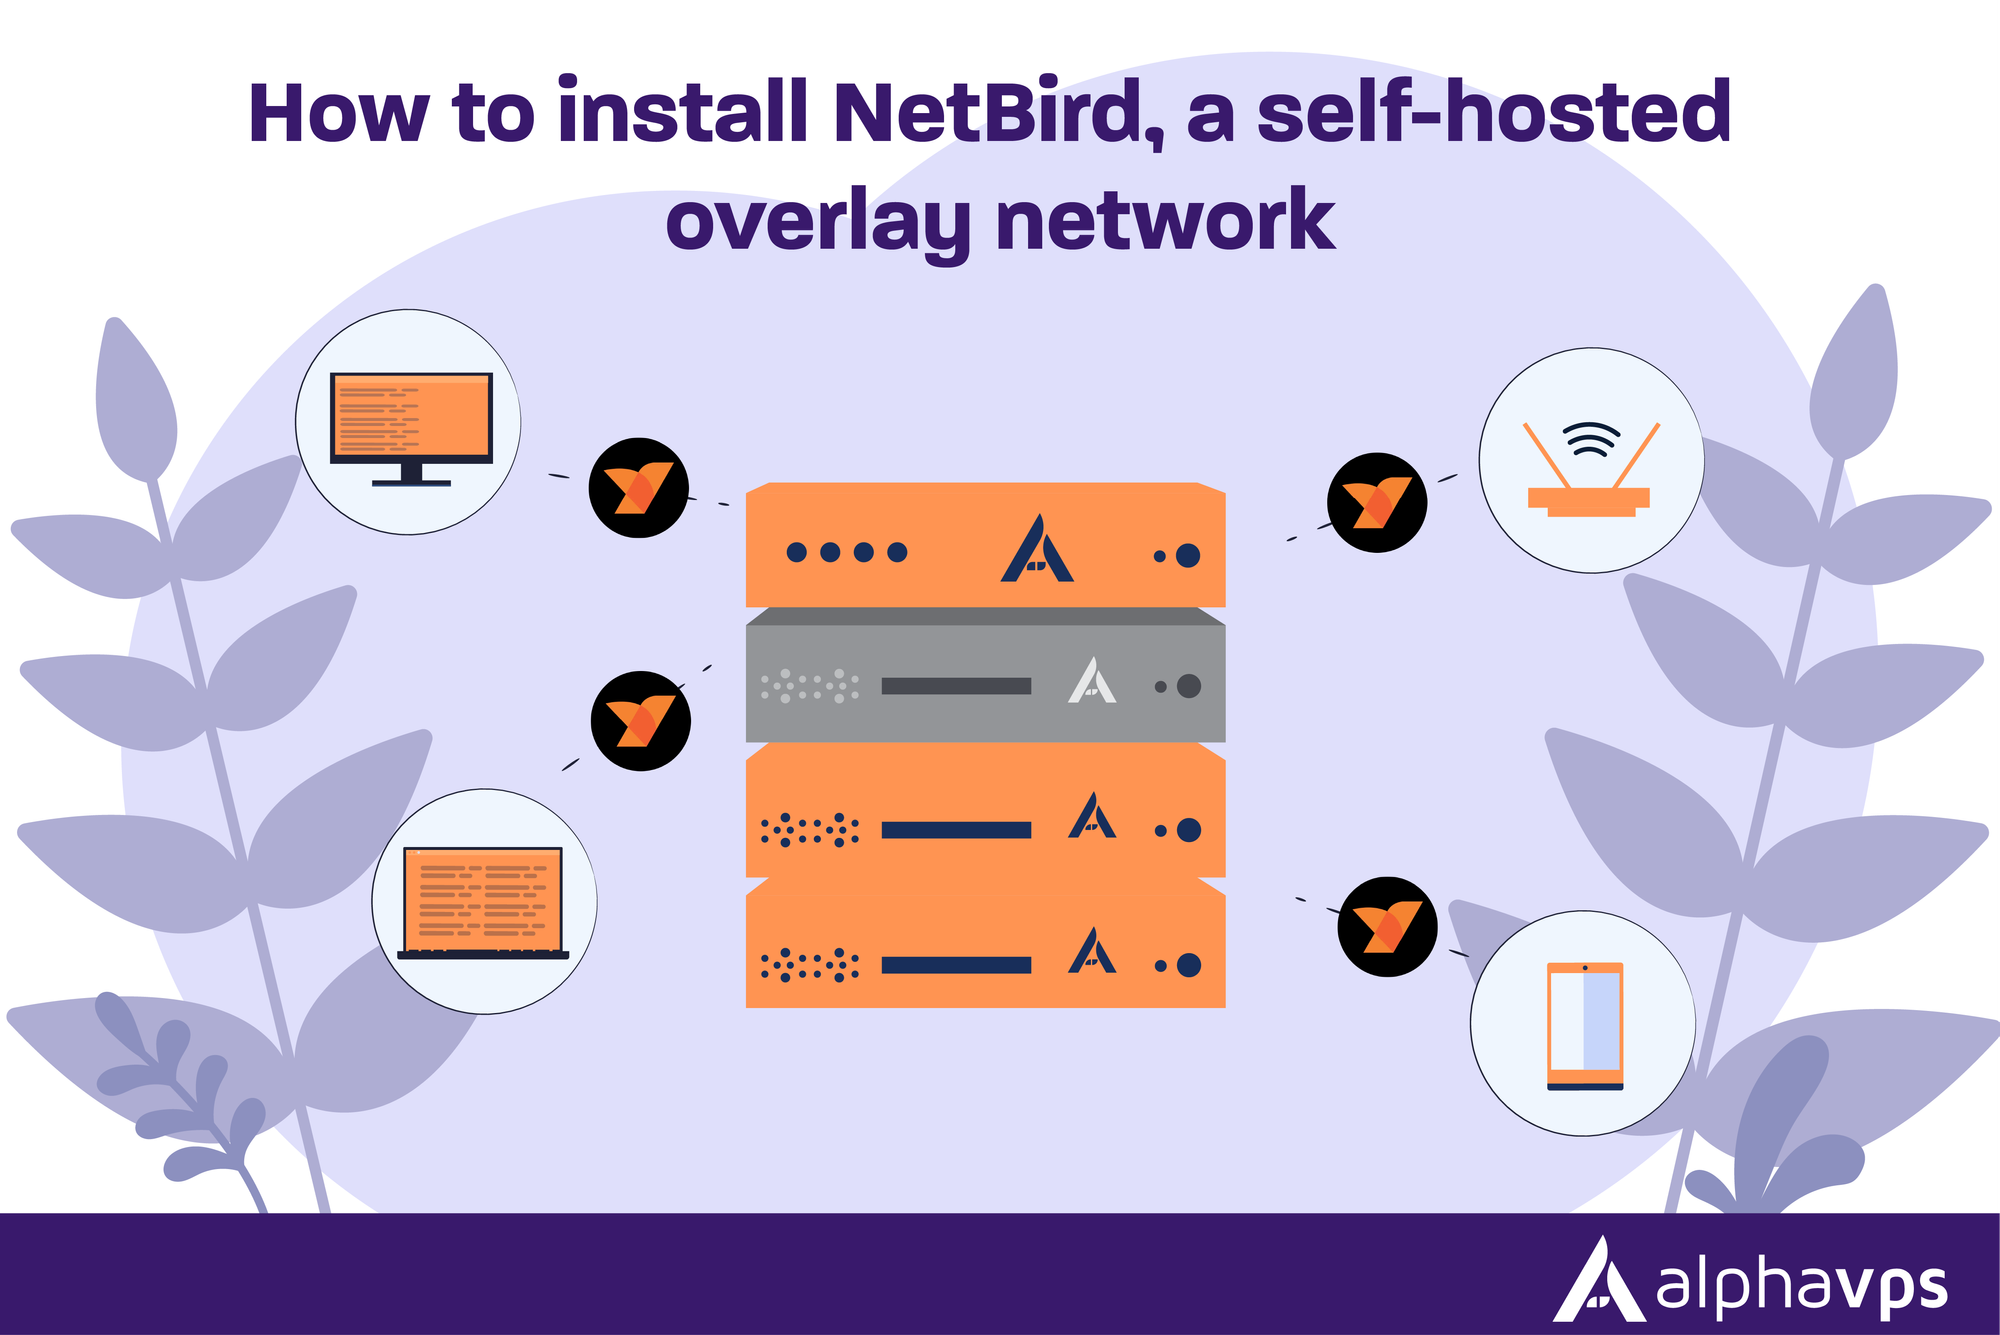
NetBird is an open-source platform that uses multiple open-source technologies to provide a reliable and secure overlay network.
What differentiates NetBird from a traditional VPN is that, instead of all the traffic passing through a single point, a direct point-to-point connection is established. This allows increased network performance as the connection is not middle-managed by a VPN server.
Another benefit of NetBird is the ease of user access control. Thanks to its use of NAT reversal techniques, there is no need for port forwarding or a special firewall configuration for a connection to be established.
In this guide, we will go over how to self-host Netbird on Ubuntu 24.04, although as the setup relies on Docker, it's compatible with most other distros.
Prerequisite
- Virtual machine with a public IP. You can take a look at our offerings here.
- Docker and the Docker Compose plugin installed. If you need a guide on how to get this installed, you can take a look at ours here.
- Domain name pointing to the public IP address of your server.
- Open TCP ports
80, 443, 33073, 10000, 33080on your server. - Coturn, which is used for relay. It requires a port
UDP 3478. It will be automatically configured; however, you may modify the configuration if you choose. jqinstalled. It's available in the official repositories of most distros.curlinstalled. It's available in the official repositories of most distros.
NetBird consists of a couple of components. The ones authored by NetBird are:
Management Service, Management UI Dashboard, Signal Service
Then the other components are:
WireGuard, Conturn, and an Identity Provider (IdP).
All of those components will be installed automatically. In this guide, we will use Zitadel, which is also self-hosted. There are other self-hosted options as well as managed options. You can take a look at the official NetBird documentation if you wish to explore alternatives.
Installing the latest NetBird
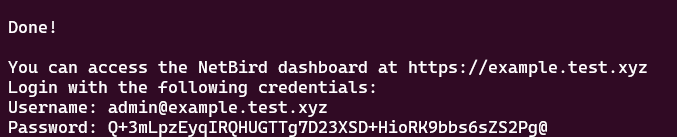
export NETBIRD_DOMAIN=netbird.example.com; curl -fsSL https://github.com/netbirdio/netbird/releases/latest/download/getting-started-with-zitadel.sh | bash
Once the install is complete, you will get your username and password for the NetBird and Zitadel dashboards
Adding Users to Zitadel and NetBird
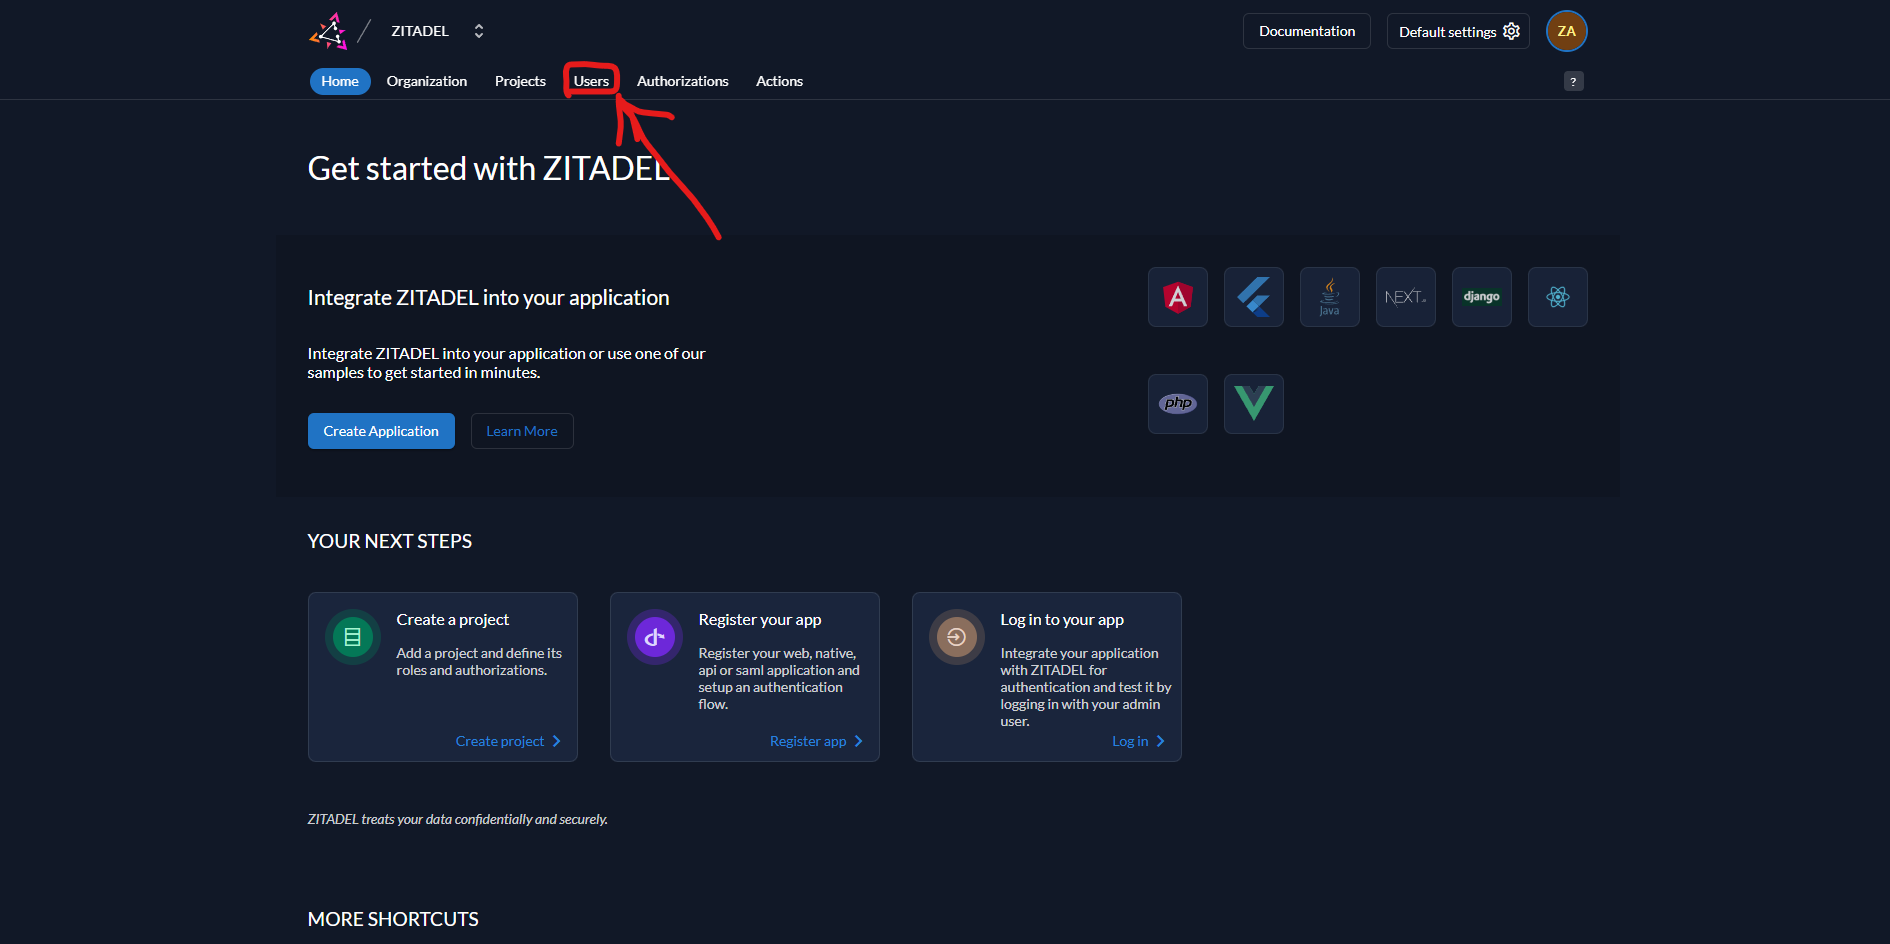
Before we can add peers in our overlay network, we first need to create a user in Zitadel. Navigate to this URL https://netbird.example.com/ui/console/ by replacing netbird. example.com with your actual domain name.
You will now be logging in with your admin account. After you log in, you will be presented with the Zitadel dashboard. On the top, click on Users:
Then click on New
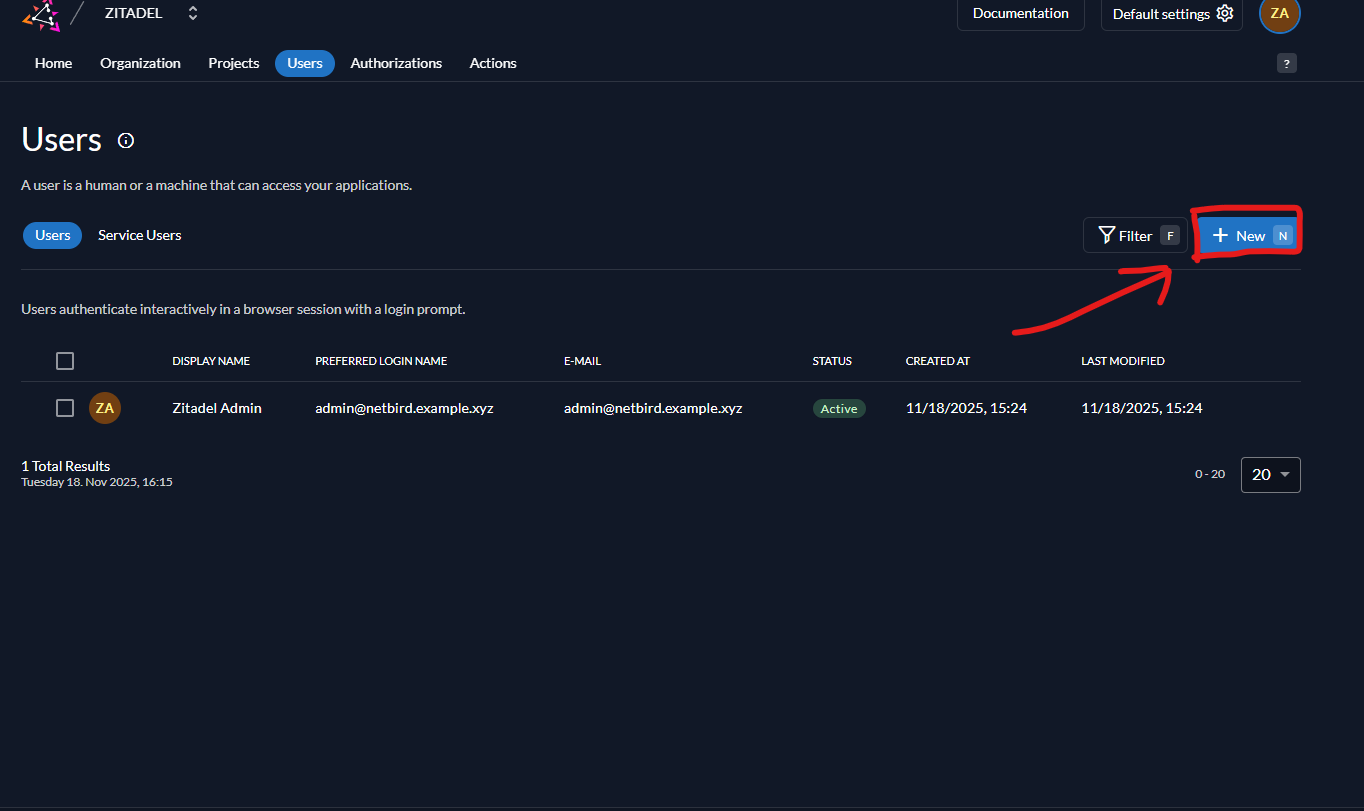
You will be presented with a menu for user creation.
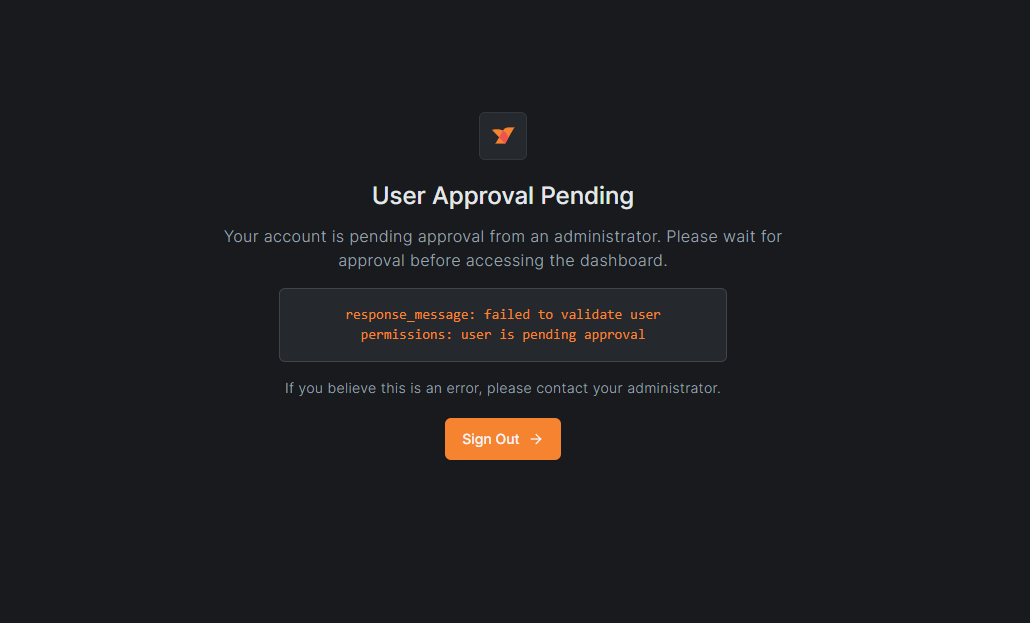
Once a user is created, navigate to the NetBird dashboard, which will be at https://netbird.example.com There, you will need to set up two-factor authentication. You will then be presented with a message that your account is waiting for approval
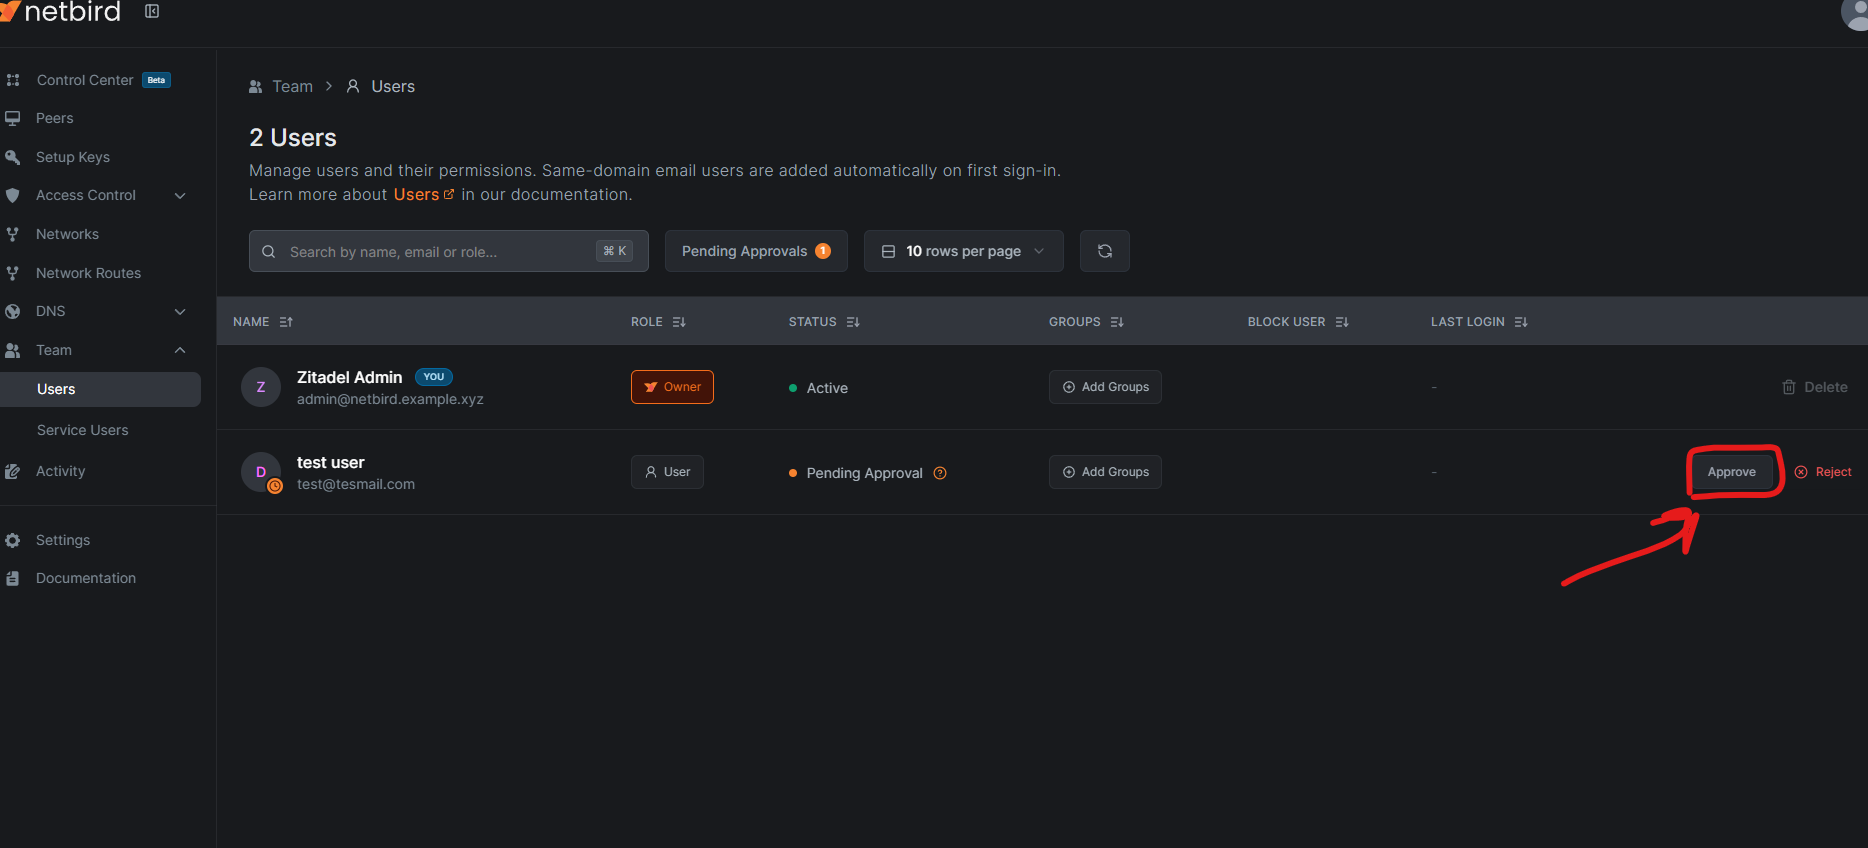
You must now log in to the NetBird Panel with the admin account that you used for Zitadel. On the right, click on Teams then Users :

You will be presented with a table of users. You should see your newly created user. Click on Approve on the right:
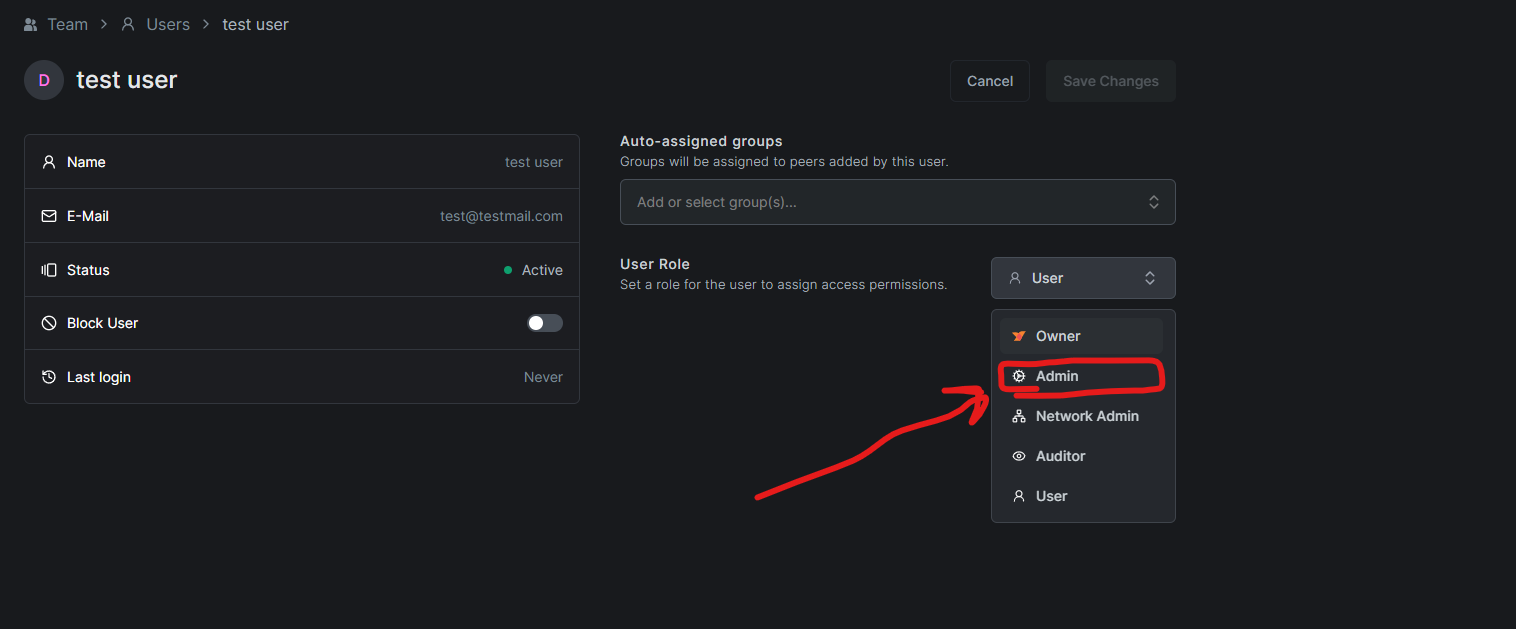
Then click on the user itself and select Admin as a user role and then click on Save Changes at the top:
You should now be ready to log in with the user and proceed with the setup.
Adding Peers
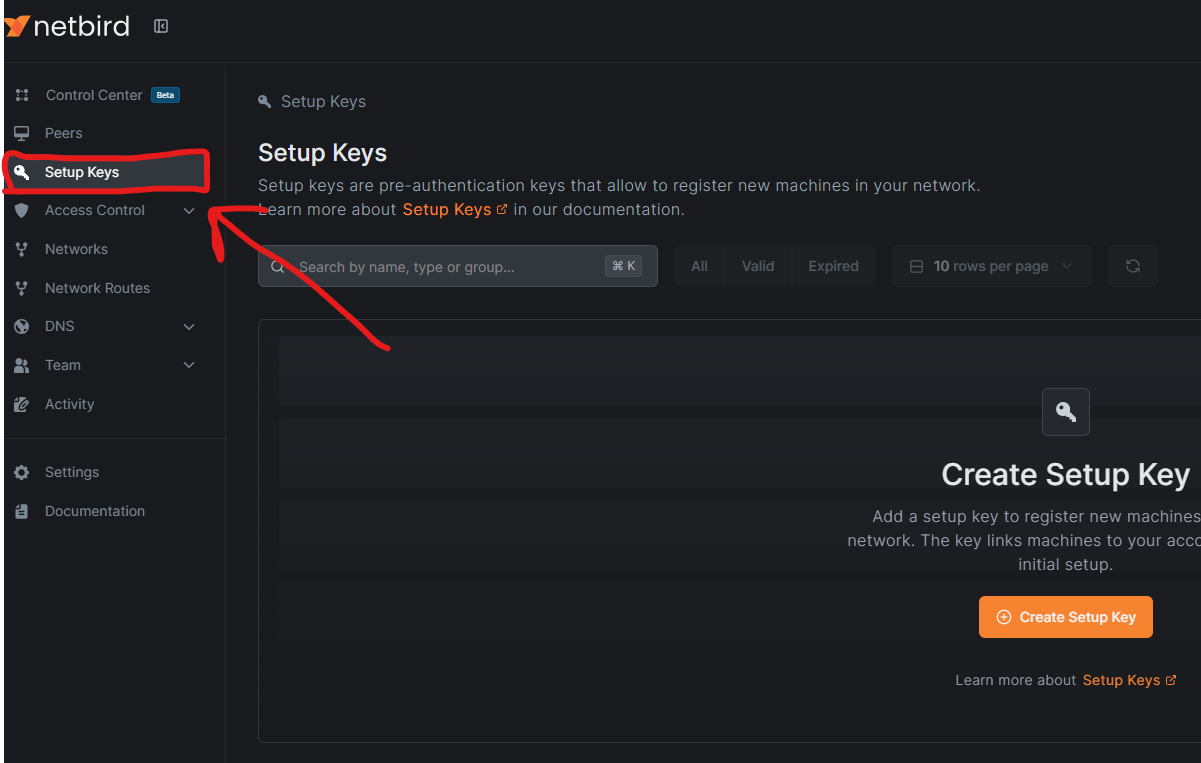
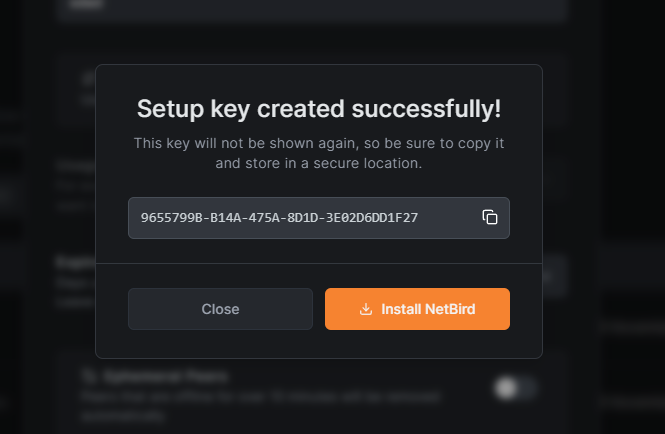
We will start by creating a Setup Key. These are pre-authenticated keys that allow you to register new machines.
You will find the required menu on the left side panel:
Click on Create Setup Key. You will be presented with a menu with different options for the private key. They are well explained in the menu itself, so we won't go over them.
Once you have configured the key, you will be presented with an alphanumeric string, which is your actual key:
You can now use it to connect to your Netbird via the following command:
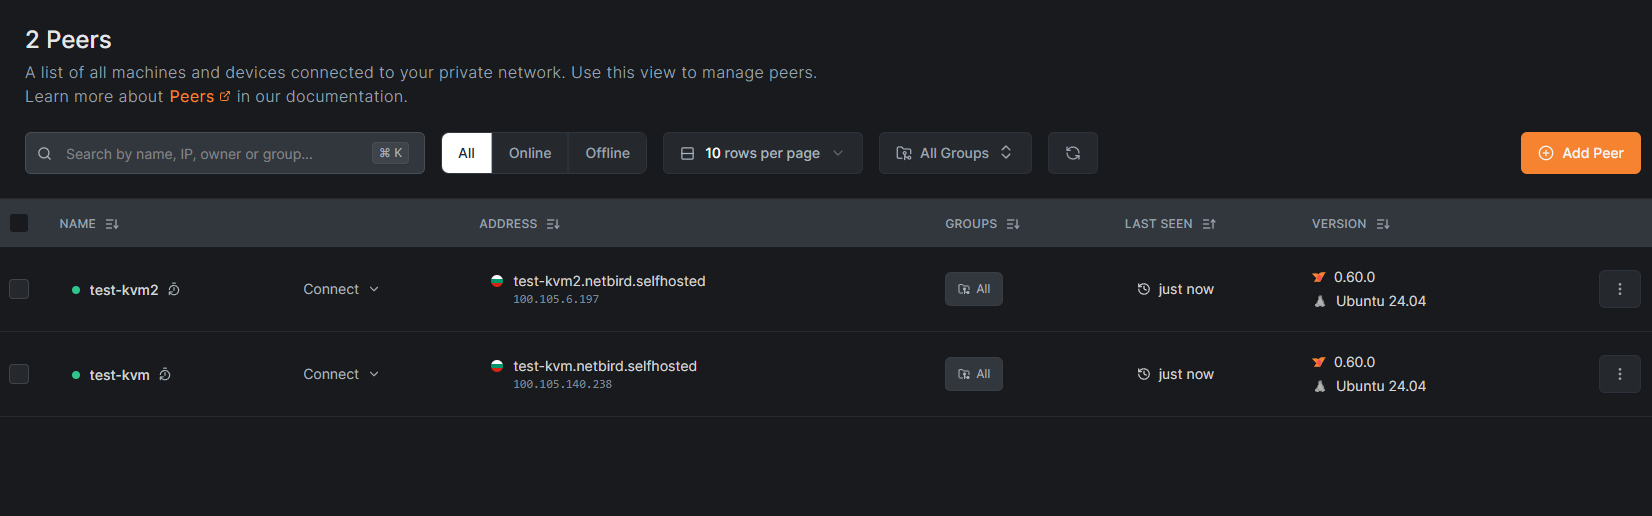
netbird up --management-url https://netbird.hdidi.xyz --setup-key <KEY>You can now navigate to the Peers menu and check the added peers. In this case, I have added two peers, which we will use to test our setup:
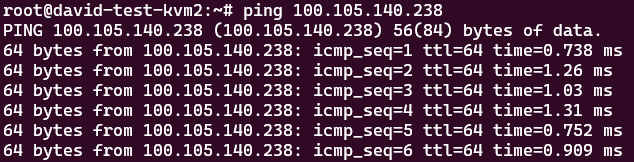
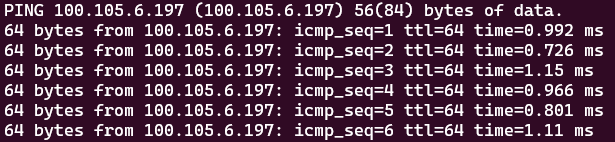
To test the setup, we can click on the Addresses field to copy the IP address and try to ping it:
Conclusion
In this guide, we learned a bit about the architecture of NetBird and how it may be a better fit for you than a standard VPN. We also learned how to install it, create Zitadel and NetBird users, set up Security Keys and add Peers. Now, you are ready to establish fast, direct private connections between your servers over the public net!
,