Securing your Linux VPS with HTTPS is essential, especially if you're running multiple applications or subdomains on the same server. You can secure all subdomains under your domain with a Let's Encrypt Wildcard SSL Certificate instead of installing multiple individual SSL certificates. Wildcard SSL is required to verify DNS-01, which means you need to add a TXT DNS entry to your domain.
This guide will walk you through the steps of installing a Let's Encrypt Wildcard SSL Certificate using Certbot with DNS verification. Each command and configuration line is explained.
What is a Let’s Encrypt Wildcard SSL?
Wildcard SSL protects all your subdomains and domains.
One certificate is sufficient to protect:
- blog.example.com
- shop.example.com
- api.example.com
- ANY future subdomain
How to Install Let’s Encrypt Wildcard SSL on Your Linux VPS
Installing a free Let's Encrypt Wildcard SSL Certificate on your Linux Virtual Private Server is the best way to secure your entire subdomains. Certbot's DNS-01 verification ensures compatibility with all web servers, whether you are using Nginx, Apache, Caddy, or a custom-built application. Renewals are made easy with automated DNS plugins. Wildcard SSL is ideal for multi-app environments.
Step 1: Install Certbot (SSL Client) and DNS Plugin
Certbot, the official tool for requesting Let's Encrypt certificates, is available. Install the latest version by using this list of updates.

Explanation:
- Certbot is the main tool for generating SSL certificates
- python3-certbot-dns-cloudflare - DNS plugin for automatic TXT record creation
- Replace Cloudflare DNS plugin with your own if necessary.
Step 2: Request the Wildcard SSL Certificate
Use Certbot for DNS validation:

Explanation of each option:
- certonlyYou can generate a certificate without changing your web server.
- --manualTell Certbot that you will manually update DNS records (TXT).
- --preferred-challenges=dnsForce DNS-based Verification (required when using wildcard SSL).
- -d "*.example.com"Requests wildcard cover for all subdomains.
- -d "example.com"Adds the root domain to the same certificate.
Certbot will now instruct you to create DNS TXT records.
Step 3: Add the TXT DNS Record
Certbot displays a record that looks like this. If not, create a record in TXT under the following name:
Let's Encrypt verifies this TXT to ensure you own the domain. Verify DNS propagation (optional but recommended):
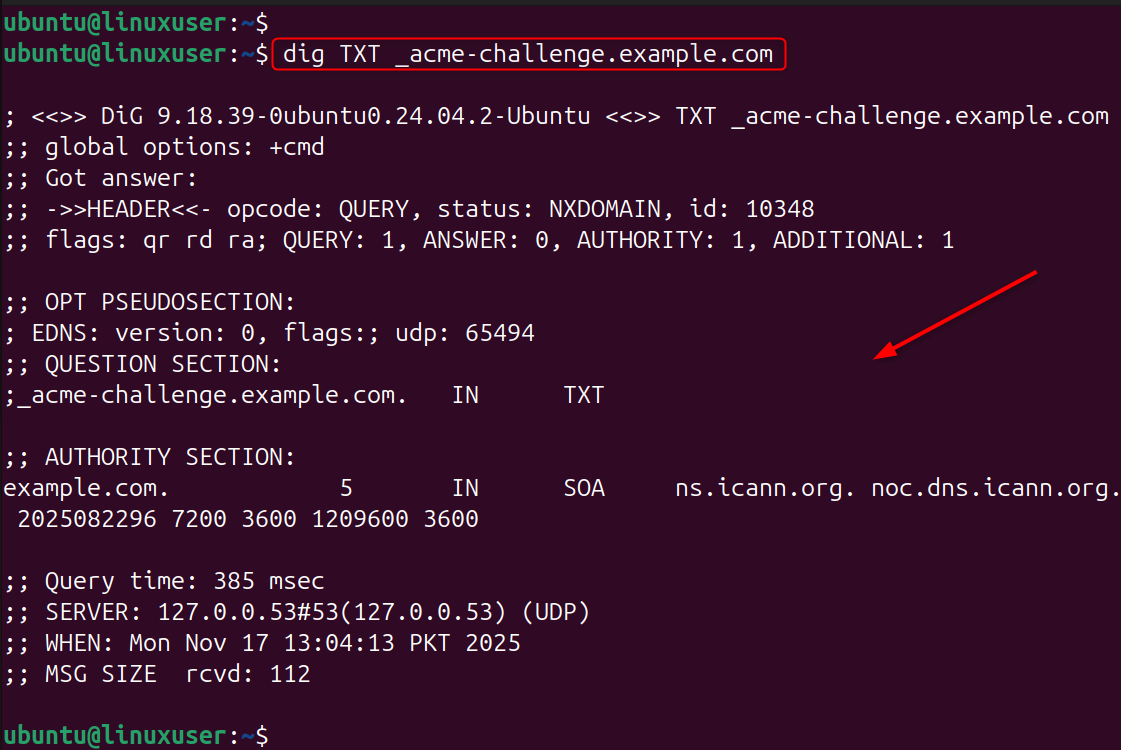
If the value appears, DNS is ready.
Step 4: Complete the Verification
Press ENTER on the terminal. If DNS is correct, Certbot will output something like this:
Congratulations! Your wildcard certificate has been saved.
Step 5: Install Wildcard SSL on Nginx or Apache
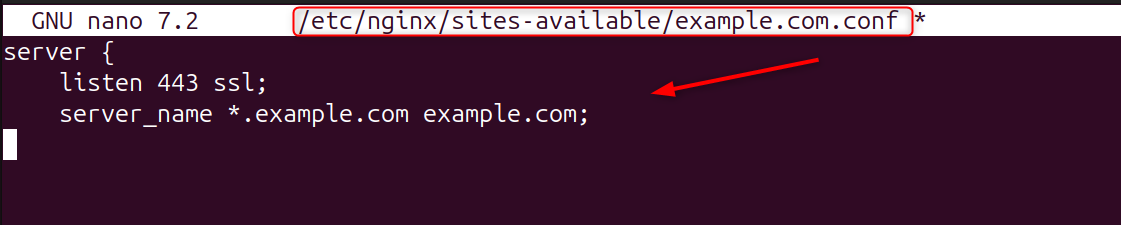
Open your site config:
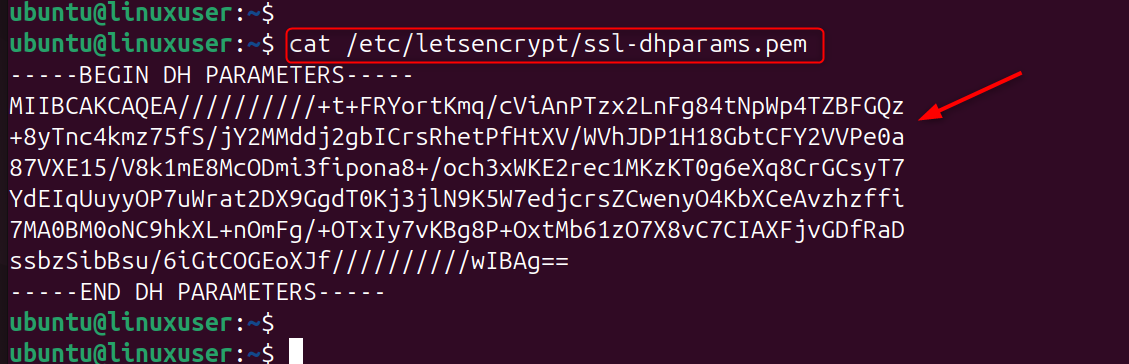
Add or edit:
Explanation:Loads the private key required for SSL. Test Nginx:

Reload:

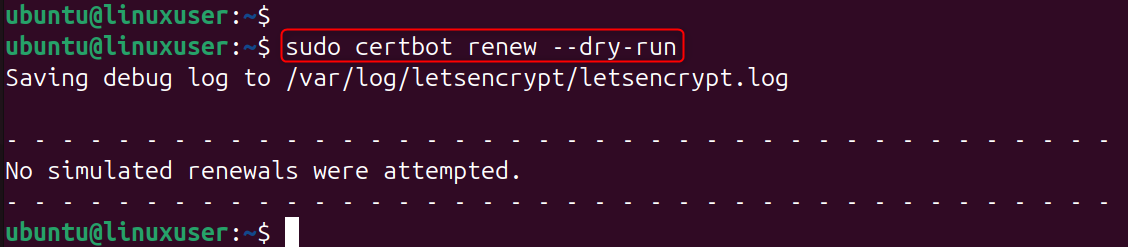
Step 6: Enable Automatic Renewal
Let’s Encrypt certificates expire every 90 days. Test auto-renew:
Manual DNS Users
You must repeat DNS TXT verification every renewal. DNS Plugin Users (Cloudflare, DigitalOcean, Google). Renewal happens automatically, no TXT interaction needed.
Using Cloudflare for Full Automation (Recommended)
Create API credentials:
Add:

Fix permissions:

Generate wildcard SSL automatically:

Certbot uses the Cloudflare API to create the TXT record automatically.
Conclusion
To install a Let's Encrypt Wildcard SSL on your Linux VPS, you first need to install Certbot along with the appropriate DNS plugin, then request the certificate using DNS-01 verification by running certbot certonly --manual --preferred-challenges=dns -d "*.example.com" -d "example.com", after which Certbot will provide a TXT record that you must add to your DNS under _acme-challenge.example.com; once DNS propagation is complete, Certbot issues the wildcard SSL and stores it in /etc/letsencrypt/live/yourdomain/, allowing you to configure your web server (Nginx or Apache) by pointing to fullchain.pem and privkey.pem, and finally enabling automatic renewal through either DNS plugins or manual TXT updates depending on your setup.
Secure your Cheap VPS with Let’s Encrypt Wildcard SSL by reading this step-by-step guide.
