Ghost is an open-source content management system (CMS). It was designed to be used for the creation of blogs and online publications. Due to this, it is quite popular between bloggers and writers who want to primarily focus on content creation and presentation. It provides a clean and intuitive user interface that prioritizes writing.
Some of the key features of Ghost include:
- Markdown Editor, which allows writers to focus on writing their content instead of complex formatting options.
- Themes that control the visual appearance of the website. They can be customized or created from scratch.
- Ghost is designed with search engine optimization (SEO) in mind, helping your website rank better in search engine results.
- Ghost allows multiple users with different roles and permissions, making it suitable for collaborative writing and content management.
- Ghost provides you with the tools to create subscription-based or membership-driven websites, enabling you to monetize your work.
In this tutorial, we are going to install Ghost's self-hosted version on a Ubuntu 22.04 server from AlphaVPS with an active sudo user.
Prerequisite installation and setup
Creating a sudo user
All commands in the tutorial will be executed by a sudo user.
If you do not have an active sudo user, you are able to create a new user and grant sudo privileges by running the following commands:
adduser 'username'
//provide password and confirm it
usermod -aG sudo 'username'ghost, because this will cause conflicts with the Ghost-CLI.Switch to the user by running:
su 'username'Update packages
We will need to update our installed packages and apt-get repositories. This can be done by running:
sudo apt-get update
sudo apt-get upgrade
Install Nginx
Nginx can be installed by running:
sudo apt-get install nginxStart and enable the Nginx service by running:
sudo systemctl enable nginx
sudo systemctl start nginx
If your ufw firewall is active, we will need to allow HTTP and HTTPS connections with the following command:
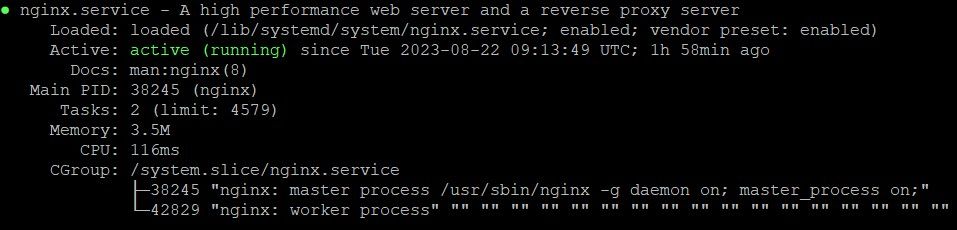
sudo ufw allow 'Nginx Full'We are able to confirm our Nginx installation with the sudo systemctl status nginx command. If everything is fine, you will receive similar output:
Installing MySQL
Install, start, and enable MySQL by running:
sudo apt-get install mysql-server
sudo systemctl start mysql
sudo systemctl enable mysql
The installation can be confirmed with the sudo systemctl status mysqld command.

Now we will need to secure the MySQL installation by running the mysql_secure_installation shell script.
mysql_secure_installation script without additional configuration, an error will occur, which will loop the script. We will prevent this by doing the following:sudo mysql
mysql> ALTER USER 'root'@'localhost' IDENTIFIED WITH mysql_native_password BY 'your-password-here';
mysql> exitNow, run the script:
sudo mysql_secure_installationIt is advisable to confirm all of the suggested settings with a y|Y and set your password validation policy to STRONG.
Now login back into SQL with the following command
sudo mysql -u root -pNow we will need to create a database and user for Ghost. First, we will add the user. You can replace user and your password with whatever name and password you want.
CREATE USER 'user'@'localhost' IDENTIFIED BY 'your_password';Now we will create the database. You can replace db with whatever you want.
CREATE DATABASE db;We will need to grant the user privileges to the database.
GRANT ALL PRIVILEGES ON db.* TO 'user'@'localhost';
FLUSH PRIVILEGES;We are done here so we can exit MySQL
Exit;Install Node.js
Ghost relies on NodeJS for its internal logic. We are able to install it system-wide by running:
curl -fsSL https://deb.nodesource.com/setup_18.x | sudo -E bash - &&\
sudo apt-get install -y nodejs
Installing Ghost
First, we will install Ghost-CLI. It is a CLI tool, which will help you out with the installation and configuration. Do this by running:
sudo npm install ghost-cli@latest -gOnce the CLI tool is installed, you are able to check all of the available ghost commands by running ghost help.
Create a directory in the webroot
Ghost must be installed in its own directory. To create the directory and set its owner and permissions, you will need to run the following few commands below.
Of course, you are able to name the directory as you wish.
sudo mkdir -p /var/www/directory-name
sudo chown username-here:username-here /var/www/directory-name
sudo chmod 775 /var/www/directory-name
In the directory you just created, run the ghost install command. This will initiate a Ghost installation in it, which will prompt multiple installation questions.
Install questions
During the installation process, you will be prompted to answer multiple configuration questions.
- Blog URL - Enter the URL your publication will be available at and include the protocol for HTTP or HTTPS. For example,
https://example.com. If you use HTTPS, Ghost-CLI will offer to set up SSL for you. If you do not have an active domain, you are able to provide your IP for HTTP access, which is not recommended. - MySQL hostname - This determines where your MySQL database can be accessed from. When MySQL is installed on the same server, use
127.0.0.1. - MySQL username/password - Use the username and password of the Mysql user we created earlier.
- Ghost database name - Enter the name of your database we already created.
- Set up a ghost MySQL user - Ghost-CLI can create a custom MySQL user that can only access/edit your new Ghost database. It's recommended that you create that user.
- Set up Nginx- Sets a Nginx server block up automatically enabling your site to be viewed by the outside world.
- Set up SSL - If you used an
httpsURL in the first step, and have already pointed your domain to the right place, Ghost-CLI can automatically set up SSL for you using Let’s Encrypt. If you do not wish to proceed with this now, you can do this later by running theghost setup sslcommand. - Set up systems -
systemdis the recommended process manager tool to keep Ghost running smoothly. It is recommended choosingyes. - Start Ghost - Choosing
yesruns Ghost, and makes your site work.
Web Setup
Once all installation steps and questions are processed, you will be given a URL to complete the installation. It will look something like https://your-domain/ghost/. You can access it from your preferred browser. The installation can be finalized there.
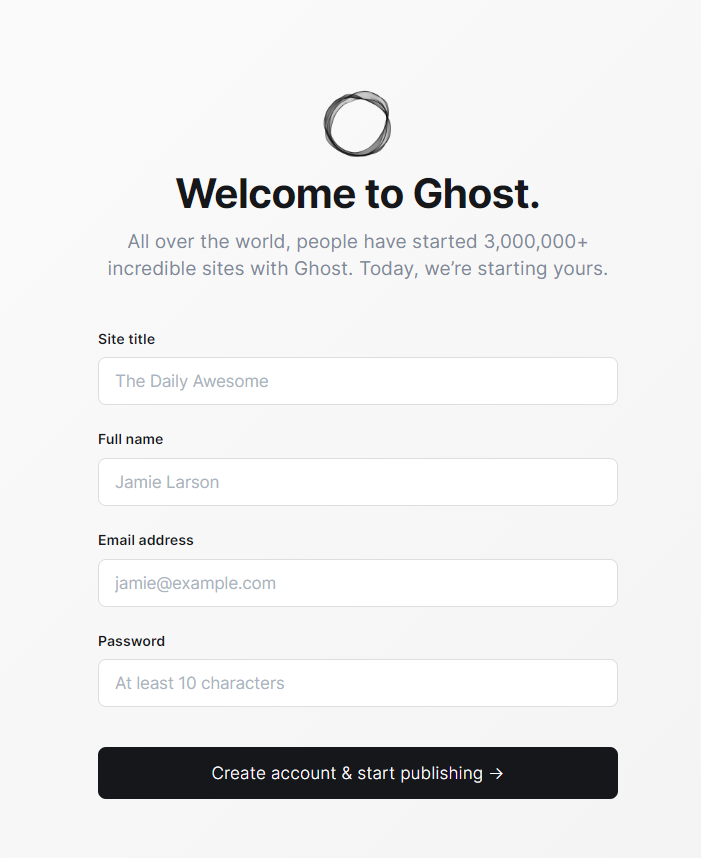
Provide your site title, your name, e-mail, and password. Note down the provided account credentials and proceed. You will be immediately redirected to Ghost dashboard.
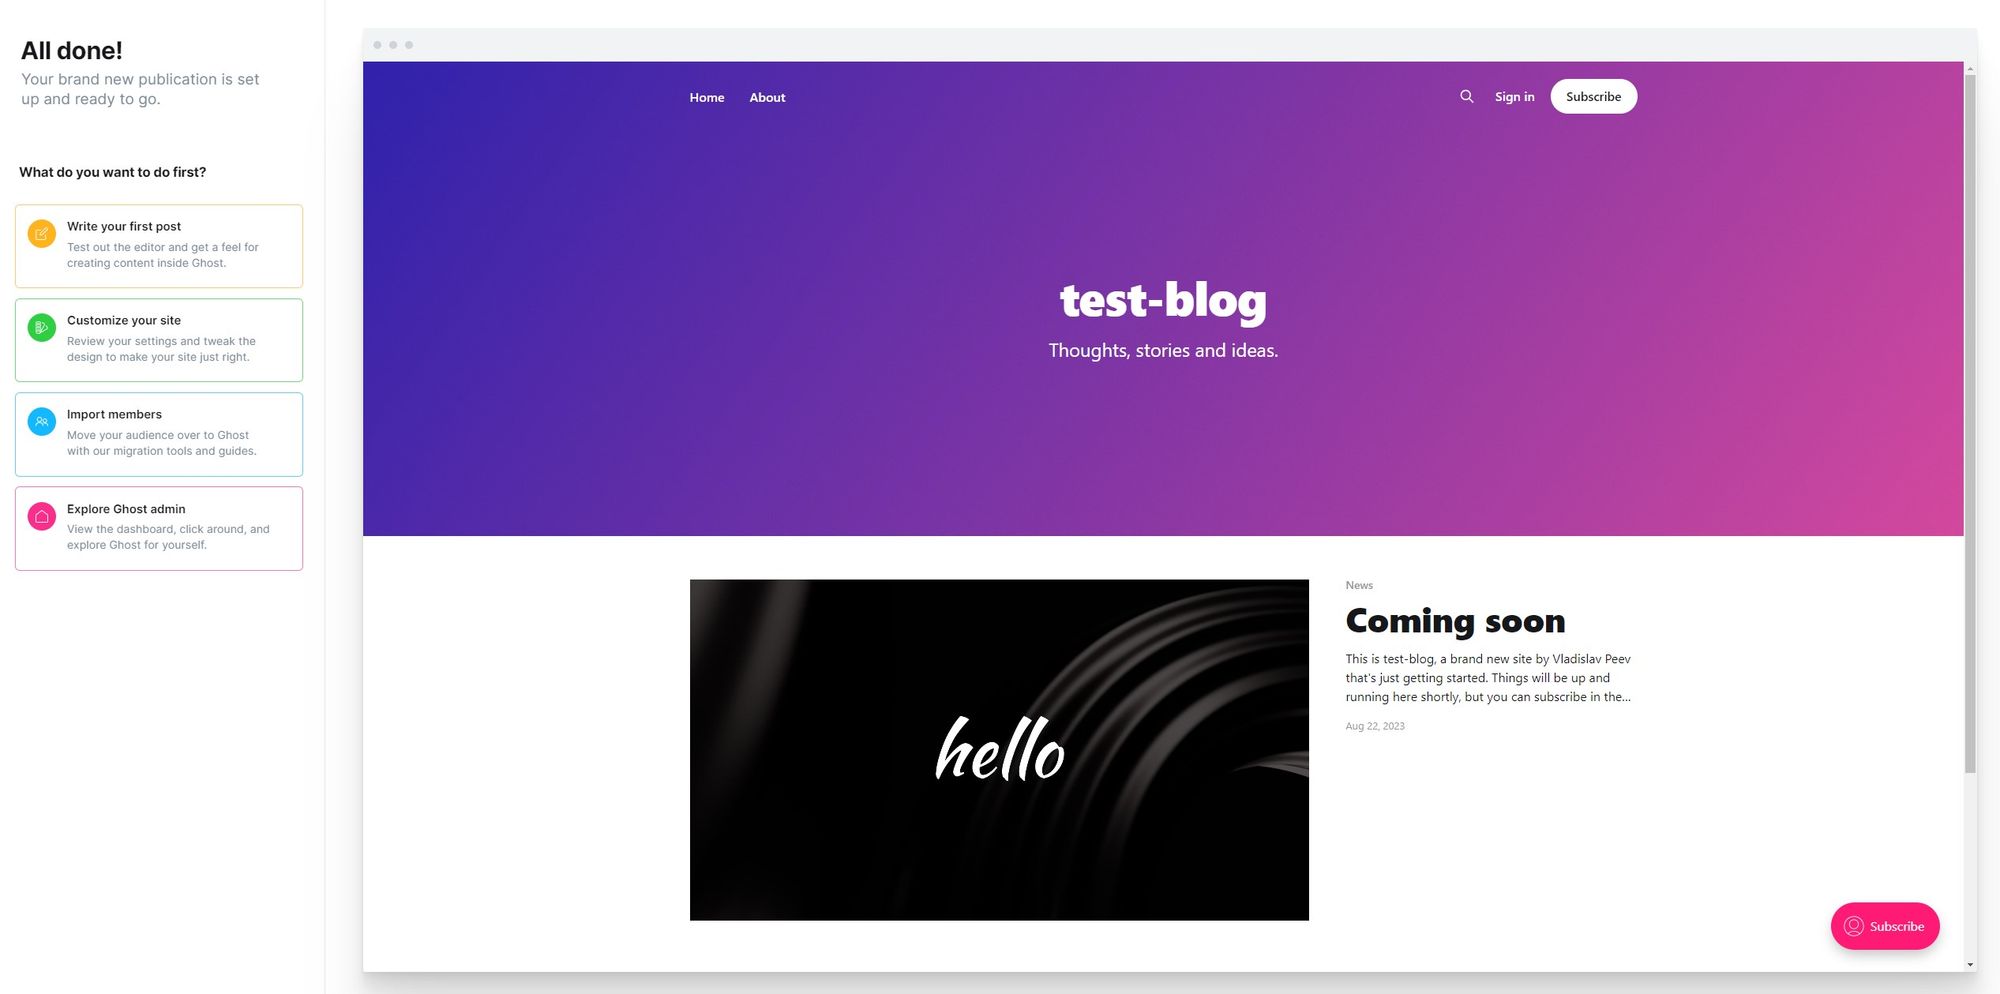
From the sidebar on the right, you are able to adjust settings, manage content, add users, and customize your website.
Your Ghost experience can be customized in many different ways. For additional settings, you can refer to the official documentation here.