Samba is an open-source software that enables file sharing between Linux-based systems and Windows systems. It allows Windows clients to access shared resources on Linux/Unix servers, and vice versa.
Samba implements the SMB/CIFS (Server Message Block/Common Internet File System) protocol, which is the standard protocol used by Windows for file and printer sharing. By using Samba, Linux/Unix systems can act as file servers in Windows-based networks, providing services such as file sharing.
For this tutorial, we are going to use an Ubuntu 22.04 VPS from AlphaVPS with a created sudo user.
Installing Samba
The installation process is quite simple. Just run the following commands:
sudo apt update
sudo apt install samba
We can confirm our installation by running:
whereis samba
Our output should look like this:
samba: /usr/sbin/samba /usr/lib/x86_64-linux-gnu/samba /etc/samba /usr/share/samba /usr/share/man/man8/samba.8.gz /usr/share/man/man7/samba.7.gz
Configuring Samba
First up, we will need to create the directory which we want to share via Samba.
We are able to create the directory wherever we wish. A common practice is to create the directory in our user's home directory.
To do so, run:
sudo mkdir /home/sambashare/
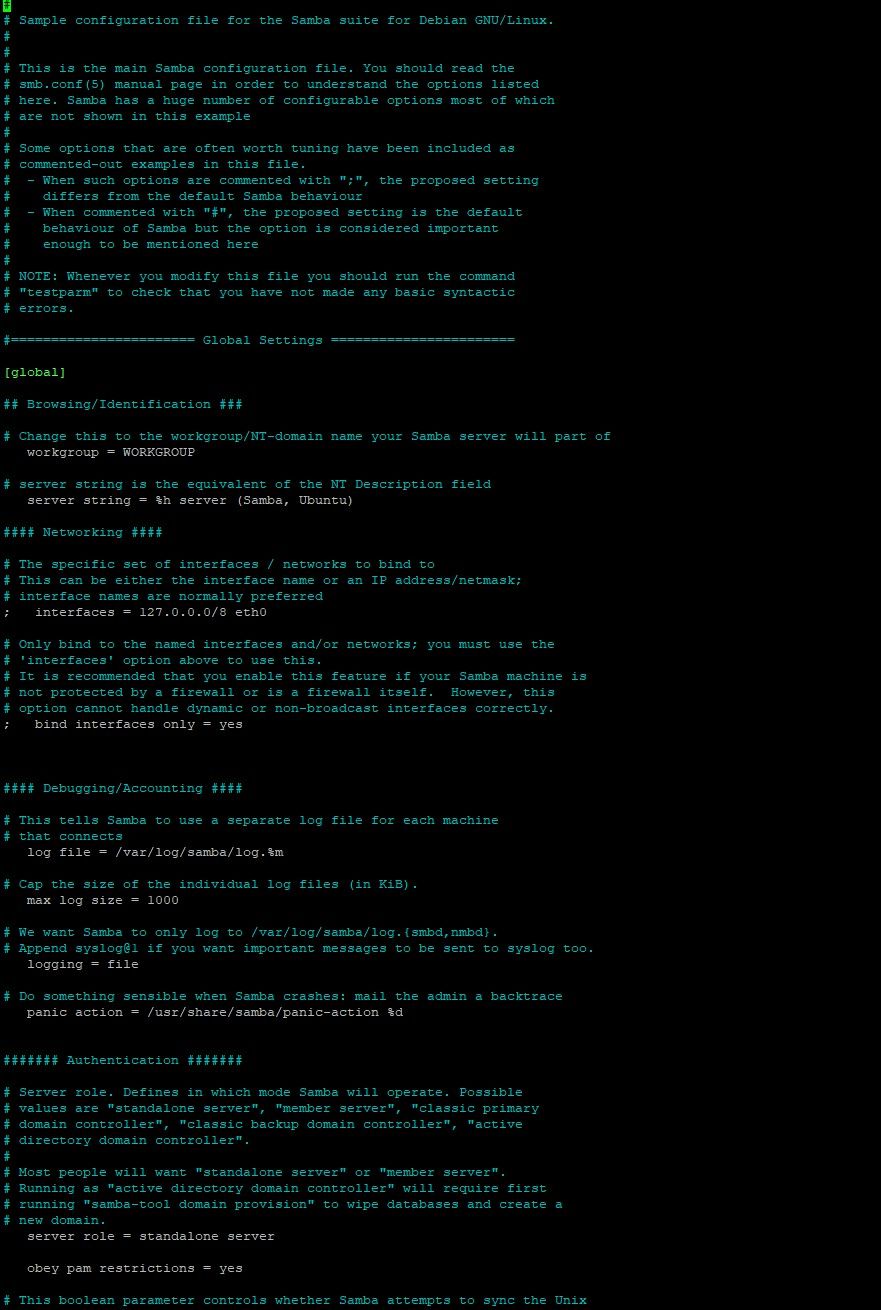
Samba's configuration file is located at /etc/samba/smb.conf. To add the new directory as a share, we will need to edit the file.
We can do so by running:
sudo nano /etc/samba/smb.confThe file should look like this:
We will need to add the following lines to the bottom of our configuration file.
[sambashare]
    comment = Samba on Ubuntu
    path = `path-to-sambashare-directory`
    read only = no
    browsable = yes
An example pathname would be home/sambashare
To apply the changes to our configuration file we need to run:
sudo service smbd restartIf you have an active UFW, you can update your firewall rules by running:
sudo ufw allow sambaSetting up a User account
We need to set up a Samba password for our user account. We can do so by running:
sudo smbpasswd -a username
Provide the required username and you will be prompted to set the user's Samba password.
Connecting to Share
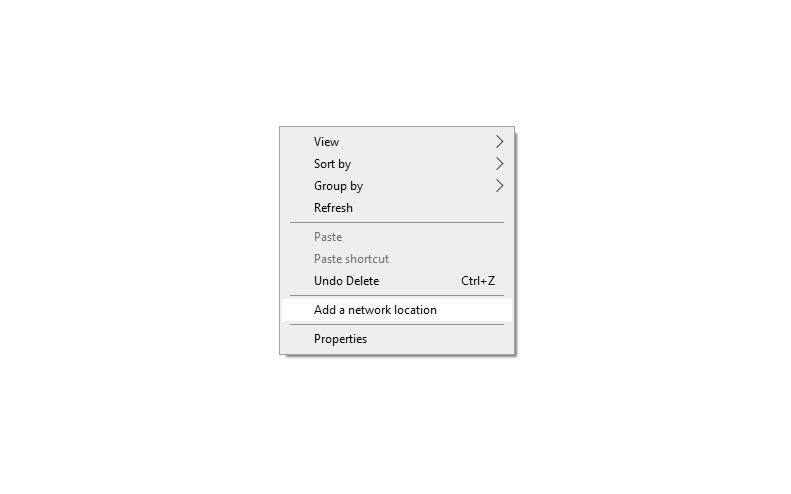
Windows
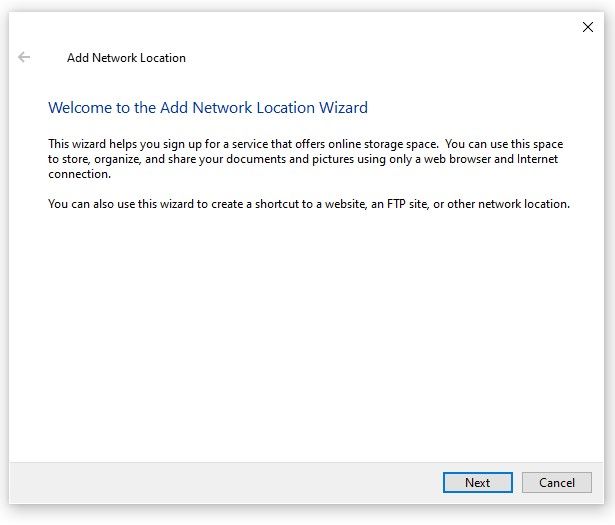
You can easily navigate to This PC. Right-click in the folder and select the Add a network location option.
You will be presented with a prompt. Click on Next to proceed further.
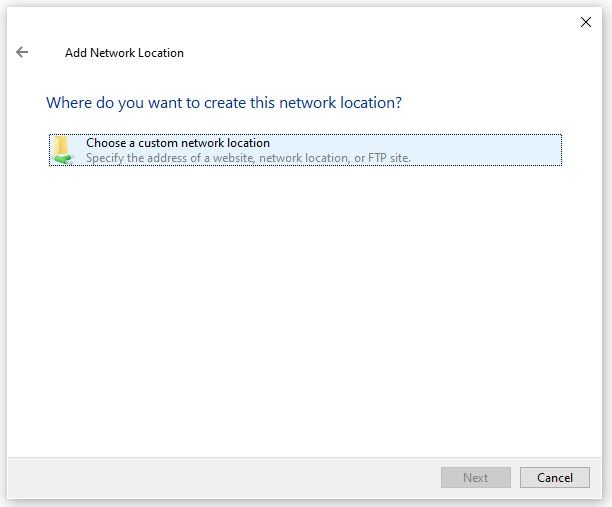
Click on the first and only available option. Proceed further by clicking Next again.
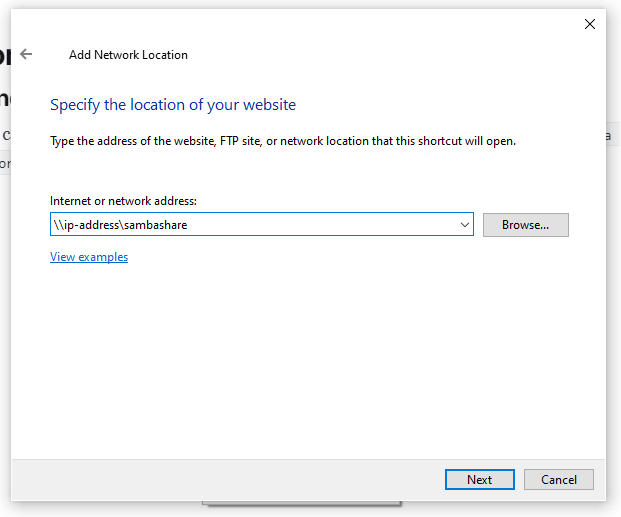
Specify the location of the Samba share by pointing out the IP address and shared directory name.
Once the connection is established, you will be able to name your Samba share.
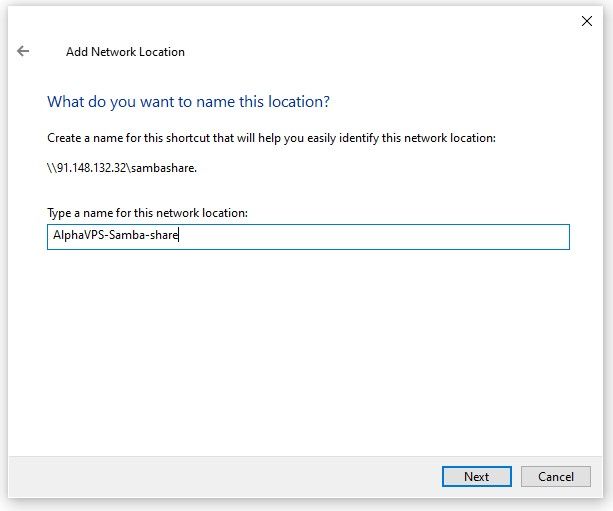
Confirm and proceed.
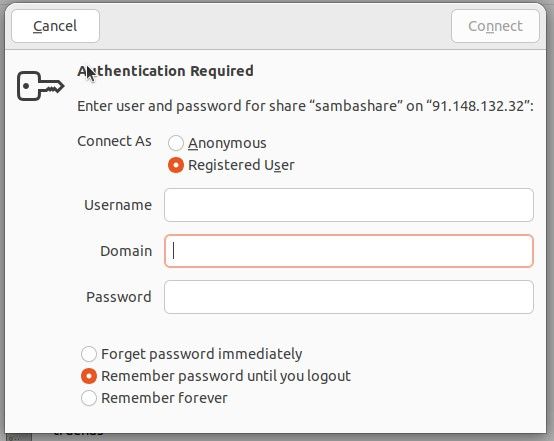
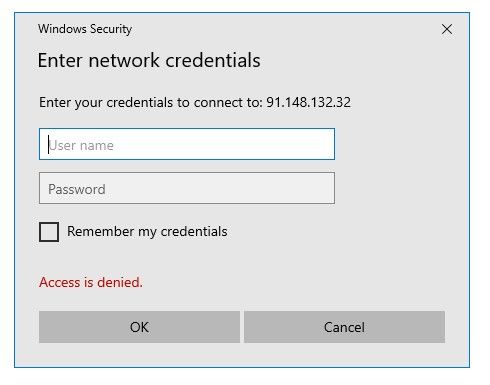
The only thing that is left is to provide your user credentials. Once you try to access the Samba share, you will be immediately prompted to do this.
Ubuntu
Open up the file manager and click the Connect to Server field and enter smb://ip-address/sambashare, click on Connect.

Provide your credentials in the same way as in Windows and proceed.