The Network File System is an efficient and powerful way to share files across Linux systems. Multiple clients can access the same files just like they were locally, which makes it perfect for environments such as Kubernetes, shared data servers, or development teams. This guide will show you how to install an NFS client and server on a Ubuntu 24.04 virtual private server.
How to Configure NFS Server and Client on a Ubuntu 24.04 VPS
To configure NFS on Ubuntu, install nfs kernel-server and nfs common on both the server and client to configure NFS on Ubuntu 24.04. Export a shared directory from the server using /etc/exports. Then, use sudo exportfs to apply the changes. Mount the shared directory using sudo mount on the client. You can access files via the network by using:/shared/path/mount/point.
Prerequisites
Installing NFS requires the following:
- Two Ubuntu 24.04 Systems: One system can be used for the server, and the other one as a client.
- Root or Sudo Access: To make changes to NFS settings or setup, you must be able to log in as root or sudo.
- Network Connectivity: Both machines must have the same network details so they can communicate.
If you don’t already have a server prepared, you can easily deploy one of our Storage VPS plans. They’re ideal for NFS use cases, providing large, RAID-protected storage and stable network performance — perfect for shared storage, backups, or distributed environments.
For this guide:
- NFS Server IP: 192.168.0.110
- NFS Client IP: 192.168.0.116
(Replace these with your actual IPs.)
Step 1: Install NFS Server on Ubuntu 24.04 VPS
Installing an NFS Server package on the system that will be the server is the first step. To do so:
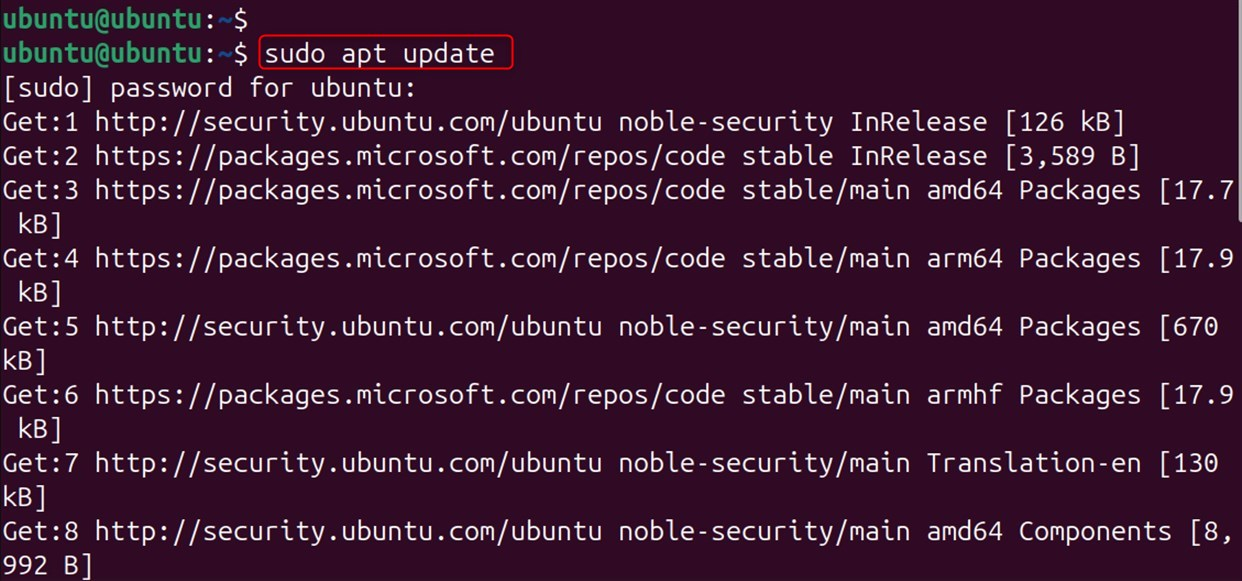
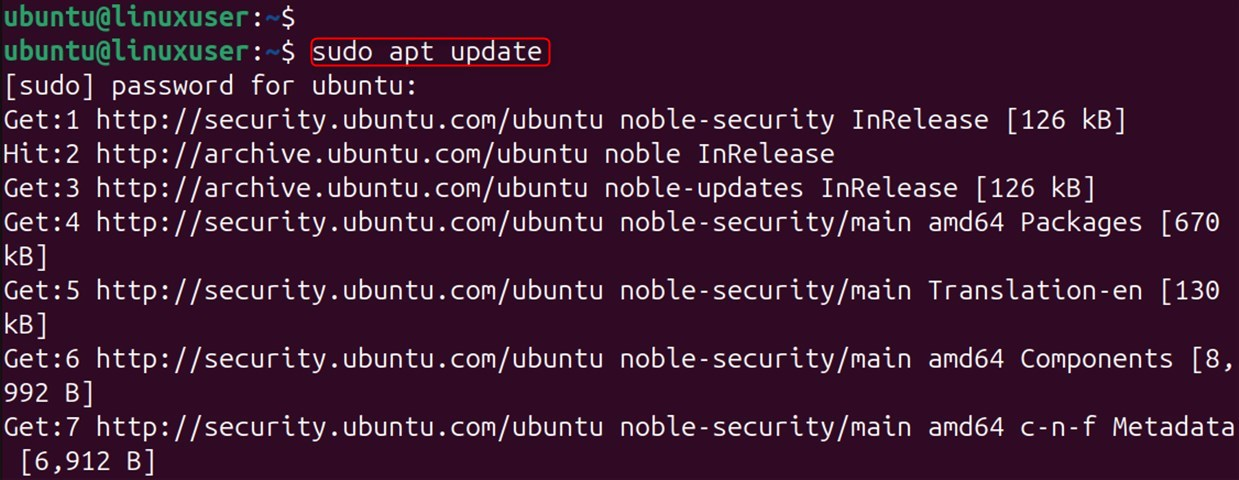
Update the Package List:
Update your package list by using the following command:
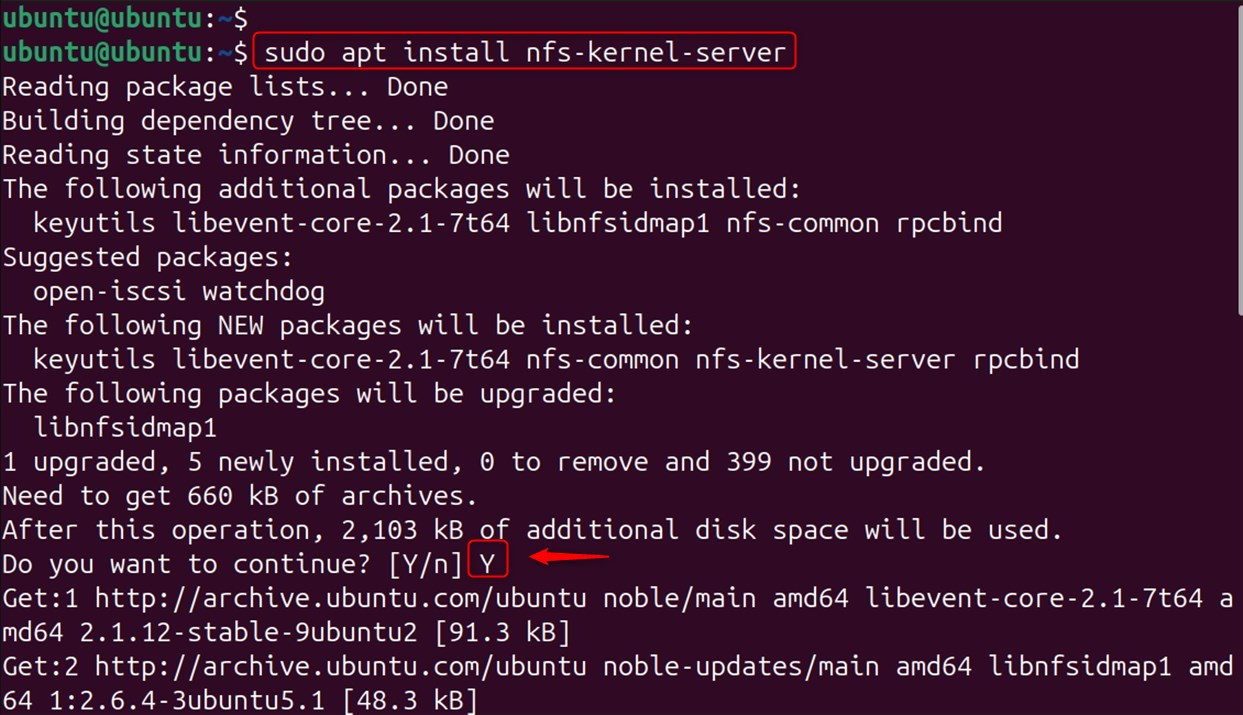
Install the NFS Kernel Server:
Execute the following command to install the NFS Server Package:
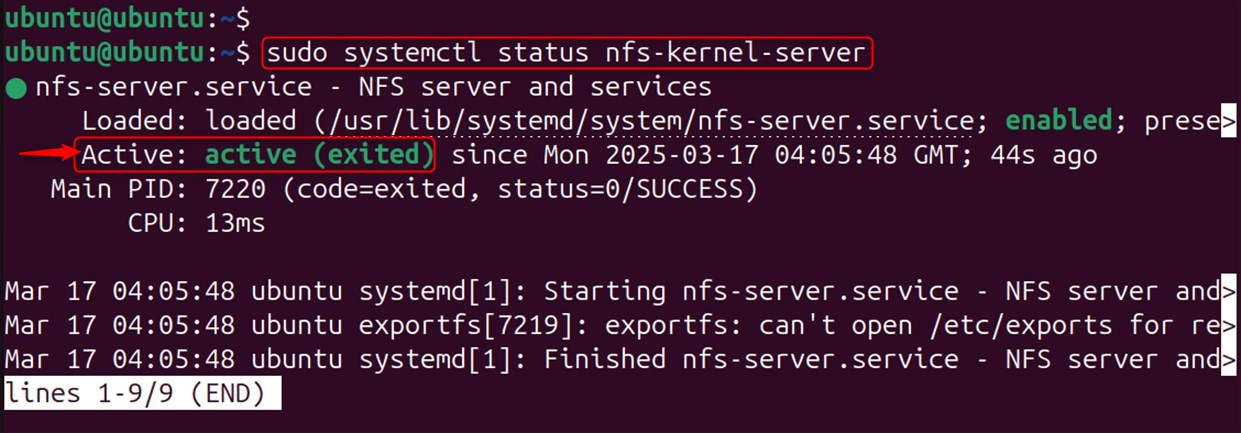
Confirm the Installation:
Run the command to confirm that the NFS is running. You will receive a response indicating that NFS is currently running:
Step 2: Configure the NFS Server
Users must configure the NFS server to share directories after installing it:
Create a Shared Directory:
Create a shared directory in your root home. Name it something easy to remember.

Set Directory Permissions:
Change the permissions on the shared directory so that clients can access it.

Access the restricted level of access to make sure clients can access.

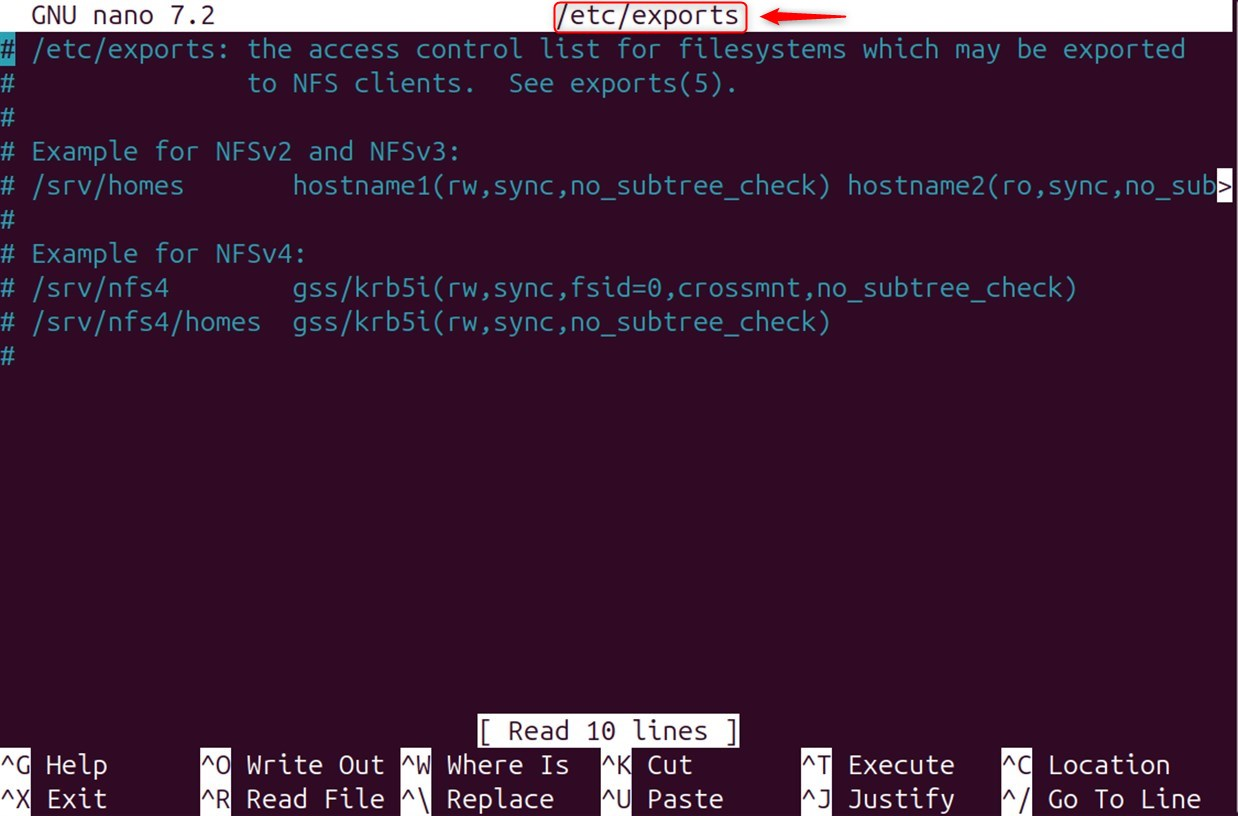
Edit the Exports File:
Open the /etc/exports, which contains shared and client access settings:
Replace client_ip with the address of the system you wish to share the data with:
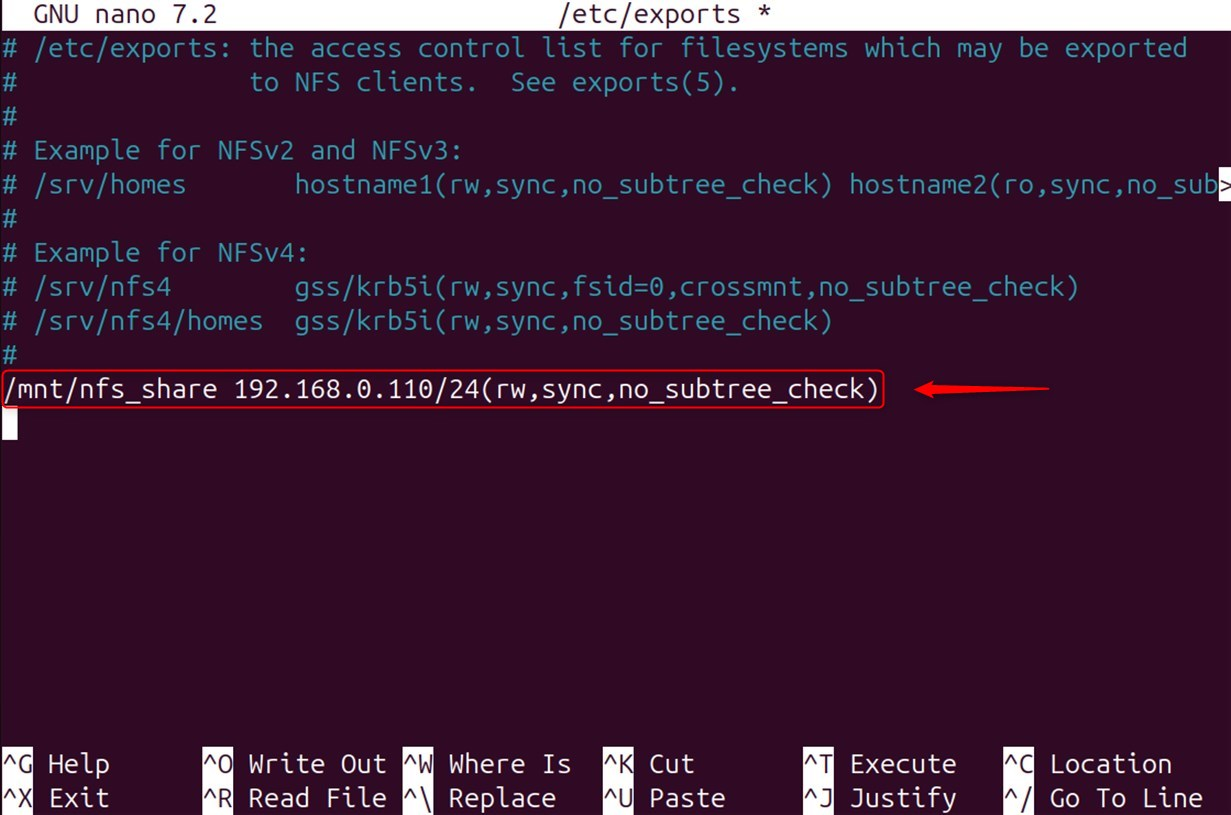
The following conditions will apply to domain sharing:
rw: read-write permission, granting the ability to write and edit the directory.
sync: Requests acknowledgment will only be given after the changes have been successfully written to the disk.
no_subtree_check: Here, performance is improved by turning off the subtree check.
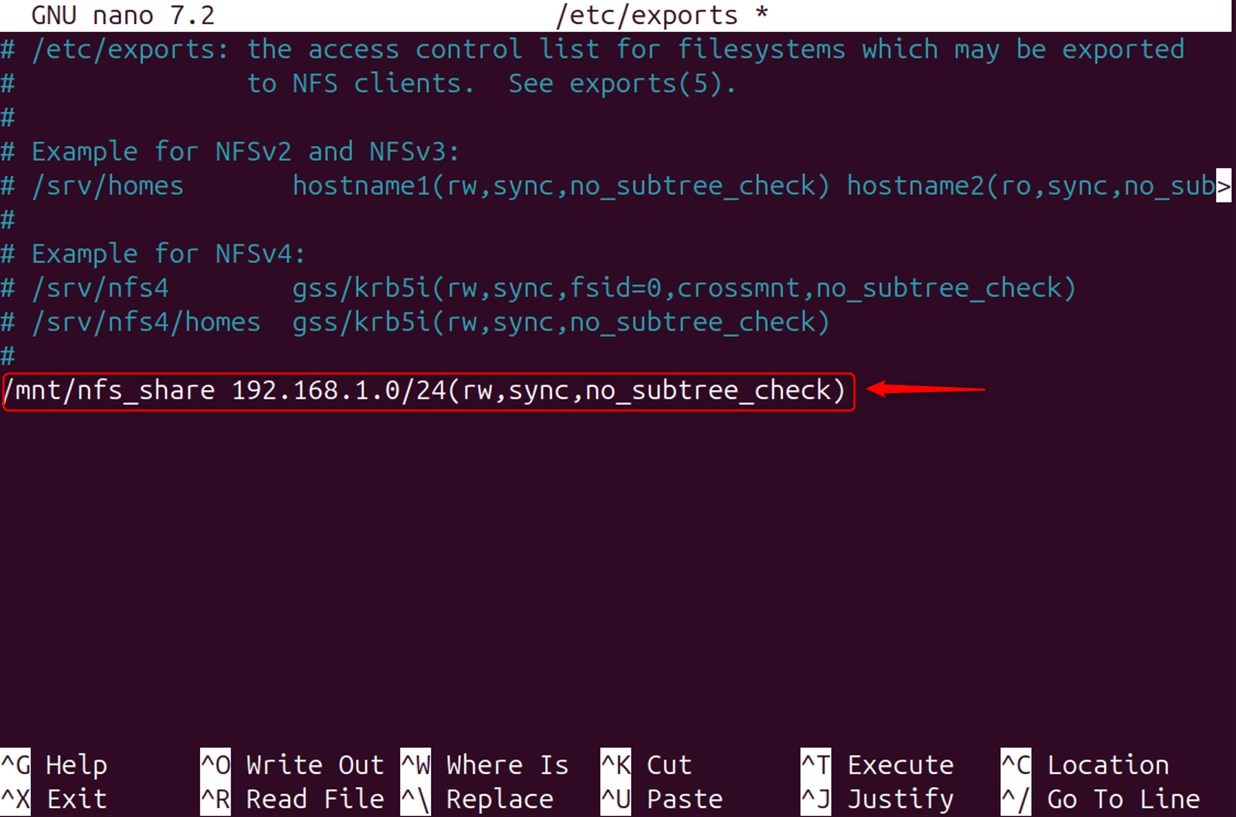
Do the following to allow all clients on a subnet to share the directory:
Export the Shared Directory:
The next step is to export the shared folder after the changes are made:

Restart the NFS Server:
Next, restart the NFS server so that it can use the new configuration.

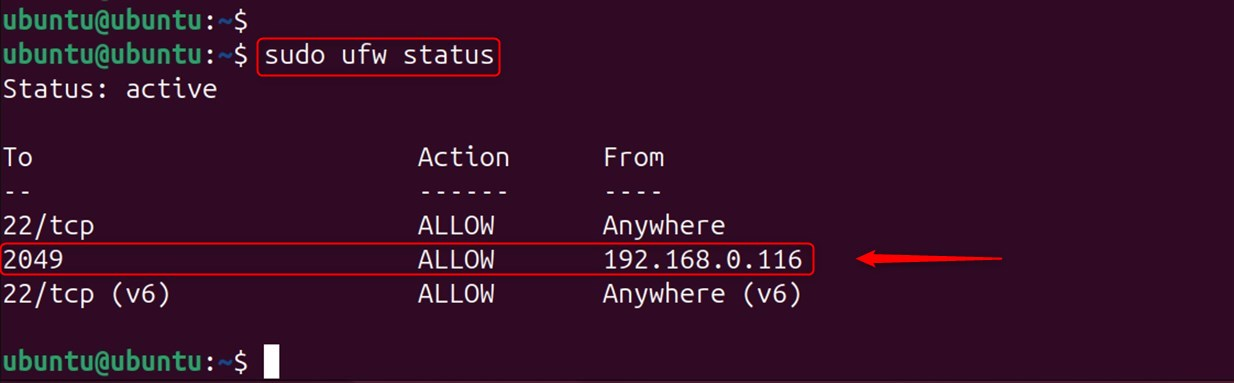
Step 3: Allow Clients Through Firewall
You must allow access to clients who use UFW:

Type the following to confirm that this operation is complete:
Step 4: Install NFS Client on Ubuntu 24.04 VPS
Install the NFS Client package on the client computer to enable access to a shared directory. To do so:
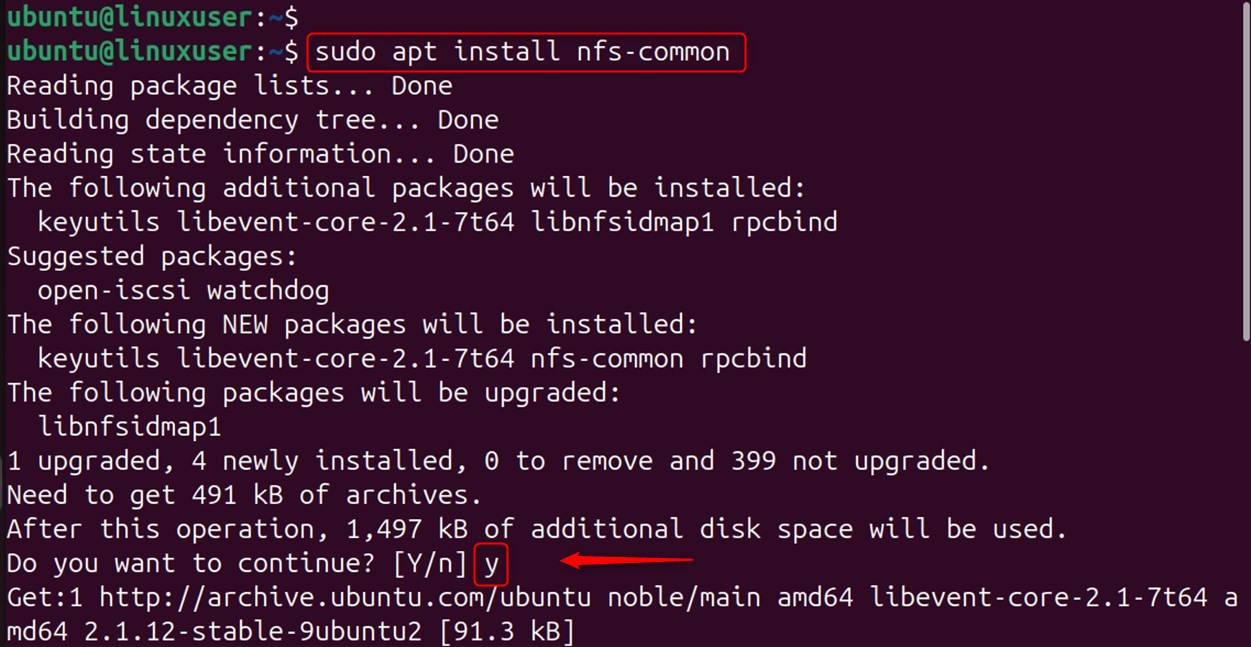
Update the Package List:
Update the package list by following these steps:
Install the NFS Client:
Install the NFS client package:
Step 5: Mount the NFS Share on the Client
You can mount the shared directory on the server after installing the NFS client:
Create a Mount Point:
Create a directory to hold all the files that can be accessed by everyone:

Mount the NFS Share:
Use this command to mount a shared directory. (Make sure you put server_ip in the place where the NFS address is.)

Verify the Mount:
Check if the NFS shares have been mounted:

The shared directory will appear after executing the command.
Step 6: Automount the NFS Share (Optional)
Add an entry to /etc/fstab if you want the NFS share mounted automatically when booting.
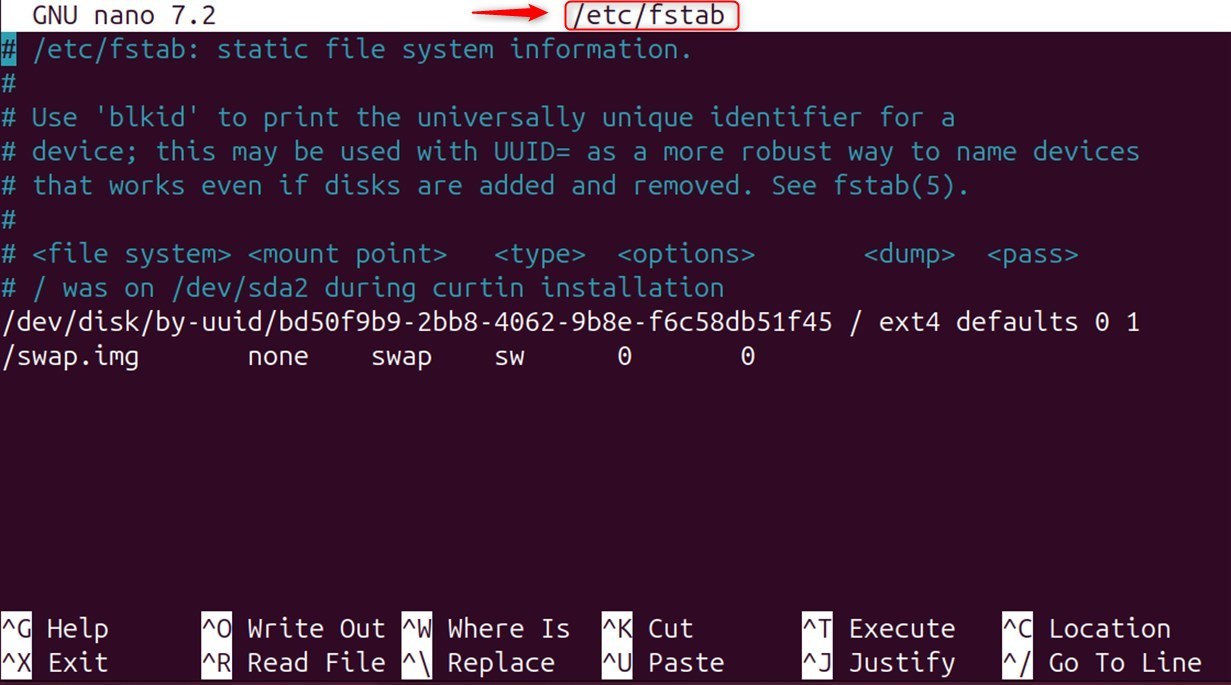
Edit the fstab File:
Open the file with a text editor:
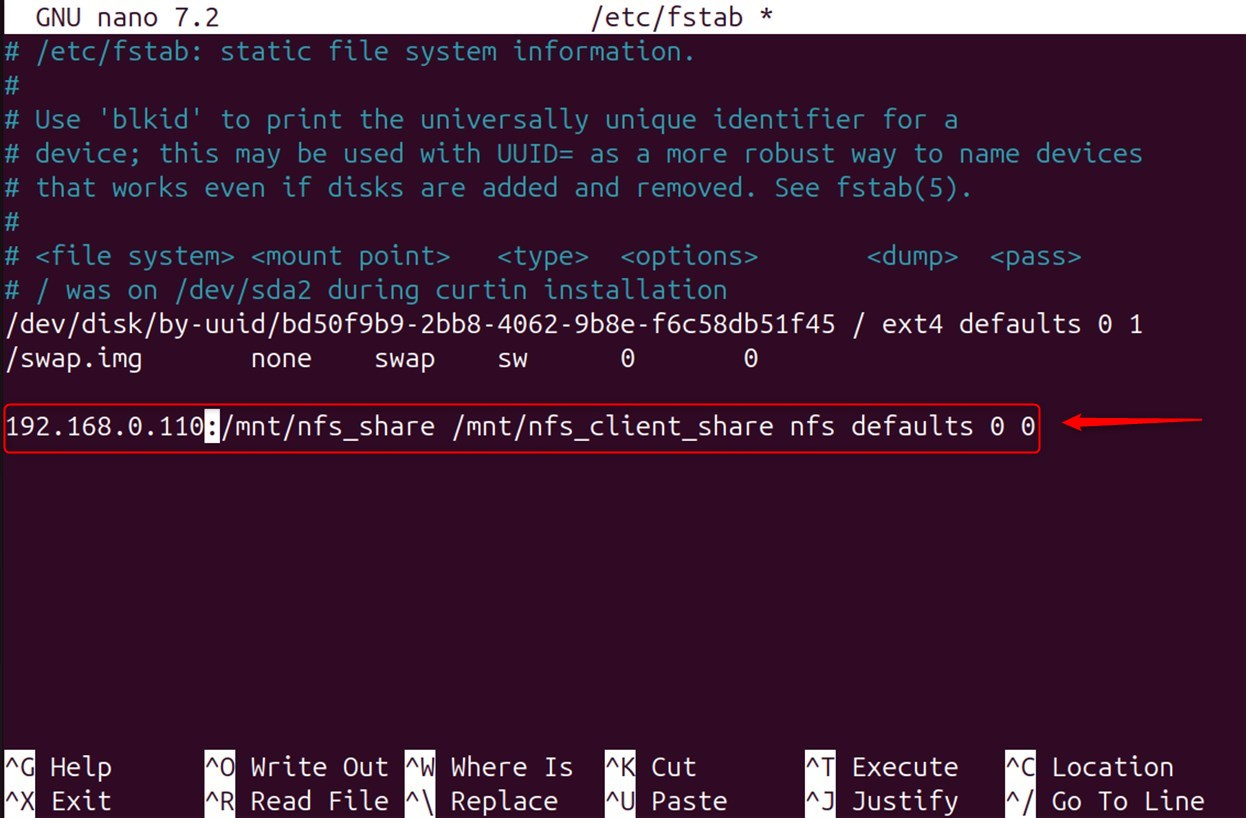
Add the NFS Share:
Add this line to the file. Make sure to use the IP address of the NFS server instead of server_ip.
Test the Configuration:
Test the configuration after unmounting and then remounting all filesystems.

Mount all the filesystems in the /etc/fstab directory. This file is typically used to start the system or to apply any changes to it.

Step 7: Test the NFS Setup
Check that NFS is working by following these steps:
Create a Test File on the Server:
Create the file by navigating to the shared location on the server:

Verify on the Client:
Confirm the file's accessibility on the client side:

The client-side output displays the file testfile.txt.
Following these steps will allow you to successfully install an NFS client and server on your Ubuntu 24.04 VPS.
Conclusion
NFS is an easy-to-use, yet powerful, solution for sharing data. It's widely used by enterprise systems, virtualization platforms, and container orchestration tools like Kubernetes. You now have the foundation to create a collaborative Linux environment with distributed storage. You've now created a shared directory on your NFS server that clients can access and mount over the network. This is a great way to centralize or share files in Linux environments.
If you’re planning to launch an online project and need Storage VPS, get in touch with us — our experts will provide a solution tailored to your needs and goals.
