DNS (Domain Name System), the backbone of the internet, translates human-friendly domain names into computer-understandable IP addresses. BIND is the most popular DNS server software on Linux servers. It's known for its flexibility, reliability, and performance. Installing BIND on Ubuntu VPS 24.04 allows you to host domains and internal networks.
This guide will show you how to install, verify, and configure a BIND server on Ubuntu 24.04.
How to Configure BIND DNS Server on Ubuntu 24.04 VPS
Installing BIND DNS on Ubuntu 24.04 gives you complete control over domain resolution and email routing. Your server can be used as a reliable DNS system by configuring forward and reverse zones. Follow these steps, from installation to testing, to build a robust DNS system that will ensure faster name resolution, higher uptime, and professional domain management for applications or websites.
Step 1: Update Your System
Make sure that your system has been updated before installing any packages.
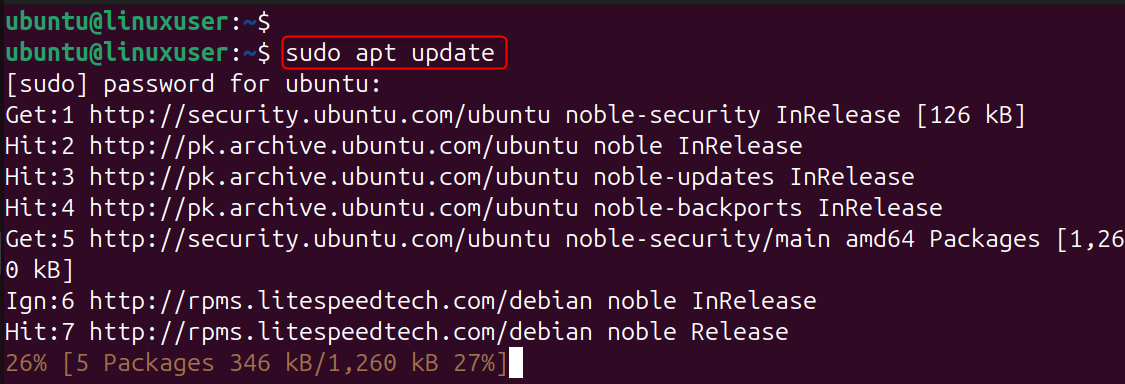
Updates ensure that your Ubuntu VPS is running the latest stable packages and security patches for BIND.
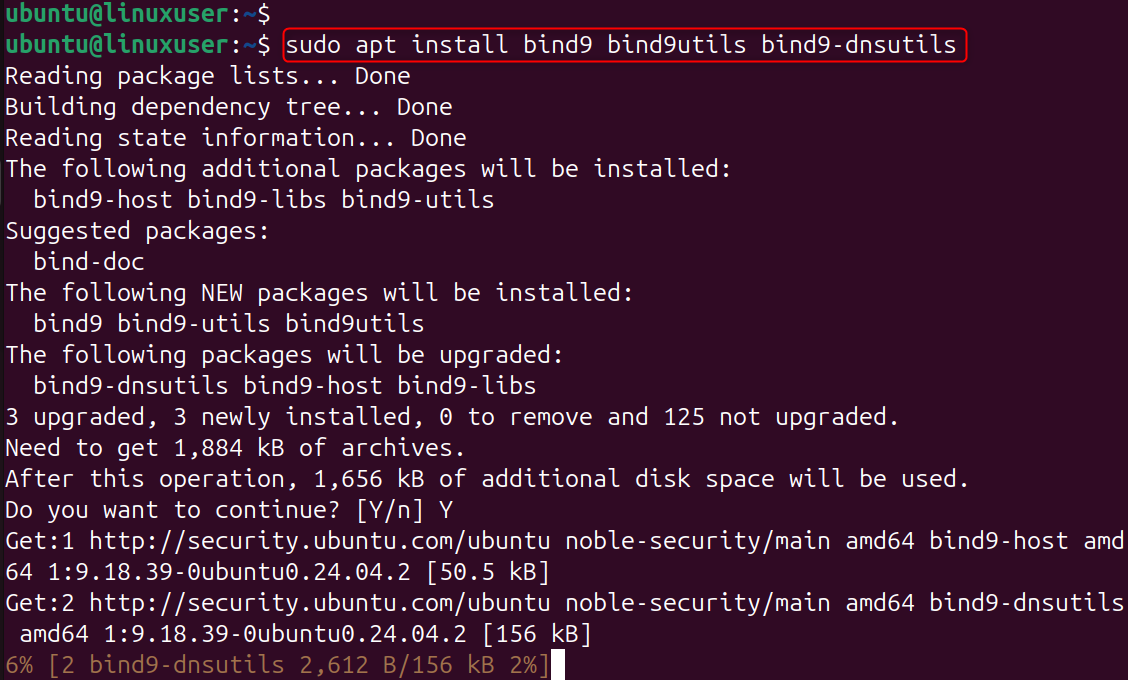
Step 2: Install BIND9 and DNS Utilities
Install BIND and its utilities by using:
Here,
- bind9: the main DNS server package.
- bind9utils: provides configuration and debugging tools.
- bind9-dnsutils: includes DNS query tools like dig and lookup.
Install the software and then start it.
Check the status of your order:

Step 3: Configure the Primary DNS Zone
We will configure a forward-lookup zone to resolve domain names into IP addresses.
Edit the main configuration:
Replace example.com (your domain name) with the following zone definition:
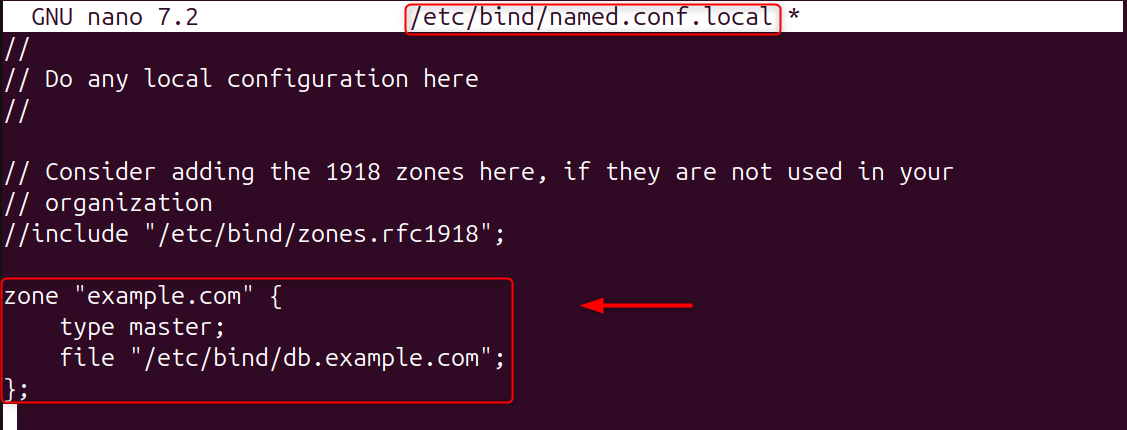
This tells BIND to act as the master DNS server for example.com and store zone data in the file /etc/bind/db.example.com.
Step 4: Create the Forward Zone File
Modify the template for your domain by copying and pasting it into the zone file:

Let’s edit the file:
You can edit it like this:
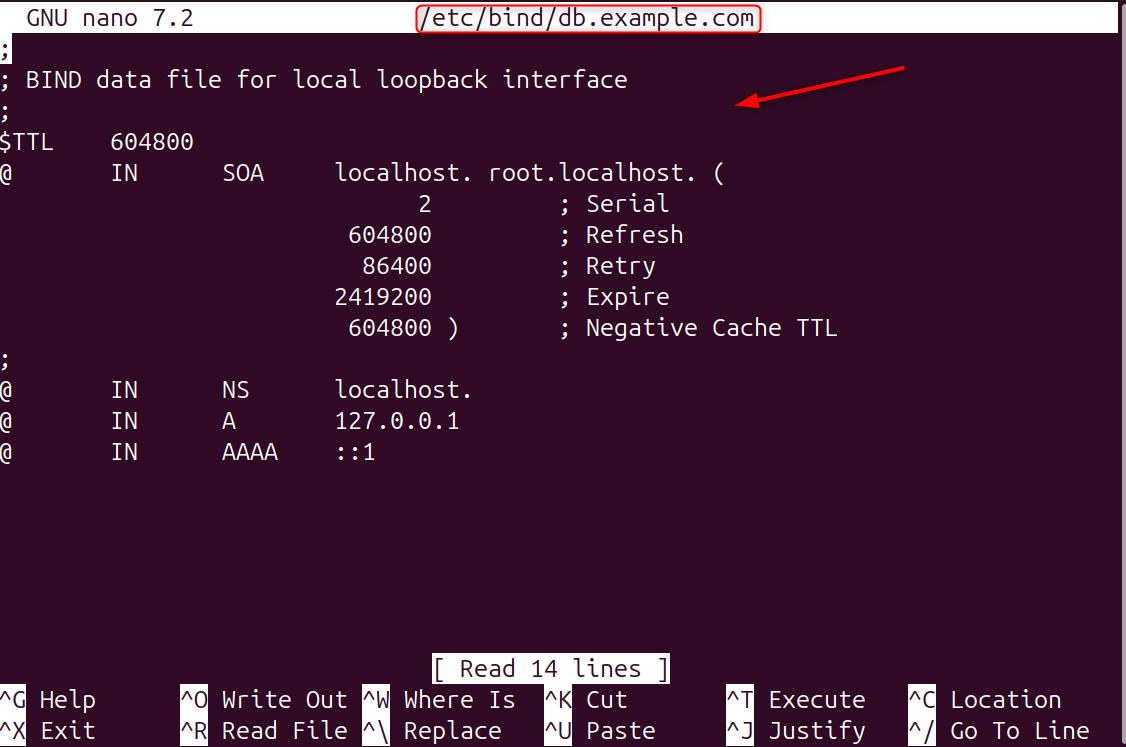
Here,
- SOA (Start of Authority) defines the primary DNS server and admin contact.
- NS specifies the name server record.
- A records map hostnames to IPs.
- MX defines mail exchange servers.
Step 5: Configure the Reverse DNS Zone
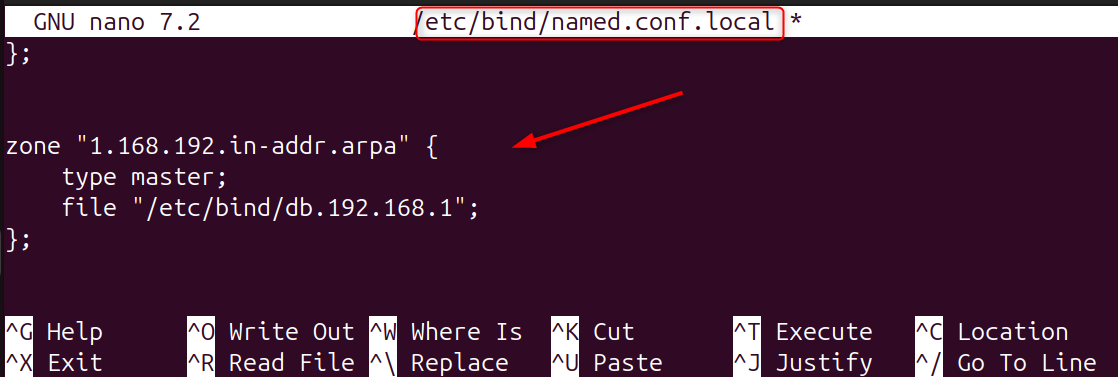
Reverse DNS maps IP addresses to hostnames. Edit the configuration file once more:
Add this to your forward zone.
Create the reverse zone file.

Let’s edit:
Modify the following:
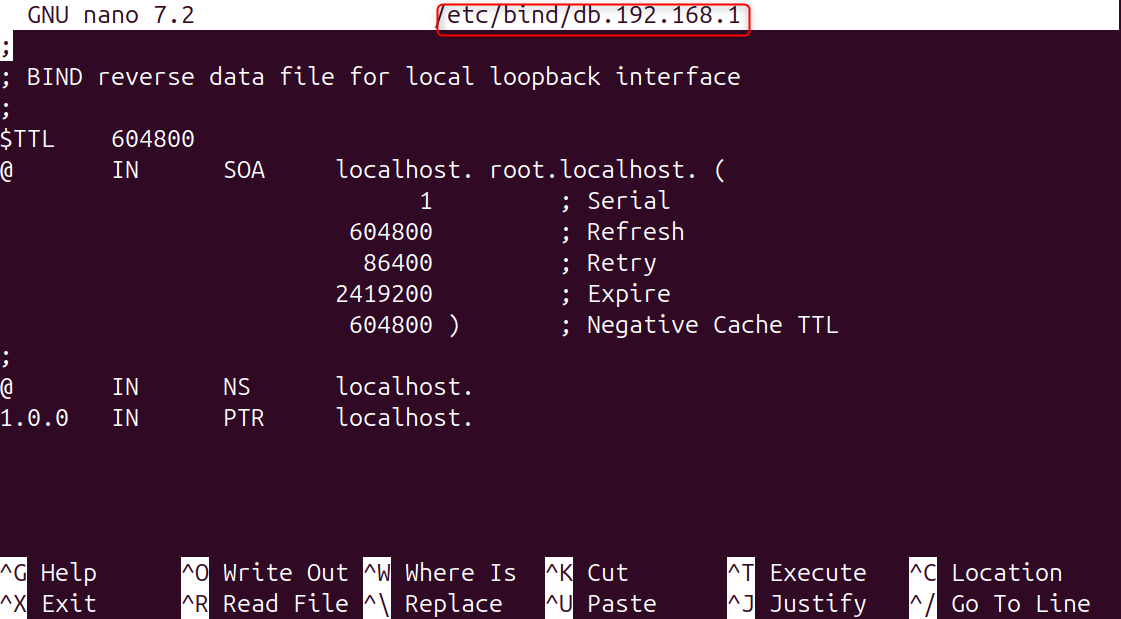
This file defines Pointer (Pointer Records) that maps IP addresses (like 192.168.1.10) to hostnames.
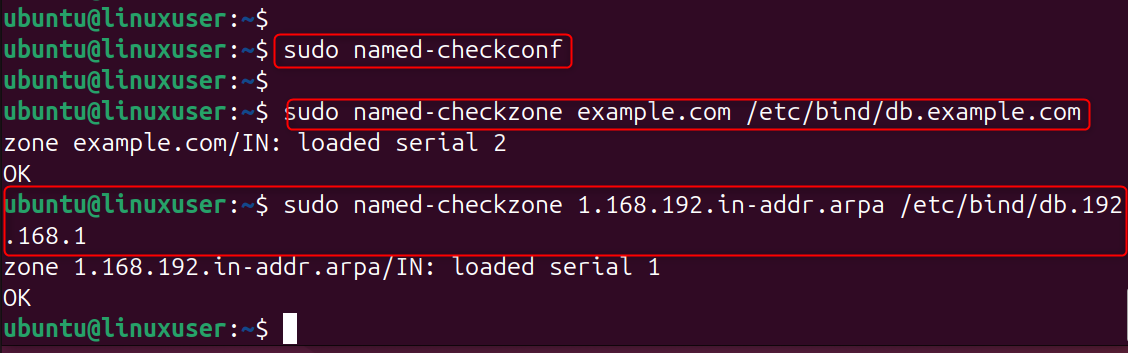
Step 6: Check BIND Configuration Syntax
Verify your DNS configuration before restarting the DNS service:
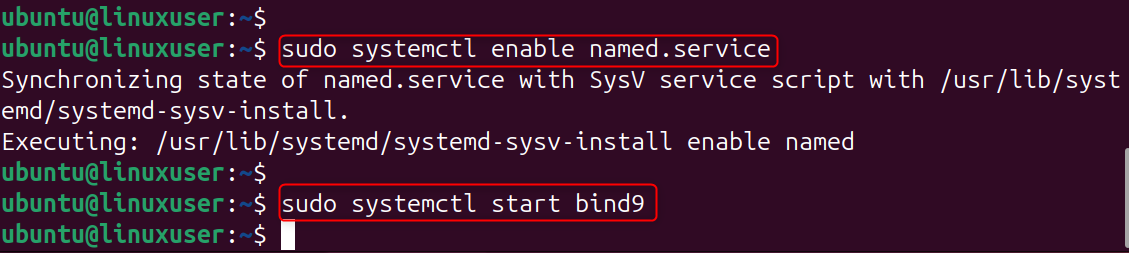
Step 7: Restart and Enable the BIND Service
Restart BIND in order to apply the configuration.

Step 8: Test the DNS Server
Use the dig command to test your setup:
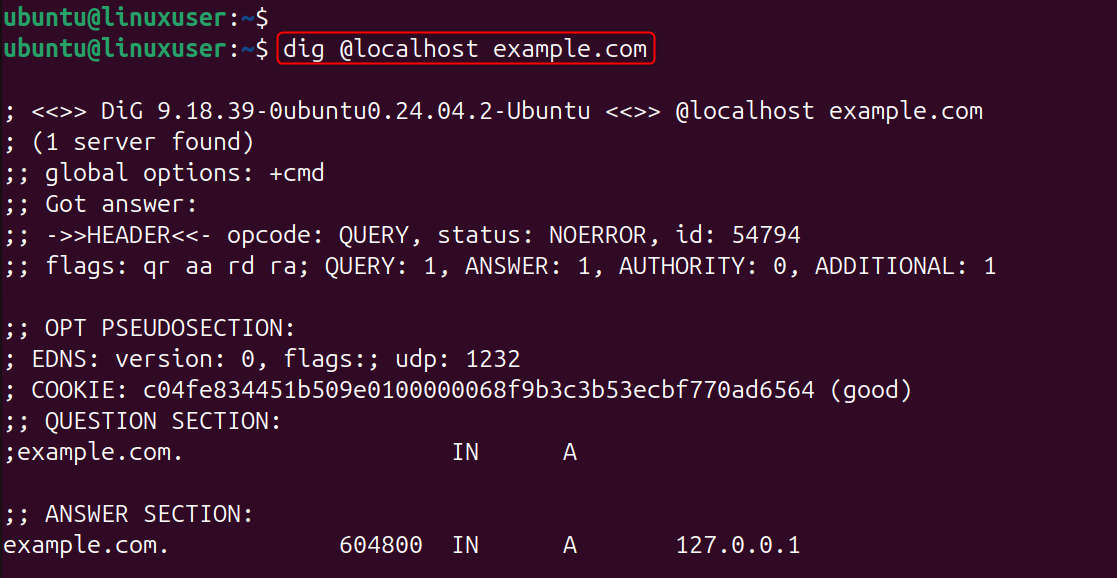
The expected output should include your server's address in the REPLY SECTION.
You can also try a reverse lookup.

Your reverse zone configuration is correct if you see the domain name of your website in the response.
Step 9: Adjust the Firewall
Allow DNS traffic if UFW is active
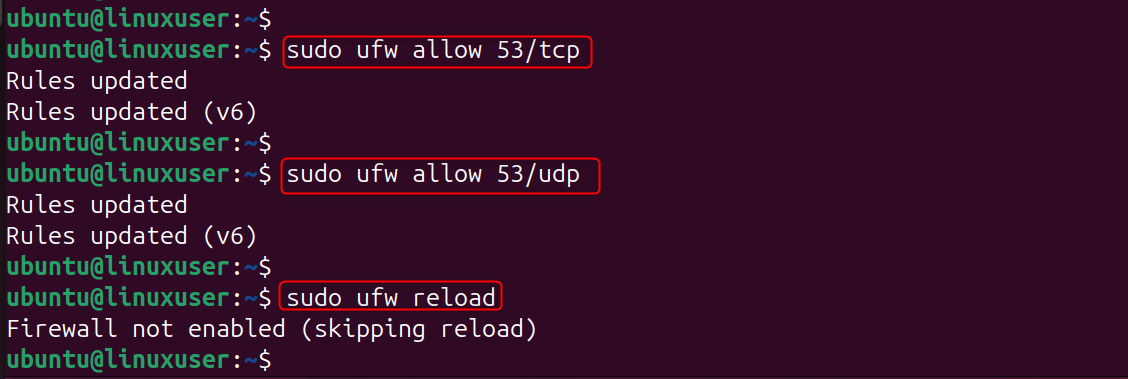
Port 53 is used to query DNS over TCP and UDP.
Step 10: (Optional) Configure Secondary DNS Server
You can add this entry to the name med.conf.local of another VPS for redundancy.
This setup replicates the zone data from your DNS master server to ensure continuous availability.
Conclusion
To configure a BIND DNS server on Ubuntu 24.04 VPS, start by updating your system using sudo apt update && sudo apt upgrade -y, then install BIND with sudo apt install bind9 bind9utils bind9-dnsutils -y. Configure your domain by editing /etc/bind/named.conf.local to define a zone, such as example.com, and create its zone file in /etc/bind/db.example.com with the necessary SOA, NS, A, and MX records.
For reverse DNS, add a reverse zone in the same file and create /etc/bind/db.192.168.1 with corresponding PTR records. Verify your configuration with sudo namedcheckconf and sudo namecheckzone. Then restart BIND using sudo systemctl start bind9. Test DNS resolution by using dig @localhost.com. This will ensure that your BIND DNS server works correctly.
If you’re looking for a Cheap VPS solution for your next project, consider trying our hosting services.
